A Beginner's Guide To The Cannabis Flowering Stage
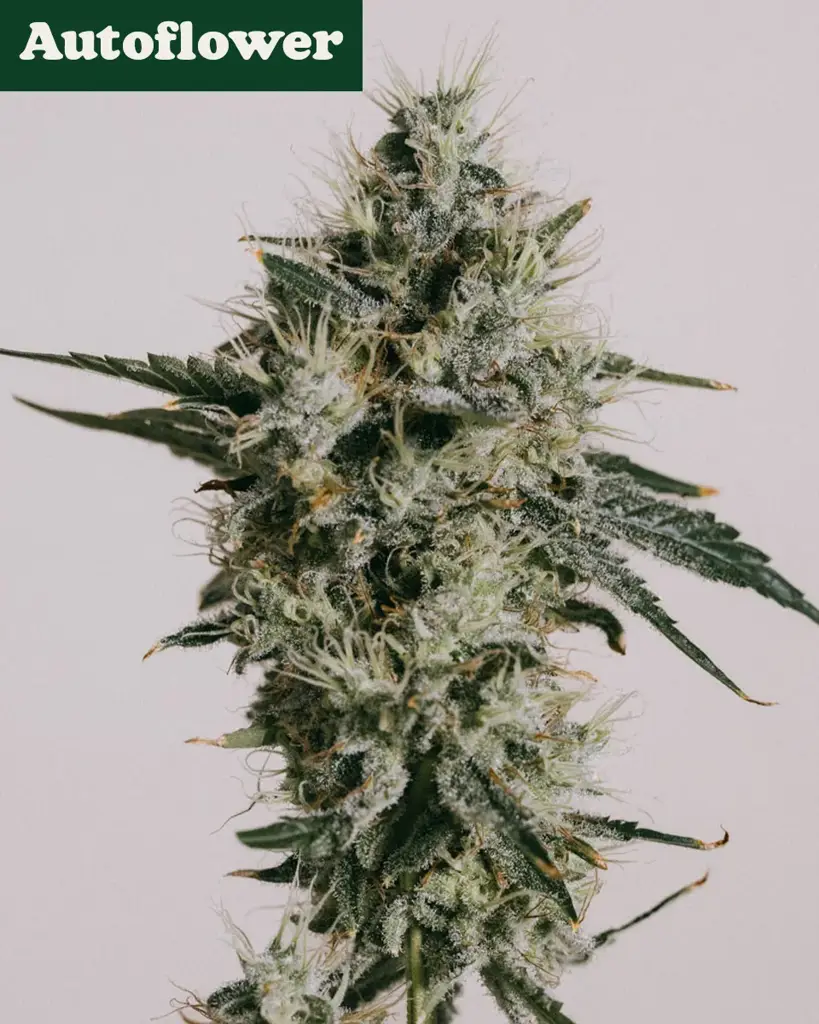
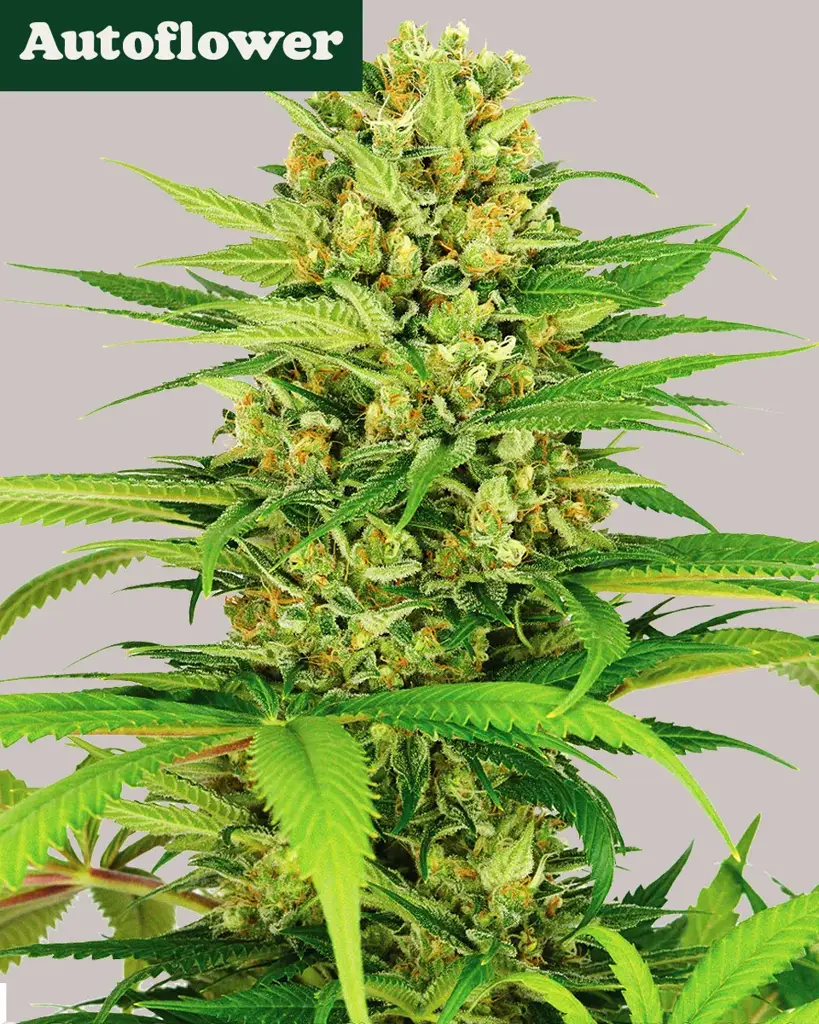
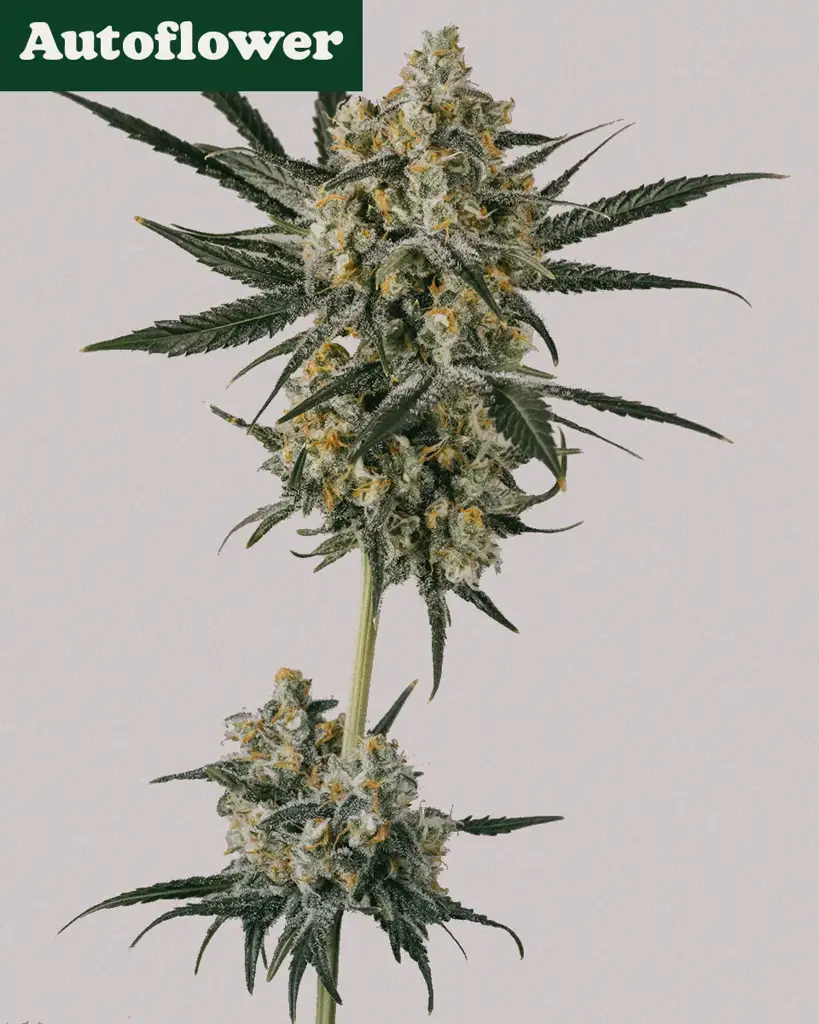
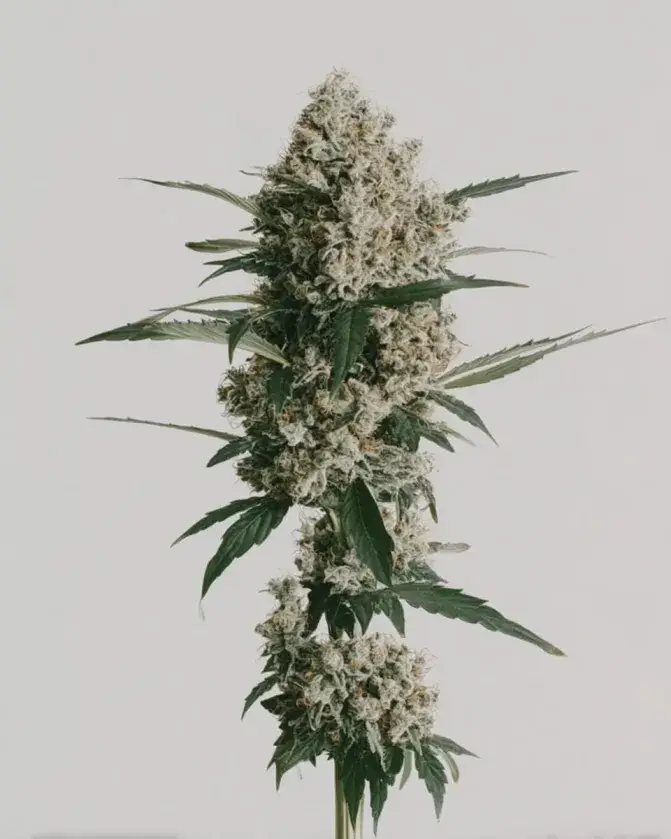
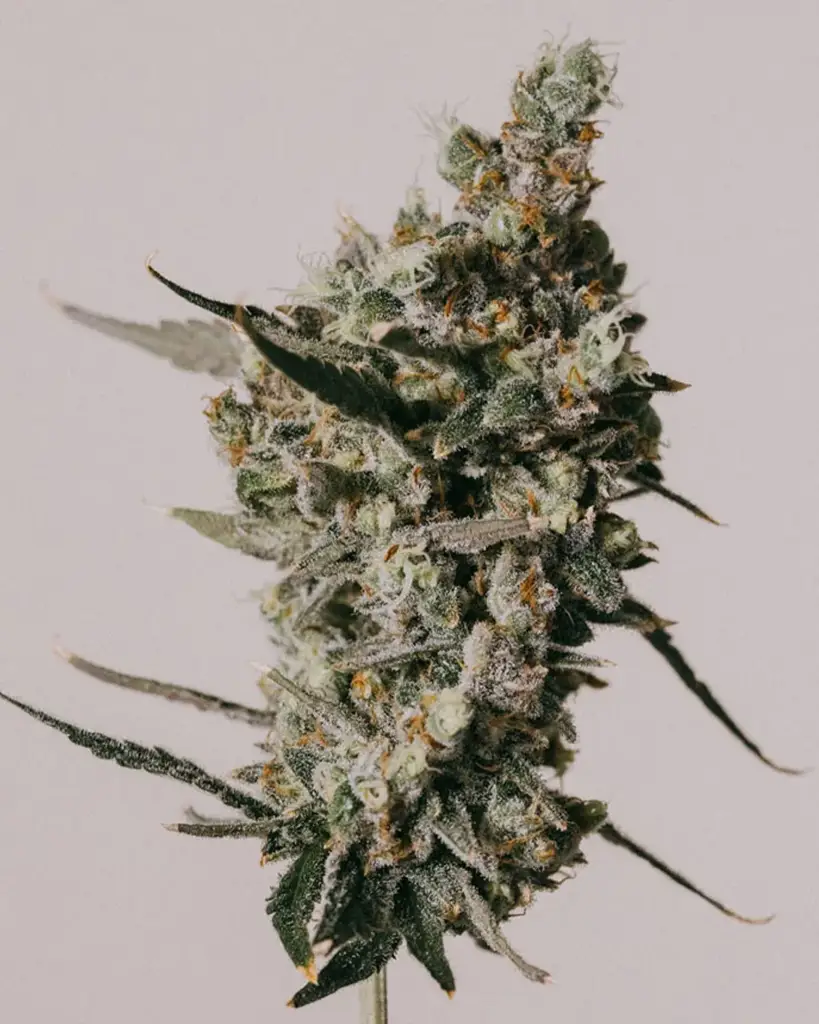
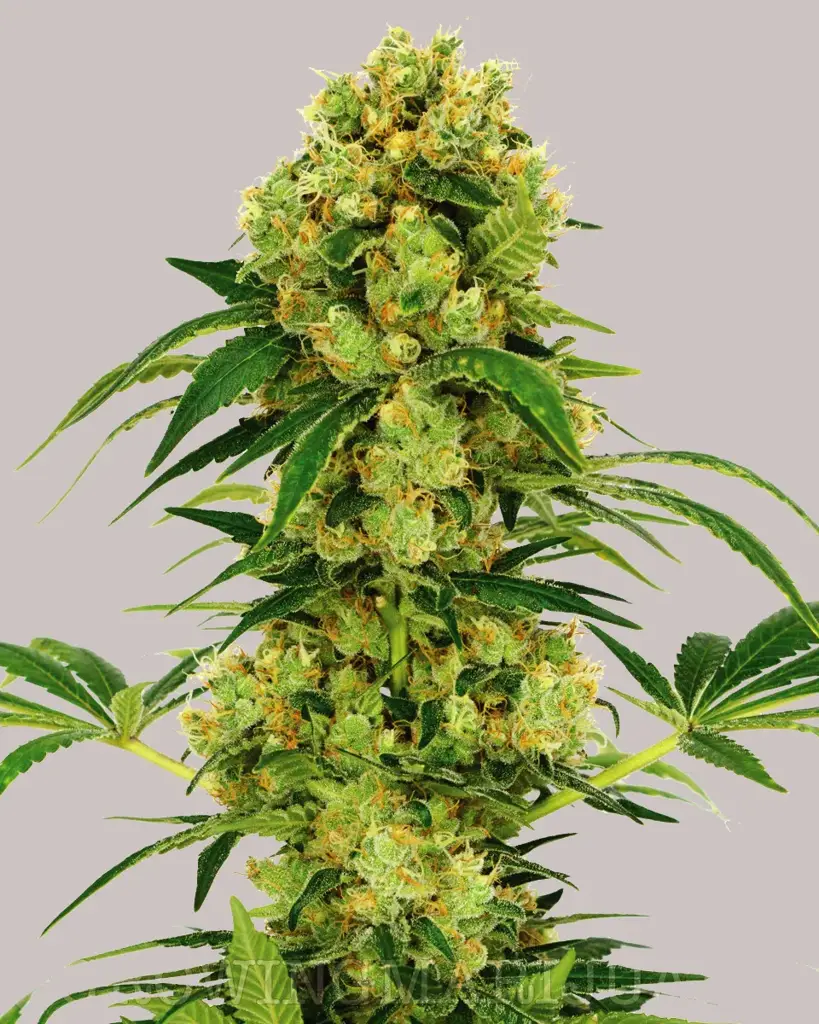
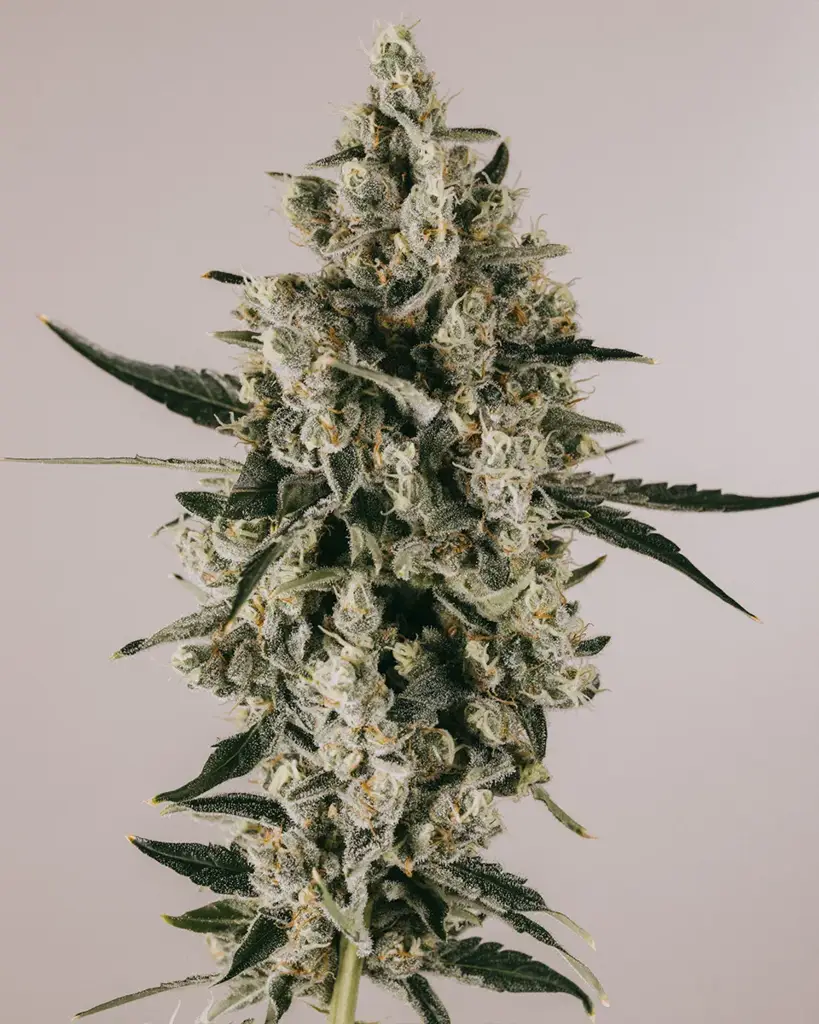
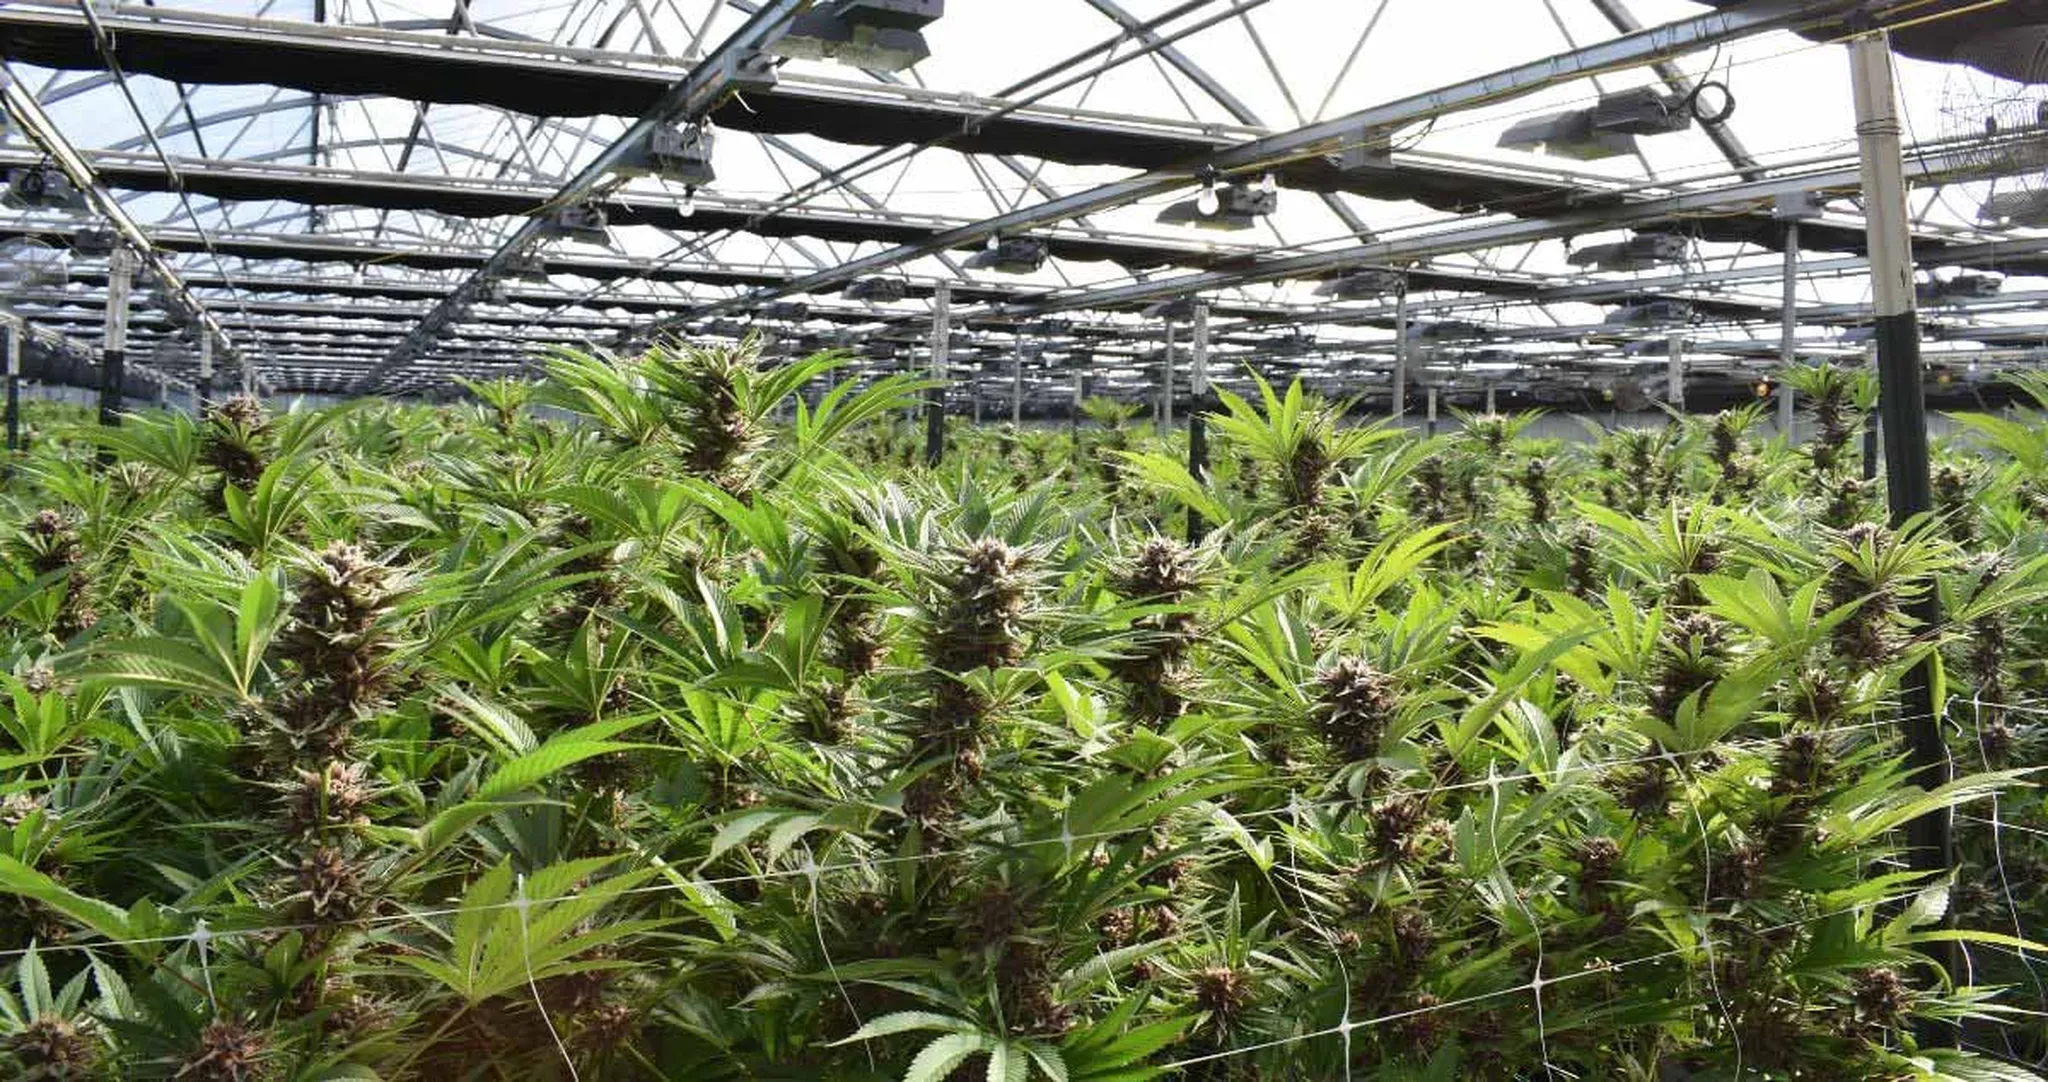
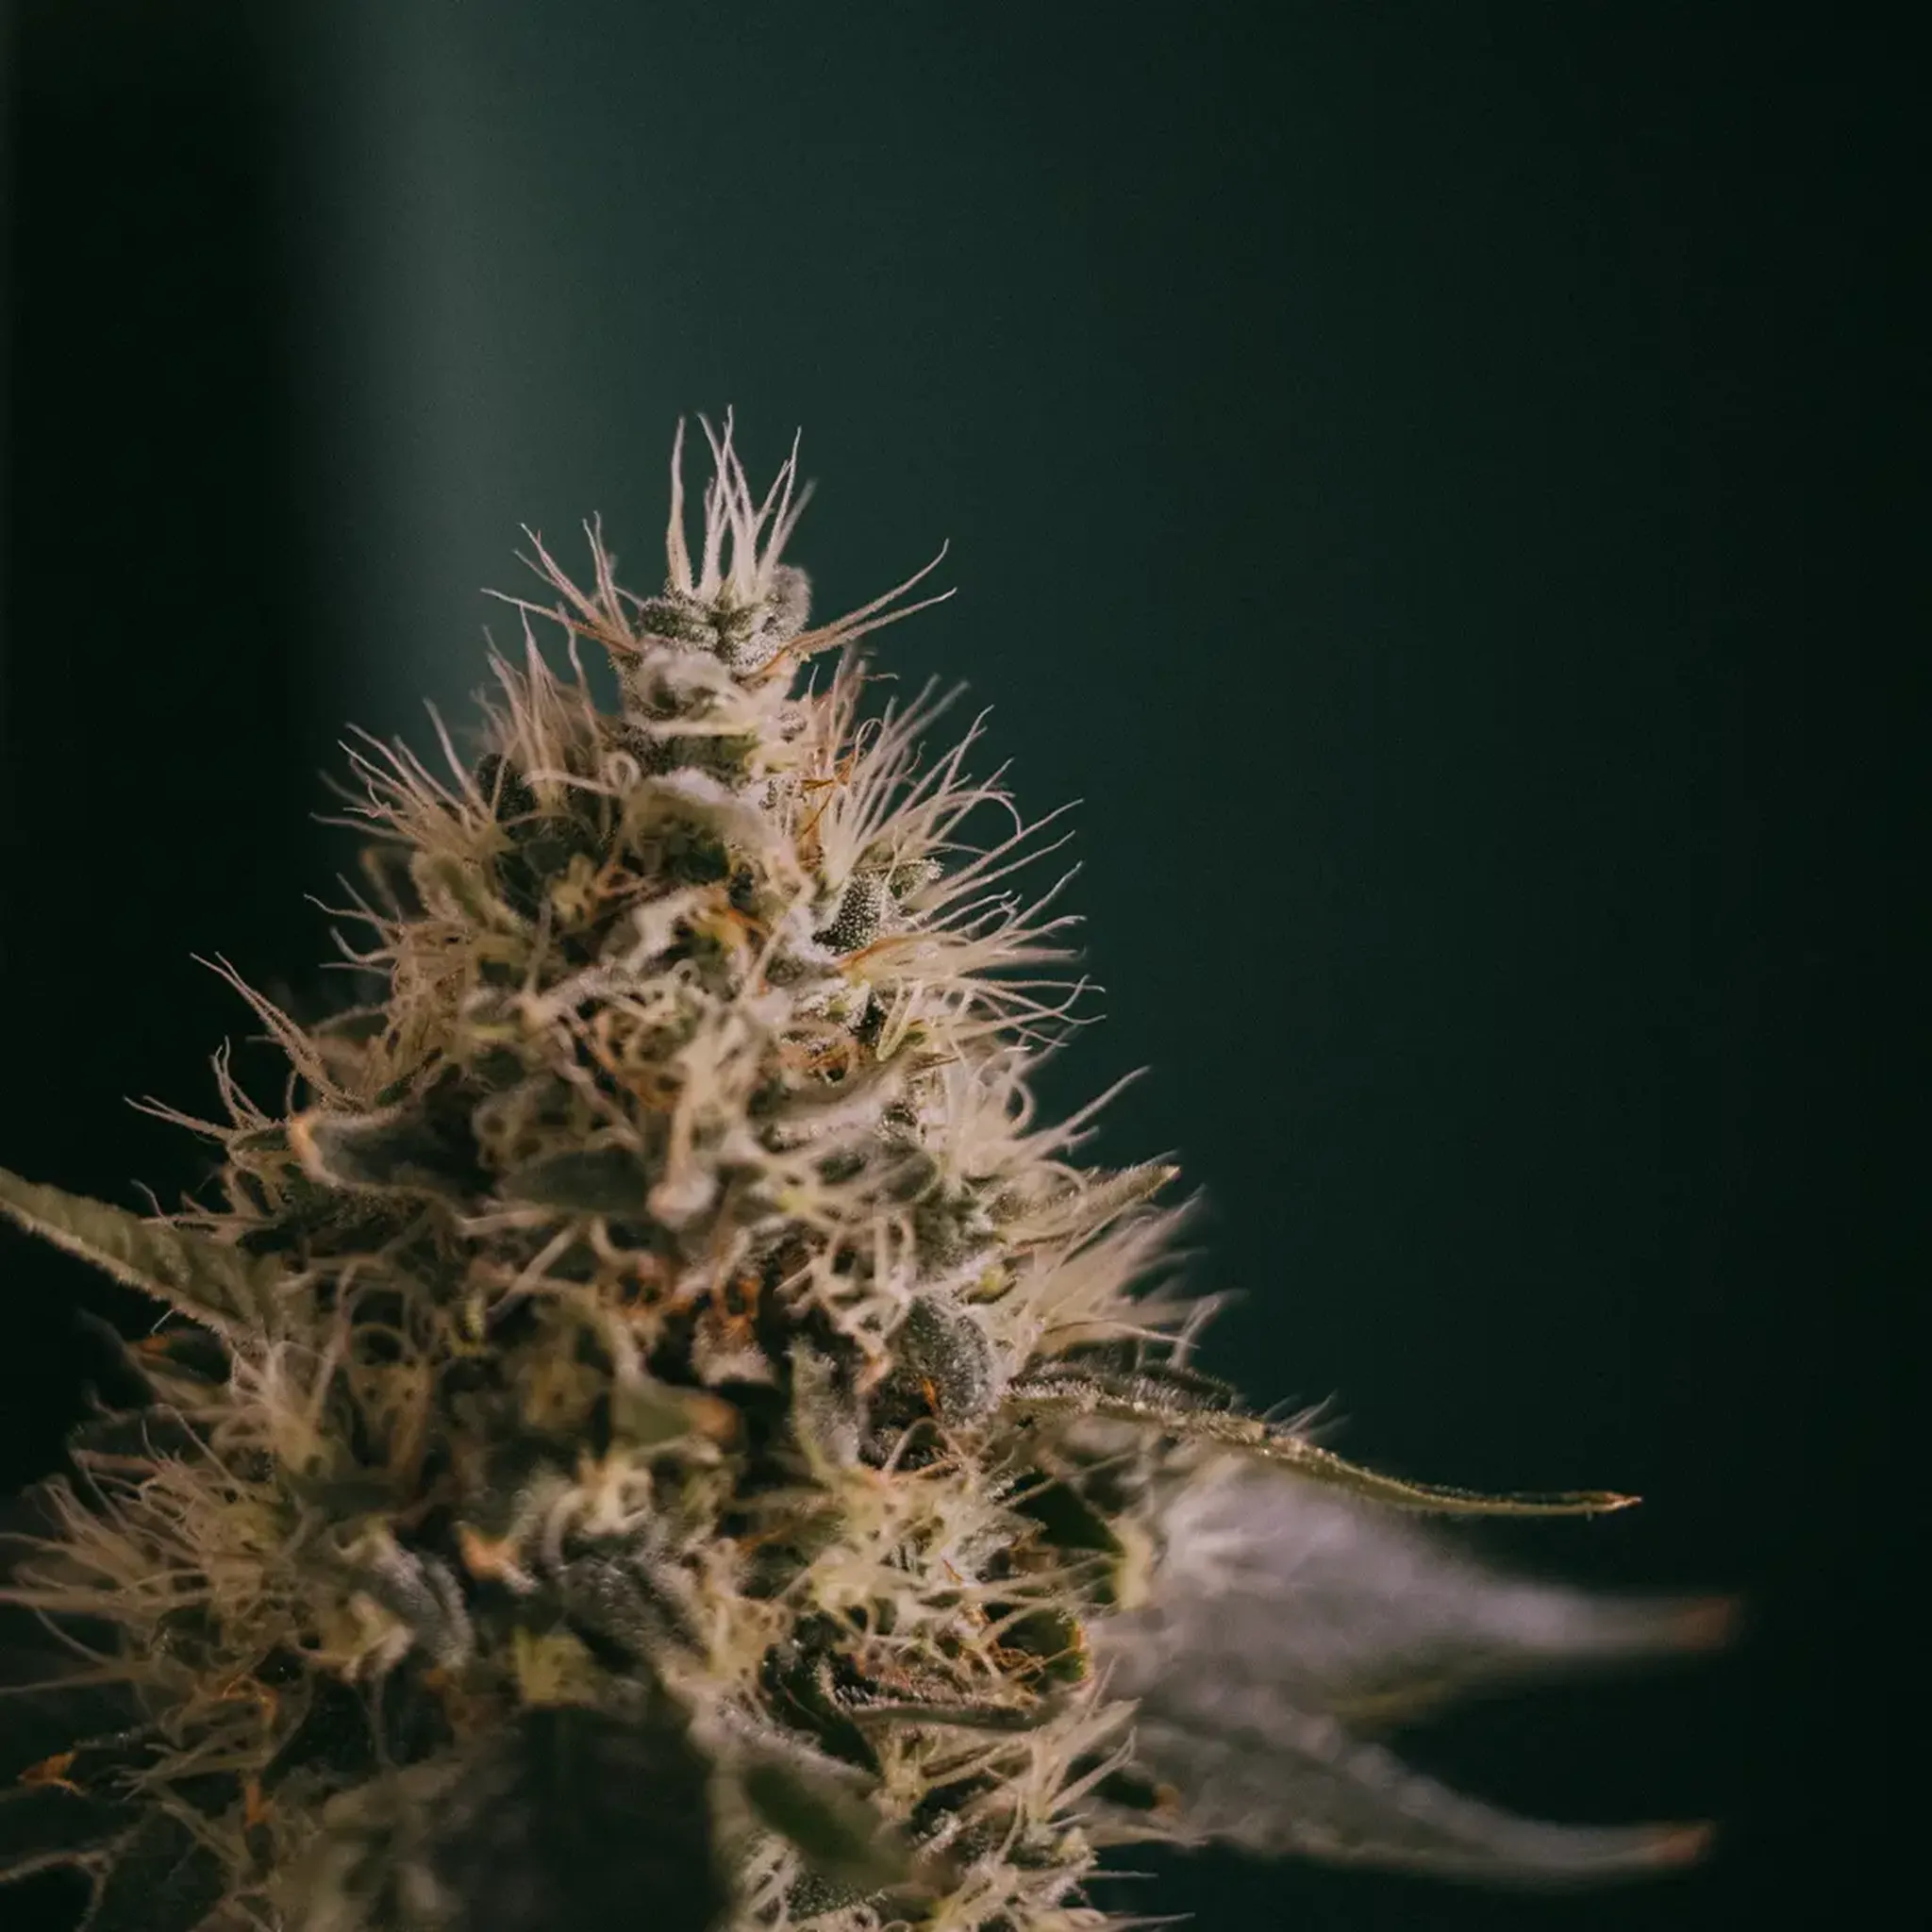
Well done on successfully growing your cannabis plants through the vegetative stage, and now you are ready to flower your plants. This is the phase when you eagerly switch the timer to 12/12 and your plants start forming those juicy, terpene-rich, resinous stacked buds you’ve been striving towards from day one!
Table of contents
- When Does Cannabis Flower Outdoors?
- How to Start the Flowering Stage Indoors
- All About Autoflowering Strains and Their Cycle
- How Long Does the Flowering Stage Last?
- Identifying the Sex of Your Plants
- Best Environment for Flowering Cannabis Plants
- Key Nutrients for Healthy Flower Development
- How Often Do I Water During Flowering?
- Pruning and Defoliation
- Flowering Stages explained
- Pro Tips for Managing the Flowering Stage
- Prepping for Harvest – What to Know
- Avoiding Common Pitfalls During Flowering
Below, I’ll walk you through all the details of flowering cannabis, from flowering indoor cannabis plants, outdoor plants, autos, the best environment for blooming, nutrients, watering, and plenty more, so get ready to become a master of the flowering game and find out why it is such a magical time for a grower!
Too Long, Didn't Read
Outdoor vs. Indoor Flowering: Outdoor plants flower after the summer solstice; indoor plants need a 12/12 light cycle to start.
Autoflowers: Flower based on age, not light changes.
Duration: Flowering typically lasts 7-12 weeks, depending on the strain and genotype (indica or sativa).
Optimal Conditions:
Temperature: 68-75°F (20-24°C)
Humidity: 40-55%
Ventilation: Essential to prevent mold and pests.
Nutrients: Increase phosphorus and potassium; reduce nitrogen as flowering progresses.
Watering: Check the soil before watering; avoid overhydration.
Week-by-Week Progress: Monitor stages for stretching, bud formation, resin production, and ripening.
Common Issues to Avoid: Light leaks, overfeeding, nutrient burn, and plant stress.
Pre-Harvest: Flush with pH-neutral water, monitor trichomes, and prepare for harvest once buds reach peak ripeness.
When Does Cannabis Flower Outdoors?
Outdoors, cannabis plants rely on natural light changes to start flowering. After the summer solstice, daylight hours start decreasing as the days become shorter (winter is coming!). This is when outdoor photoperiod strains enter their flowering stage.
In the Northern Hemisphere, this shift occurs around June 20-22, while in the Southern Hemisphere, it’s around December 20-22. By late summer, you’ll start to see the signs of flowering as plants transition into this phase.
How to Start the Flowering Stage Indoors
The beauty of being an indoor grower with a controlled environment is that you can control when YOU want your plants to flower (unless you’re growing autoflowers).
Simply change the timer on your lights to a 12-hour on/12-hour off cycle. This increase in darkness mimics the natural seasonal changes, signaling your plants that it’s time to bloom. It is during this time when cannabis plants will produce a high level of growth hormones and auxins in an effort to reach as tall and wide as possible (known as the stretch), lasting 21-28 days.
All About Autoflowering Strains and Their Cycle
As the name suggests, these ladies flower automatically. Autos are bred to grow for the first 28 days in a vegetative state and will then start to flower on their own, resulting in a cannabis plant usually between 24-40 inches (60-100 cm) tall.
When planted outdoors from Spring until September, it is possible to grow multiple harvests with easy and almost no maintenance requirements at all, which is what makes these resilient, tough, and extremely reliable seed types so popular amongst the outdoor community. Indoors, it is best to grow autos under 18/6 or 20/4 for the best results.
First Grow?
How Long Does the Flowering Stage Last?

Our Bestsellers
The flowering stage can be based on several factors. Indica cannabis plants will require between 49-56 days. Sativa cannabis is far more demanding and may take as long as 70-84 days, while hybrids can float between 56-65 days.
Light intensity, water, nutrients, temperature, and humidity will also affect how quickly a cannabis plant can flower and how fast the buds are mature and close to ripeness.
Outdoors, you’re usually looking at harvest time around October in the Northern Hemisphere and April in the Southern Hemisphere.
Identifying the Sex of Your Plants
The day you spot your first female pistil will be a day you never forget! I think most of us can agree the stage when cannabis plants reach for the sky and throw out pre-flowers is just as exciting as the harvest date. Identifying the sex of your plants is a case of switching the timer over to 12/12 and, by weeks 2-4, having a closer look at the pre-flowers growing at each internode.
Working with feminized cannabis seeds will guarantee you grow 100% female plants with buds that you can smoke. For the old-school growers who prefer to work with regular seeds and remove male plants later on, do not worry about males, as they will always show up earlier than females and can be easily identified due to the small sacs they grow and safely thrown out by week 4-5.
Best Environment for Flowering Cannabis Plants
Flowering plants thrive in specific environmental conditions. Here’s what to aim for:
Temperature: Maintain 68-75°F (20-24°C) during the day and slightly cooler (65-70°F or 18-21°C) at night.
Humidity: Lower humidity is key for flowering plants—stick to around 40-55%. In the final weeks, some growers drop it even lower to enhance resin production.
Ventilation: Good airflow helps prevent mold and pests, which can ruin buds. Use oscillating fans to circulate air evenly without directly hitting the plants, which can stress them.
Key Nutrients for Healthy Flower Development
It is a good idea to continue to use the same vegetative feed for the first 14 days of 12/12, and then once your plants have entered week 3, to give them a flowering booster that is high in Phosphorus and Potassium. Nitrogen can slow down flower production, so it is best to reduce nitrogen after week 4 or use a flowering nutrient that is 2-5-6 N-P-K, for example. Calcium and magnesium are essential for cannabis plants, so it is best to cover all the bases and have a well-balanced diet.
How Often Do I Water During Flowering?
This depends on how big the plants are, the size of your pots, the growing medium, and your availability. Usually, watering every 48 hours will work well for large-sized pots (4-7 gallons/15 - 25 liter) and every 24 hours for smaller-sized (2 gallon/6.5 liters); however, it is a good idea to water based on how light and dry the growing medium has become to avoid over or under watering. Always use a measuring container and the same volume of water/nutrient solution every time you water your cannabis plants.
Pruning and Defoliation
Careful pruning during flowering can help improve light penetration and air circulation. Early in the flowering stage (weeks 1-3), remove the (bigger) leaves that shade lower bud sites, but avoid heavy pruning later, as it can stress the plant.
Large-sized fan leaves that block lower growth and side branches can be plucked away and removed from the plant. Indica plants are known for light-blocking shading fan leaves, so be extra vigilant when working with indica-dominant strains.
Flowering Stages explained
Flowering is often divided into weeks, each with distinct changes in plant growth. Let’s break down the flower stage week by week in pictures and descriptions. The following step-by-step guide is based on a 9-week flowering strain.
Week 1: The Flip – Starting the Flowering Cycle
After switching to a 12/12 light cycle, plants enter the pre-flowering stage (weeks 1-3). During this time, they start stretching and grow tall and bushy.Week 2: First Sign of Pistils and Pre-flowers
Female cannabis plants produce pistils as early signs of flowering. White hairs will begin to appear at bud sites, indicating the onset of flowering.Week 3: End of the Stretch and Start of Flower Production
Plants may double or even triple in size as they stretch to accommodate bud production. This growth spurt typically slows by the end of the week. This is a good time to check for any male plants and remove them!Week 4: The Development of Buds
Buds start to bulk up, and you’ll see early resin production. If you haven’t checked for any male plants and removed them by this time, you should start doing that now!Week 5: Fattening Buds, Resin Production and Aroma Development
Trichomes—the tiny resin glands—start forming on buds, producing that sticky, fragrant coating. Your grow room will also start to smell more pungent.Week 6: Terpene Development and Buds Bulk Up
Buds continue to thicken, and the terpene profile becomes complex and aromatic.Week 7: Buds are Swelling With Loads of Resin
The buds are now as fat as they can be, with swollen Bracts that are getting chunky and compact to squeeze.Week 8: Assessing for Harvest Timing
Buds reach their maximum size, and more pistils darken, making it a 75% ratio of brown to white hairs. At this point, it’s essential to monitor trichome color and overall bud condition.Week 9: Final Inspections and Preparing for Harvest
When you are happy with the density, aroma, and resin production, check the trichomes to see if they are clear, milky, or amber. Prepare your drying space and gather your trimming tools.
Pro Tips for Managing the Flowering Stage
Below are some top tips for you to consider to make sure you are on the road to abundant yields and a world-class crop.
Train Before Flowering: Avoid any high-stress training once flowering starts, as it can reduce yield and can cause trauma and stress.
Light Discipline: Make sure there are no light leaks in your grow space. Even minor light exposure during the dark period can disrupt flowering. Light breaks during periods of darkness can cause plants to hermaphrodite and produce seeds.
Steady Nutrients: Introduce flowering nutrients gradually and avoid overfeeding. Too many nutrients can lead to nutrient burn and stunted growth. Follow the feeding charts that come with your fertilizers and check your pH and EC levels.
Prepping for Harvest – What to Know
You are close to the finishing line now, and the final stage after the flowering period is to prepare for harvest. Below are a few pointers that will help make the final stage of your first-ever crop resistance-free and smooth sailing.
Flushing: Give your plants only pH-neutral water in the last week to remove excess nutrients, which can affect flavor and smoothness and reduce salt levels in the buds.
Humidity Control: Lower humidity to around 30-40% if possible. This minimizes pathogens such as mold and enhances resin production.
Prepare Drying Space: Clean your trimming tools, set up drying racks or drying nets, and make sure your space has proper ventilation and is totally smell-proof using a carbon filter and extractor.
Avoiding Common Pitfalls During Flowering
Being able to identify these mistakes in advance can make or break your crop, so below are a few of the most common mistakes to avoid and what to look out for.
Avoid Overfeeding: Resist the urge to add extra nutrients. A good feeding schedule should be enough, and overfeeding can stress plants and influence the flavor of your nugs.
Monitor Light Burn: If buds are developing unevenly or showing signs of heat stress, then the lights may be too close. Adjust as needed to prevent light burn.
Harvest Timing: Harvesting too early or too late can impact the final product quality. Use trichome color as a reliable gauge for the best harvest timing.
By following these steps and keeping a close eye on your plants’ needs, you’ll maximize both yield and quality. Flowering is the time when you have to work hard to make sure that every requirement is covered and the plants have everything they could ask for.
Pay close attention to temperature and humidity and always have good airflow and circulation around the plants. Have an awareness of all the potential problems that may arise, and anticipate the best…
Good luck and peace out!
Continue Reading
You might also find these interesting.


