A Beginner's Guide To Curing Cannabis
Finally, the time has come. You’ve grown your first crop of beautiful cannabis flowers, harvested your buds (I hope you kept your trimmings; those are useful), and they look amazing—but wait! Before you light it up, there’s an essential final step that turns “meh” weed into MAGIC weed.
Table of contents
Yup, I’m talking about curing. Never heard of it? Well, in this guide, I'll walk you through everything you need to know to cure your weed (or bud—whatever term you prefer).
Proper curing will ensure that all your hard work is rewarded with the best possible experience when it's time to kick back and enjoy the fruits of your labor.
Too Long, Didn't Read
Why to cure? Curing weed is a process that happens after drying your buds, crucial for preserving cannabinoids, enhancing flavor, and maintaining potency.
How to cure properly? Proper curing turns fresh weed into a smoother, aromatic product that tastes great and burns just right, minimizing harsh throat burn.
What is Curing, and Why is it an Essential Final Step?
If you skip the curing step, your A-grade strain you've worked so hard to cultivate may end up tasting like dry grass and chlorophyll. Curing is the controlled process of aging and drying cannabis after the initial harvest. Think of it like aging fine wine or cheese—only, in this case, we’re enhancing the flavor, aroma, and potency of your weed. Curing gives those buds their smooth smoke while improving the taste and even extending its shelf life. The goal here is to maintain the terpenes and cannabinoids you’ve worked so hard to grow.
Our Bestsellers
What Does Curing Do to Weed?
When you cure weed properly, you're allowing the chemical processes inside the flower to settle down and stabilize. Natural enzymes within the plant slowly break down the chlorophyll, which helps reduce that grassy or vegetal flavor. The terpenes and cannabinoids also fully develop, giving your buds their peak aroma, taste, and potency.
Why Should You Cure Bud?
You might wonder, "Do you need to cure cannabis at all?" Well, if you enjoy harsh, flavorless “ditch-weed” that's embarrassing to share, then no, you don't. But if you prefer bud that’s potent, flavorful, and gives you that smooth smoking experience that you're after, then Yes - curing is 100% a must.
The curing process ensures a smoother smoke, better flavors, and more developed aromas—basically, it transforms your buds into something worth sharing.
First Grow?
How to Cure Weed: A Step-by-Step Guide
Alright, let's do this. This is where the magic really happens—getting your weed to that next level.
1. Prepare Your Environment
To cure weed properly, you need a cool, dark environment. Aim for a temperature between 60-70°F (15-21°C) and humidity levels between 58-62%. A dark cupboard, closet, or specialized curing tent works well. Keeping your weed in the dark helps to prevent the degradation of cannabinoids and terpenes due to exposure to UV light.
2. Put Your Flowers in Proper Containers
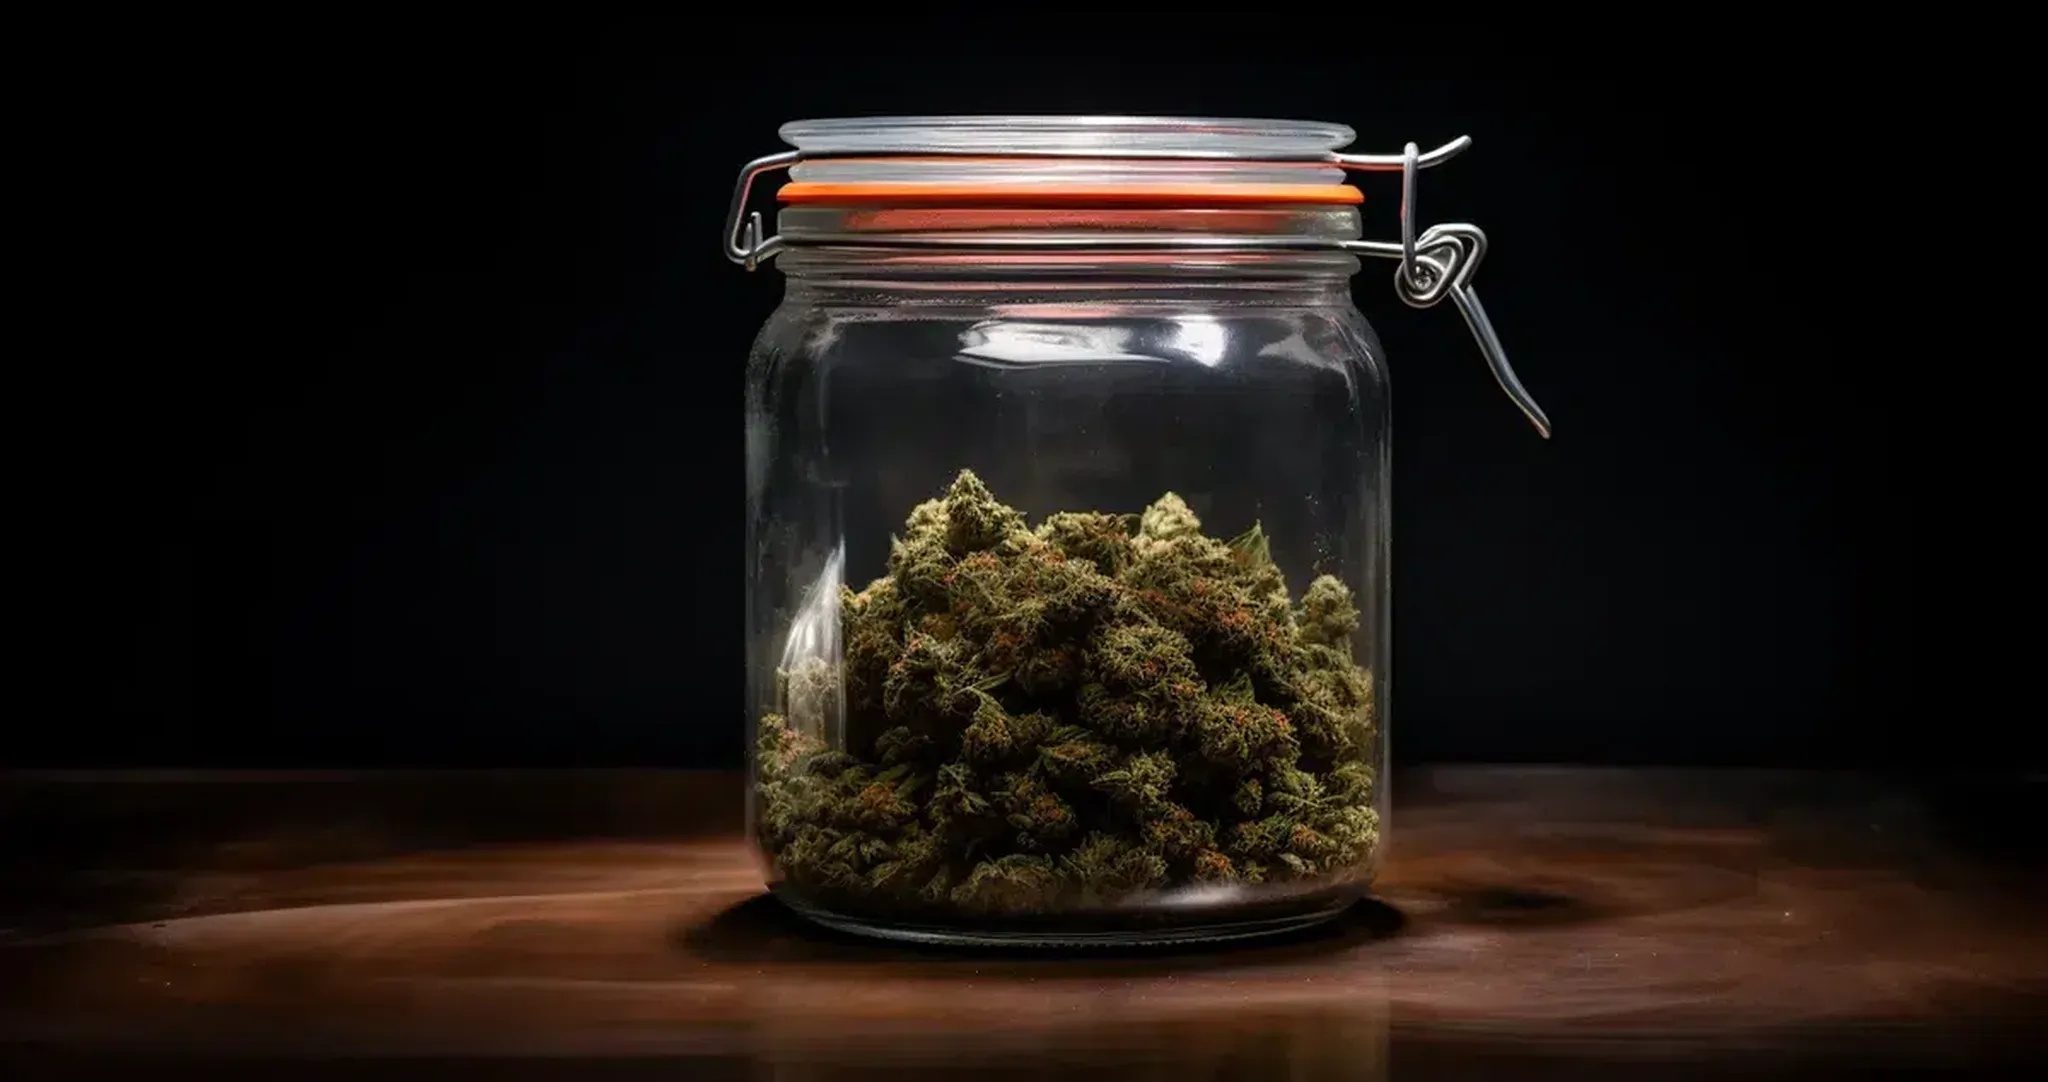
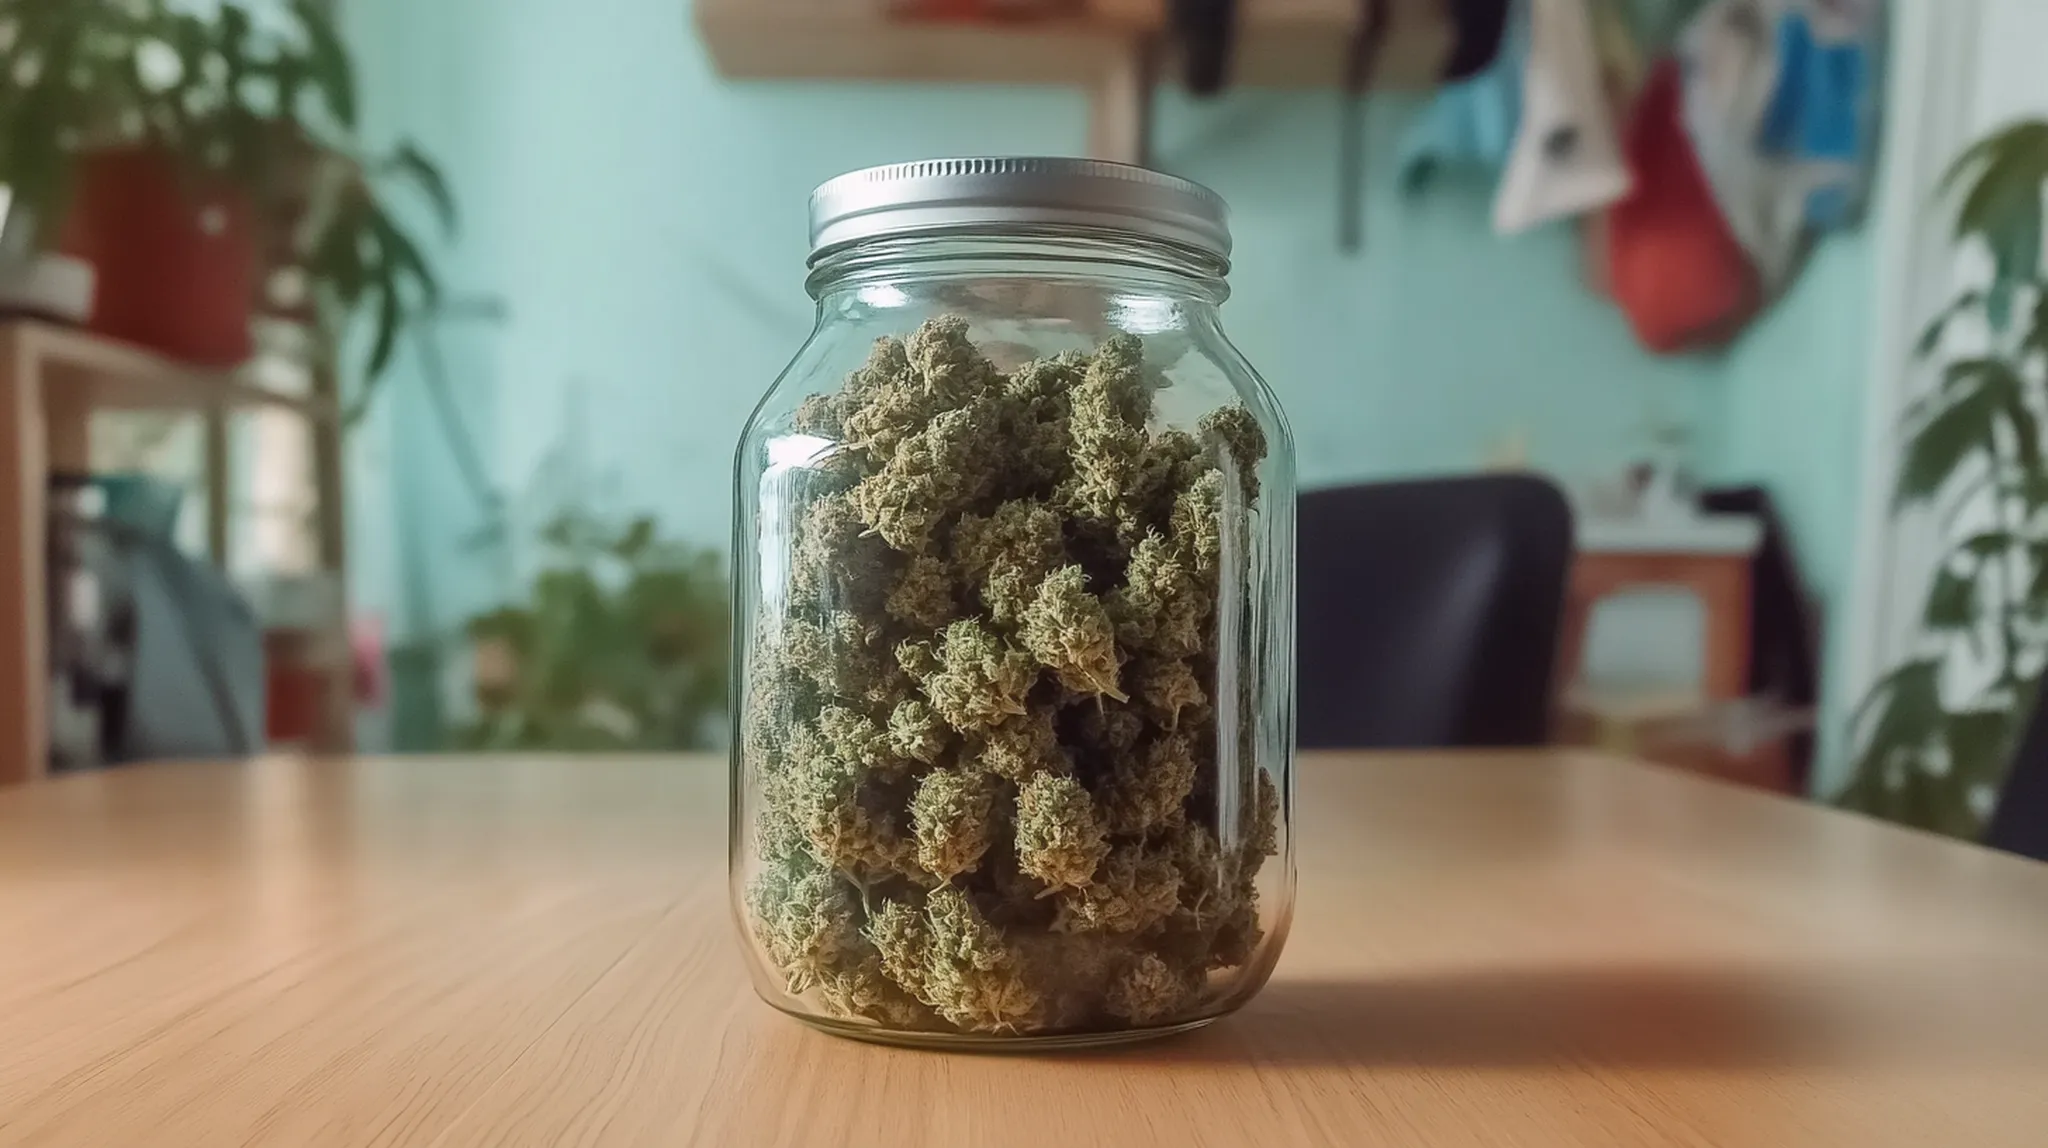
Once your buds have dried, place them in airtight containers for curing. Mason jars are a popular choice since they are easy to clean, recyclable and they don't leech harmful chemicals like plastics do.
Miron jars are also favored for their UV-blocking properties, which help preserve quality. You should fill your jars about 75% full to leave some wiggle room, which allows for a bit of airflow while maintaining enough humidity to cure the buds evenly.
Labeling your jars with details such as strain name, date, and environmental conditions is also a great habit to keep track of your curing process.
 3. Monitor Humidity and Temperature Levels
Humidity control is absolutely key in the curing process for weed. I always recommend getting a small hygrometer for each curing jar to monitor humidity. Keep the range between 58-62% to avoid mold while preserving your buds’ quality. If the humidity levels are higher than 65%, you risk mold growth, which could almost certainly ruin your entire harvest.
No one likes to smoke mold, don't do it. If you find that the humidity is too high, you can leave the jar open for a few hours to let excess moisture escape.
4. “Burp” Your Jars
For those using traditional jars, burping is a must. Burping means opening the jar for a few minutes to let excess moisture and CO2 gasses out, especially during the first couple of weeks. At first, you can burp your jars daily—then you can reduce it to every few days as the moisture stabilizes. This helps keep that dreaded mold at bay and ensures an even cure.
During this process, you can also get a whiff of how your buds are developing, aiming for an inviting, aromatic smell. If you notice any unpleasant, ammonia-like smell, it means your buds are too wet, and you should let them dry out a bit more before continuing with the cure. Don't rush the process since good things are worth waiting for.
How Do You Tell If Buds Are Dry Enough for Curing?
Before curing, it’s important to make sure your buds are dry enough. Here’s the trick: give a stem a little snap. If it breaks cleanly, with a nice snapping sound, you’re good to go. If it bends without snapping, they need more drying time.
Getting this right is the difference between perfect buds and moldy heartbreak. The outer leaves should feel dry to the touch while the inside still retains some moisture—this balance is essential for proper curing.
How Long to Cure Weed for the Best Results?
So, how long should you dry buds before jarring them up for curing? Generally, the initial drying process takes about 7-14 days. Then curing cannabis properly means leaving it in jars for at least 2-4 weeks—though the longer you can wait, the better.
Some people cure for months to maximize flavor and smoothness, but two weeks is the absolute minimum if you’re eager to sample. For the best results, you want to aim for at least six weeks of curing.
Does Curing Bud Increase Smell?
Most certainly. That's half the reason we’re curing weed in the first place. The curing process helps cannabis release that signature, pungent aroma as the terpenes and other aroma compounds stabilize and mature.
When you open a properly cured jar of weed, the smell should hit you like a wave—fragrant and complex, without any hint of grass. Remember, the aim here is to get rid of that wet plant fragrance and not have your weed taste like you just mowed the lawn. This is when you know your hard work has paid off and the aroma compounds are doing their job.
Is It Ever Too Late to Cure Weed?
If your buds have already dried and have been stored improperly, it might be too late to get a perfect cure, but it’s always worth a shot. If they haven’t been exposed to too much air or light, you can still pop them into jars and begin curing. With some luck, it might still improve the flavor and aroma somewhat (unless it was horrid weed to begin with). Just know that the sooner you start curing after the drying process, the better the results will be.
What Containers Should I Use to Cure My Bud?
Traditional mason jars are tried and true, providing an effective and reliable environment for curing your cannabis. Miron jars are also a favorite nowadays, as they block UV light and help preserve the quality of your buds. The single most crucial factor of curing containers is their airtightness. As long as you can control the other elements like humidity, temperature, and UV exposure, an airtight container will help you cure your buds correctly.
Novel Curing Techniques: Grove Bags and Terploc Technology
Grove Bags with Terploc technology are becoming a popular choice among growers looking for convenience without sacrificing quality. These nifty bags are designed to self-regulate humidity, which means you don’t have to worry about burping them like you do with mason jars. They also block UV rays, so no extra cupboard space is needed. These features make Grove Bags an excellent option for those who want a more hands-off curing process while still getting high-quality results. We truly are living in the future.
Can I Cure My Buds Without Trimming?
Sure, you can—but why would you want to? Curing cannabis without trimming means extra leaf material may hold more moisture, which could increase your risk of mold. Most growers trim first for a more even and consistent cure, leaving you with more visually appealing nugs and a bucket of trim to make hash with. Sounds like a win-win to me. If you decide to cure without trimming, please make sure to monitor humidity levels even more carefully to prevent any unwanted moisture build-up.
 What Tools Do I Need to Cure Bud Properly?
You don't need much to cure your buds well—just airtight jars or Grove Bags, a hygrometer for monitoring humidity, and a cool, dark space for storage. If you’re using jars, humidity packs like Boveda can help stabilize the curing environment, making the process a little more forgiving. It’s also handy to have a thermometer to keep track of temperature, ensuring it stays within the ideal range.
 How Do I Know When My Buds Are Cured?
I know, it's a waiting game, and no one likes to wait, but trust me, the reward is worth it.
Your buds are ready when they’re dry to the touch but still slightly sticky, and the smell has matured into something rich and inviting. When you give them a little squeeze—they should be firm with a little bounce-back, not crumbly.
When smoked, properly cured weed should go down smoothly. Harsh smoking weed is likely to be undercured.
Another good indicator is how the bud feels when you break it apart. It should have a slight “snap” without feeling overly brittle.
Can You Over-Cure Bud?
Yes, but it’s hard to do. Over-curing typically just means the buds are stored for too long, and while they’ll still be smokable, some of the terpenes and cannabinoids might have begun to degrade. Aim for 3-6 weeks of curing, then transfer to long-term storage. Over-curing past the 6-months mark may result in less flavorful weed, but it won't render it unusable.
What About Curing Hash?
Curing isn’t just for flower—hash can also benefit from a cure. It deepens the flavor and aroma, similar to the effects seen with cannabis flower. Aged hash has even become something of a delicacy among enthusiasts.
The process is similar: keep hash in an airtight container, ideally in a cool, dark place, and let it sit for several weeks. This allows the terpenes to develop fully, giving the hash a richer taste and smoother smoke.
Summary: The Benefits of Curing Cannabis
So there you have it, we’ve gone from seed to harvest to curing, and now your buds are ready to be packed in a bowl and enjoyed. Curing is one of the most valuable steps in the whole process, ensuring that your buds taste better, smell richer, and are smoother to smoke. This crucial step will preserve the cannabinoids, terpenes, and other volatile compounds that give weed its character, and it will help make your hard work worthwhile with a better product.
Whether you're just learning how to properly cure cannabis or exploring newer methods like Terploc bags, the process is key to getting the most out of your harvest.
Good luck and happy curing, friends!

Roach
Roach, a 20+ year cannabis enthusiast, activist & storyteller, blends humor, art & expertise—crafting words, strains & macabre masterpieces.
Continue Reading
You might also find these interesting.


