A Beginner's Guide To Drying Cannabis
Drying cannabis properly is one of the most important steps to ensure a quality harvest. This guide will simplify the drying process, showing you why it's crucial, how to do it, and how to make sure you're on the right track.
Table of contents
- Why Is Drying Cannabis Important?
- A Step-by-Step Guide on How to Dry Cannabis
- How Long Does It Take to Dry Cannabis?
- What’s the Difference Between Drying and Curing?
- Tools and Equipment for Drying Cannabis
- Common Issues During the Curing Stage
- How Should Cannabis Smell During Drying?
- Final Thoughts on Drying Cannabis
If you're a home grower looking for the best way to dry your buds without the fuss, you’re in the right place. Let's get into it!
Too Long; Didn't Read
Poor Drying Can Ruin Your Crop
Drying takes patience — rushing will only harm your hard work.
Proper drying enhances terpenes, prevents mold, and ensures a smoother smoke.
Drying helps break down chlorophyll, reduces moisture, and keeps your buds flavorful.
Branch hanging is an easy method for home growers, and I’ll guide you through how to know when your weed is ready to cure.
Why Is Drying Cannabis Important?
Drying your cannabis properly is key for a good smoke. If there’s too much moisture left in your buds, you could end up with mold or mildew — and no one wants to throw away months of hard work. Proper drying also preserves the terpenes and cannabinoids, giving you that smooth, flavorful smoke you’ve been dreaming about.
Drying Methods and Techniques
Here are some common ways to dry your cannabis, along with their pros and cons. Let’s see which one fits your setup best.
Branch Hanging
The most traditional and beginner-friendly method. It involves cutting the cannabis into smaller branches and hanging them upside down in a controlled environment. It’s simple and lets your buds dry evenly. If you have the space, this is the best method for preserving flavor and potency.
Whole Plant Hanging
This method involves hanging the entire plant upside down. It takes longer to dry since the plant retains more moisture, which helps preserve terpenes and cannabinoids. This can be a great option if you have space and want to slow down the drying process for higher quality.
Rack Drying

Using drying racks is another option, especially for high-humidity environments. You can cut the buds off their branches and lay them on racks. It’s great for thorough aeration, but the downside is the potential for uneven drying and buds losing their shape. This is best used when space is tight, or humidity is an issue.
Quick Dry Methods
Some growers try quick drying with microwaves, ovens, or heaters, but let me be honest — don’t do it. Quick drying methods will degrade your cannabis and leave you with harsh, low-quality buds. The best cannabis takes time, so patience is key here.
Freeze Drying
Freeze drying requires specialized equipment and isn’t really suitable for home growers unless you’re into extractions. If you’re just looking to dry your cannabis buds, skip this method for now.
What’s the Best Method for Drying Cannabis?
For most home growers, branch hanging or whole plant hanging are the go-to methods. They’re straightforward, preserve quality, and ensure even drying. If space is tight, rack drying can work, but be mindful of drying time and bud quality.
Setting Up a Cannabis Drying Room
The ideal environment is crucial for drying cannabis correctly. Most growers use the 60/60 method: 60°F (15.5°C) and 60% relative humidity. This keeps your buds from drying too fast, preserving flavor and smoothness. If you need a bit of flexibility, you can stay between 60-70°F (15.5-21°C) and 45-60% RH, but avoid going over those numbers — high temperatures can lead to harsh, brittle buds, while too much humidity risks mold.
Our Bestsellers
A Step-by-Step Guide on How to Dry Cannabis
Step 1: Cut Branches to Hang
Cut your cannabis plant into 12-18-inch branches. Shorter segments are better for humid environments, while longer ones work for drier areas.
Step 2: Remove Large Fan Leaves
Removing the big fan leaves helps improve airflow around your buds and speeds up drying. You can decide whether to wet trim (before drying) or dry trim (after drying). Just remember, more plant material means longer drying time.
Step 3: Hang Your Branches

Hang the branches upside down in a dark space with good airflow. Make sure the buds have enough room — stagnant air can ruin the quality.
Step 4: The Snap Test
Check your buds daily. When the smaller stems snap cleanly between your fingers, they’re ready. As a tip, take a few buds and put them in a plastic bag for a few hours. If there’s condensation, give them a few more days to dry.
How Long Does It Take to Dry Cannabis?
Drying typically takes 7-14 days, depending on your environment. Stick to a slow and steady pace to get the best results.
How Do You Know When Cannabis Is Dry Enough?
Your buds are ready when they pass the snap test — the smaller stems should break instead of bending. They should feel dry to the touch but not crumbly and have a fuller, richer aroma.
First Grow?
What’s the Difference Between Drying and Curing?
Drying removes most of the moisture, making the buds ready for long-term storage. Curing, on the other hand, is about aging those buds to enhance flavor, smoothness, and potency. Think of it like letting a fine wine age — it’s where the magic really happens.
Cannabis Drying Ideas: How to Dry Buds
If you’re growing outdoors or don’t have a dedicated drying space, you can use a makeshift drying area like a shed or garage. Just make sure to control the temperature and humidity. The best way to dry cannabis outside is to keep it out of direct sunlight, as light degrades cannabinoids.
How to Dry Cannabis Quickly (If You Must)
I don’t recommend quick drying, but if you really need to, you can use a dehydrator on the lowest setting. Remember, this will impact flavor and potency, so only use it as a last resort.
Tools and Equipment for Drying Cannabis
Drying Rack or Wires – To hang your branches or buds.
Hygrometer – To monitor temperature and humidity levels.
Fan (not directly on buds) – For airflow.
Dehumidifier or Humidifier – To adjust your drying environment.
Common Issues During the Curing Stage

Mold Growth: This happens if buds are too moist when curing begins. Always make sure your buds are dry enough before curing.
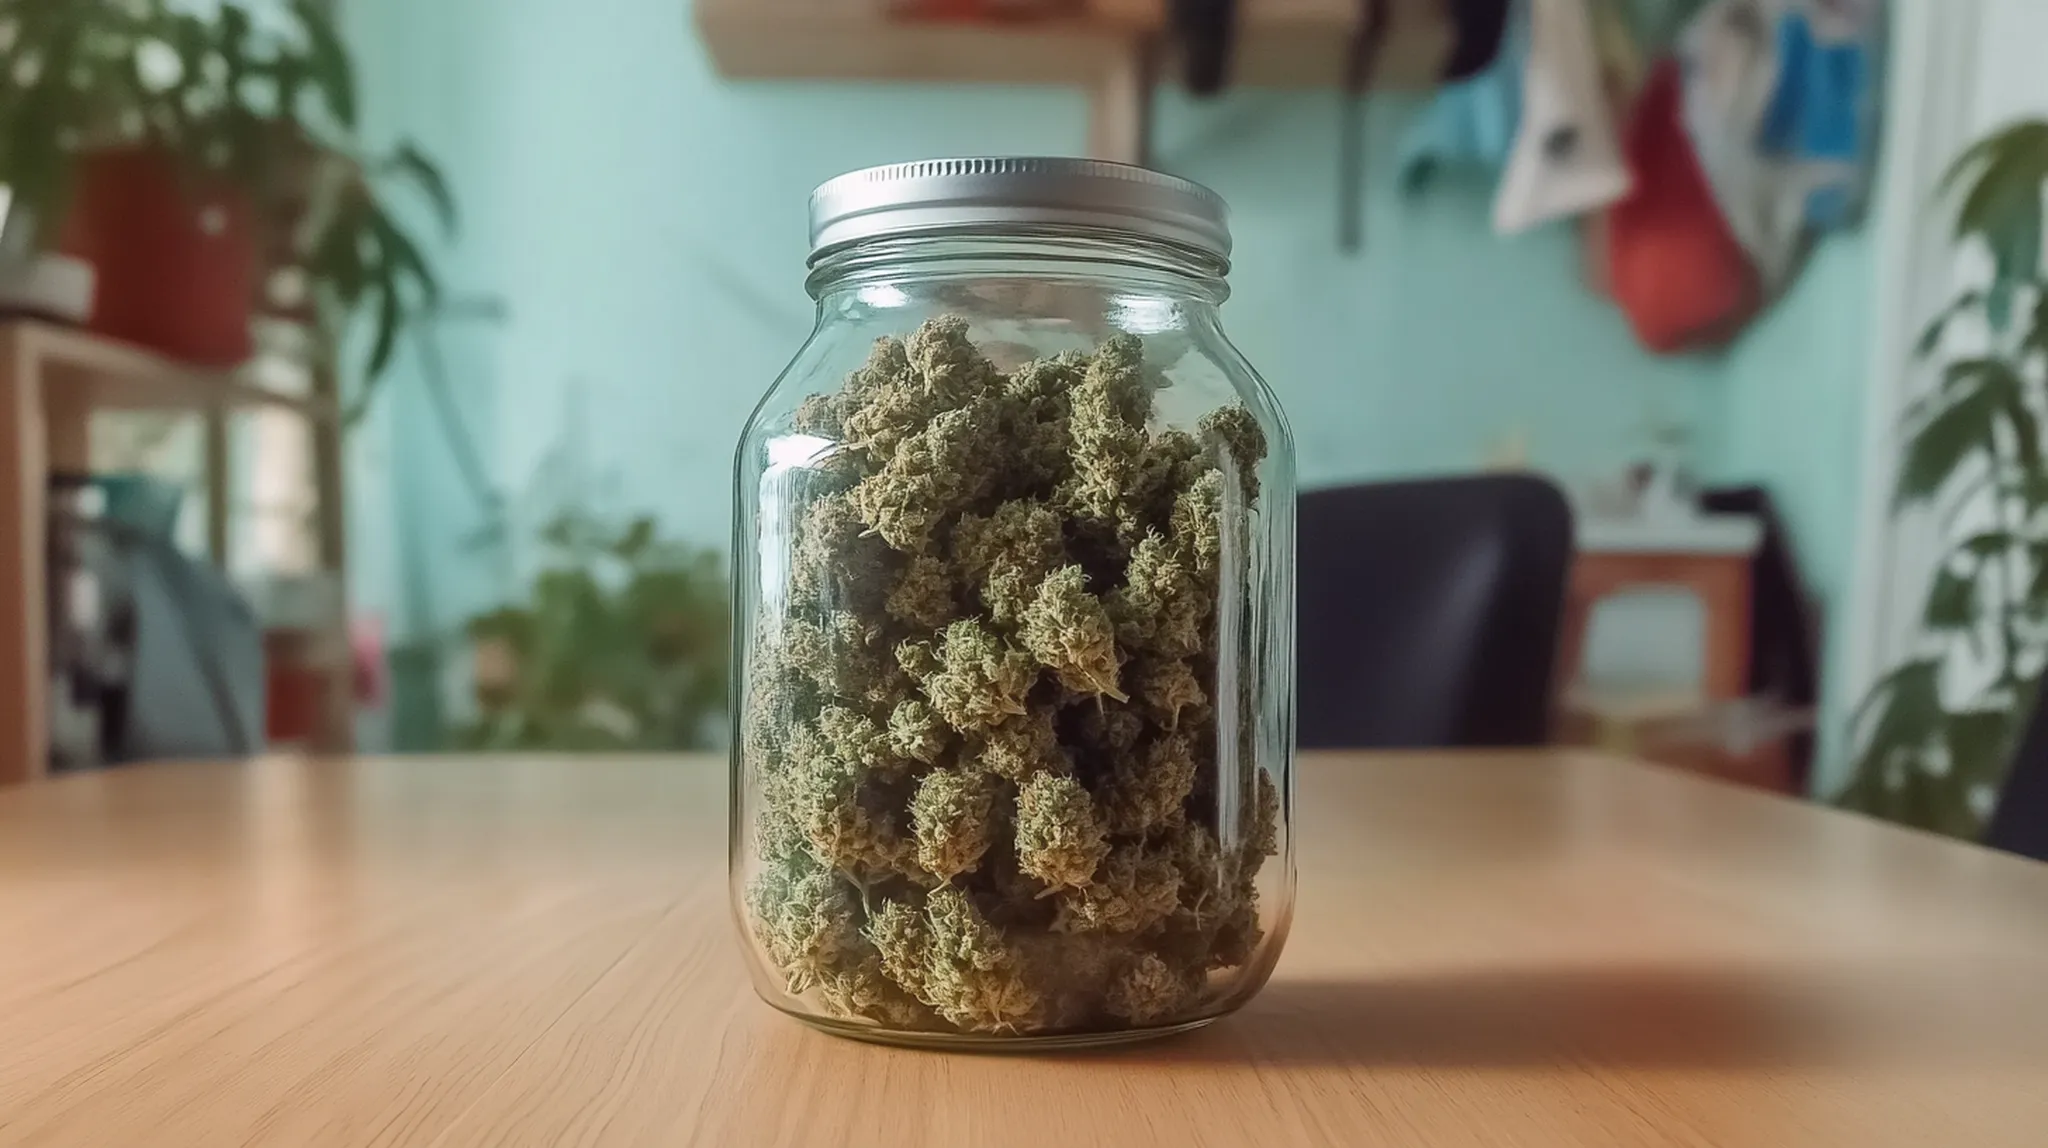
Overdrying: If buds are too dry, they might lose flavor. You can add a humidity pack to the jar to bring moisture back.
How Should Cannabis Smell During Drying?
Your drying buds may smell a bit like hay at first — that’s normal as chlorophyll breaks down. As they dry, the smell will develop into the more familiar cannabis aroma you’re looking for.
How to Add Moisture Back In if It’s Overdry
If you find that your buds are too dry, you can add a small humidity pack to the curing jar, or even a slice of orange peel for a few hours. Just don’t forget to remove it before it gets moldy!
Final Thoughts on Drying Cannabis
Drying your cannabis is all about patience and the right environment. Stick to the steps I’ve shared, and you’ll get buds that taste great, smell amazing, and burn smoothly. Remember, take your time — quality cannabis doesn’t happen overnight, and rushing it can undo all the hard work you’ve put in over the last few months.
Happy growing, and may your buds always be sticky and full of flavor!

Stoney Tark
Stoney Tark, a top cannabis writer & breeder, shares expert tips on growing, breeding & hash making. Author, podcaster & industry voice!
Continue Reading
You might also find these interesting.


