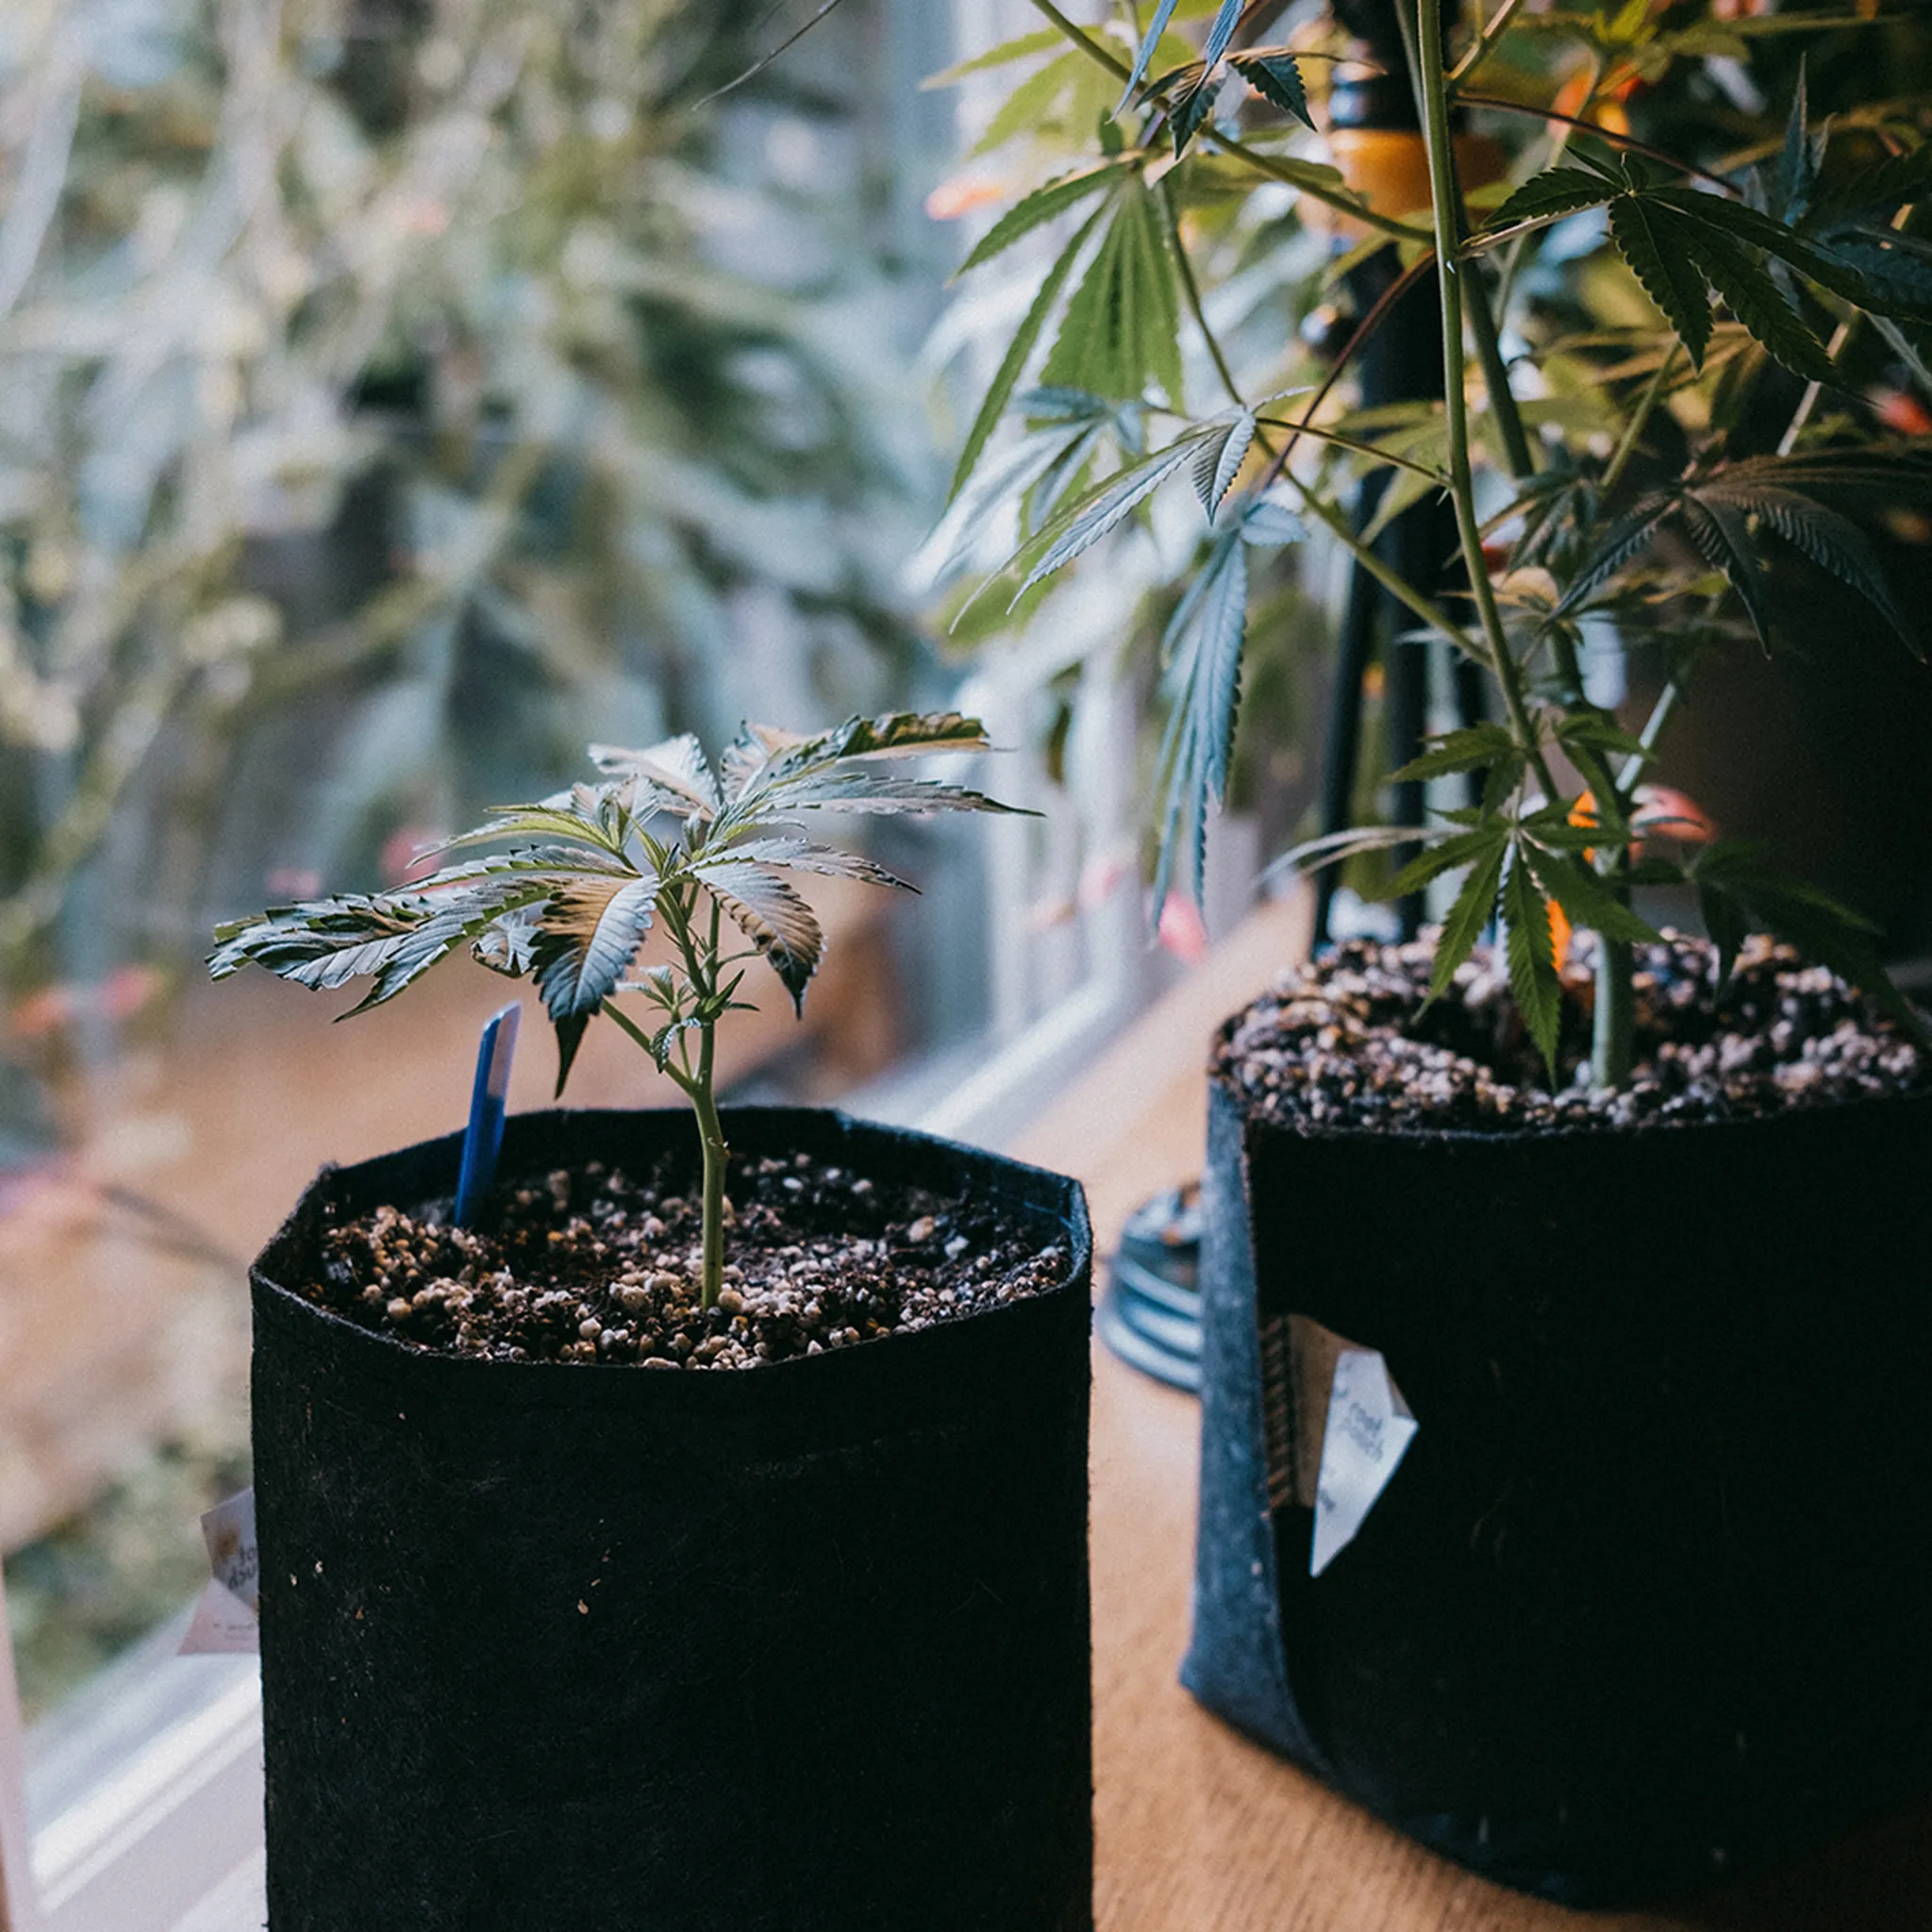
How to Transplant Cannabis Seedlings
Once your cannabis seeds have germinated, you need to know how to transplant those germinated cannabis seeds into their new home.
Table of contents
This is one of the most important steps to kick-starting your grow, and it’s all about setting up those little green babies for success. So grab your tweezers, get comfortable, and let’s make sure you’ve got everything down.
Too Long, Didn't Read
Keep your growing medium moist but not soggy to give germinated seeds the best start.
Make a hole 0.25 to 0.5 inches deep in your growing medium.
Plant the seed with the root tip pointing down, using sterile tweezers.
Gently cover the seed with loose, moist substrate without packing it in.
Maintain 78-80°F temperature and around 80% humidity to help the seedlings thrive.
Be patient—seedlings may take a few hours to 5 days to emerge.
Handle seeds carefully to avoid root damage and minimize exposure to light and air.
Watch out for issues like drying out, pests, or improper planting depth to prevent problems.
Getting Ready: How to Plant Germinated Cannabis Seeds
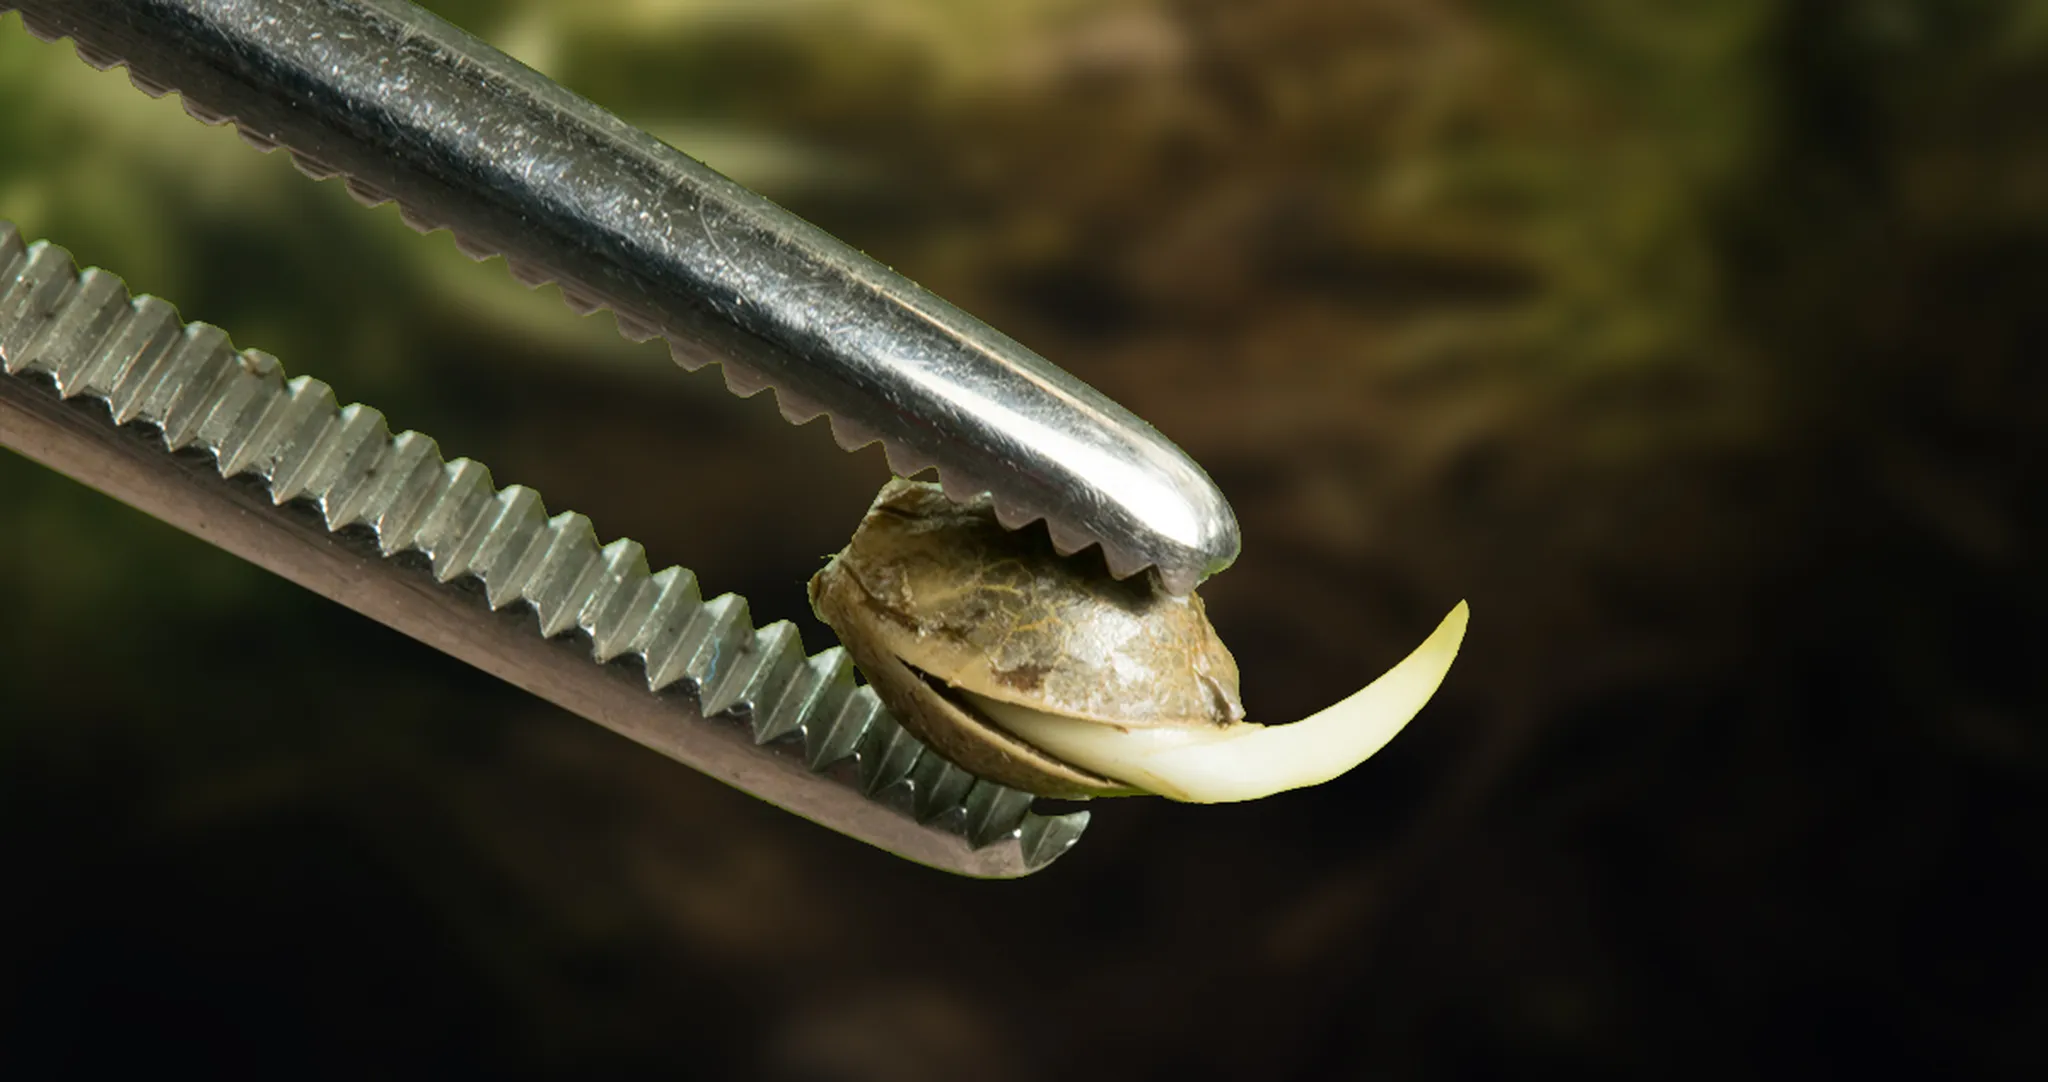
When your cannabis seeds germinate, out pops a tiny white tail called a radicle—that’s your cue that they’re ready for transplant into the growing medium (soil, rockwool, etc). This guide is all about helping you take that sprout and transplant it the right way, giving your cannabis seedlings the best chance to thrive. Whether you’re growing indoors or outdoors, we’ll use the same simple approach to make this first transplanting step successful.
Our Bestsellers
When To Transplant Your Cannabis Seedling
You’ll transplant your cannabis seedlings into a bigger space the moment they are about to outgrow their current environment. When it comes to seeds, it’s good to remember that even before you see any action, germination involves growth. So when the seed pops open and the radicle becomes visible, the plant has already become too big for its container (the seed shell) and is ready for its next home.
Preparing Your Planting Medium
First things first: your seeds need a cozy environment to transplant in. Your growing medium (aka substrate) should be moist but not soaking wet. This part is key—too much water can suffocate your germinated seed, and too little means it’s going to dry up. I like to use trays with individual cells filled with potting mix, or pre-made cubes, like rockwool or coco plugs. They’re super handy because they keep the roots from tangling up, giving each little seed its own space to shine.
A day before you’re ready to transplant, go ahead and pre-moisten your medium. Water it from the bottom so that it soaks up gradually, keeping precious air pockets intact. Once the top of the substrate is visibly wet, remove any standing water and let it drain and dry overnight—you want it moist but not dripping.

Planting Step-by-Step
1. Prepare Your Planting Holes
Alright, your medium is ready. Now, make a hole for each seed. Aim for about 0.25 to 0.5 inches deep (think of it like the length of the seed itself plus a little extra room). If you’re using something loose, like potting soil, you might want to make yourself a "dibbler." This can be as simple as a pencil or a chopstick with a line drawn at about 3/8 of an inch from the tip. Press it into the soil until you reach your mark—it’ll help you make even, well-sized holes for each seed.

2. Plant Seeds ASAP Once They’ve Popped
You don’t want those little root tips hanging around in the open air for too long. Ideally, you’ll see the radicle just starting to poke out—less than 0.125 inches long is best. Once you see it, it’s time to act.
3. Place the Seed in the Hole (Root Down)

First Grow?
This part can be a bit fiddly, but I promise it’s not as tricky as it sounds. Use sterile, blunt-ended tweezers to gently pick up the seed by its shell, not the root. Make sure that the tip of the little root is pointing downwards when you place that tiny gem into the hole. If the seed shell has already fallen off, carefully lift the seedling by the stem just below its tiny first leaves.
4. Fill in the Hole
Once your seed is in place, lightly fill in the top with some loose, moist substrate. You’re not trying to pack it in—just cover it up gently so that it’s got good contact all around but doesn’t feel crushed. If you’re using something like a coir or rockwool cube, just pinch the sides a bit so everything is nice and snug.
5. Keep Things Moist and Warm


You’ve transplanted your seeds—awesome! Now, it’s time to maintain that moisture and warmth. You want to keep the surface moist without making it soggy, and a humidity dome is handy. If needed, use a fine mist sprayer to keep the surface damp. Aim for a temperature between 78-80°F and around 80% humidity.
When Will Your Seedlings Break the Surface?
Now that you’ve completed the transplant, it’s all about patience. Depending on the environment and how healthy your seeds are, it can take anywhere from a few hours to 5 days for the seedlings to break through the surface. Just make sure you’re keeping the soil warm and moist but not too wet—they’ll show themselves soon enough!
What a Healthy Cannabis Sprout Looks Like

The first little leaves that greet you are called cotyledons. They’re not the classic cannabis leaves you might picture, but they’re super important. The stem will start off small and may have hints of green or purple as it transitions to start making its own food from light. Before long, you’ll start seeing those familiar jagged edges of the first true leaves—and that means your transplant was a success!
Troubleshooting Common Issues
Why Are My Cannabis Seedlings Not Growing?
If your seedlings are taking forever to emerge after the transplant, the culprit is usually moisture or temperature. Make sure the soil isn’t too dry or too soggy, and check that it’s staying in the 78-80°F range. Resist the urge to dig around looking for them—that can cause more harm than good.
Seedlings Pushing Out of the Soil?
Sometimes, you’ll see seeds literally push themselves out of the soil—this is called "heaving." Usually, this means they were planted too shallow or didn’t have good seed-to-soil contact. If you spot this, just gently replant them with the root pointing down and check to make sure your medium isn’t too compacted or wet.
Cannabis Transplant Shock
Transplant shock can happen when you handle and move the cannabis plant (in any stage of its development) from one container to another. Ideally, the transition is so gentle that little to no shock occurs. Most of the time, transplant shock is nothing more than a short delay. A fast-growing sprout might take a small pause to adjust to its new position, and then it will carry on developing into a healthy seedling.
Final Thoughts on Transplanting Germinated Seeds
Remember, even before you transplant it, your seed is already a living thing. Treat it gently and with care, especially in these early stages. The more you practice, the better you’ll get at creating just the right environment for your seedlings to thrive. Smooth handling and preparation go a long way.
And hey, if you need more in-depth advice on getting from seed to harvest, there are plenty more guides here to help. You’ve got this.
Happy growing!

Xavier Kief
Xavier Kief, a fierce cannabis advocate & educator, merges science & joy in cultivation. Expert in regenerative growing, mycology & activism


