How to Germinate Cannabis Seeds in Water
If you've ever attempted to grow your own cannabis at home, you probably understand the importance of mastering seed germination. It's obviously disheartening to set off on your growing adventure, getting all the gear, checking all the boxes, planting your seed, and… nothing.
Table of contents
The seed was a dud. But don’t throw in the towel just yet; I'm going to show you the ropes. One of the simplest and most beginner-friendly methods is germinating seeds in water. It doesn’t require any fancy equipment and gives you a clear sign when your seeds are ready to move to their new home. Easy, right?
In this guide, I’ll walk you through how to germinate your cannabis seeds using water, explain the benefits, and share some essential tips to make sure you start your growing journey off on the right foot.
Too Long, Didn't Read
So, what does it take to germinate cannabis seeds? Before you get overwhelmed with visions of laboratory-style germination chambers and mathematical formulas, rest assured that it's far simpler than that.
It all comes down to three vital elements: warmth, moisture, and darkness. You want your seeds to feel comfortable, not soaking wet, but consistently damp. The key is balance because too much water can drown them, and too little won’t kick-start the germination process. It's about learning that happy medium.
Here’s the rundown:
Warmth: Ideal temperature sits between 22°C and 25°C (71–77°F). Keep it nice and cozy.
Moisture: Your environment should be damp, not dripping. Think of a sponge you’ve wrung out well.
Darkness: Seeds germinate best in the dark, which simulates being buried in the soil.
With these three factors in check, your cannabis seeds will be well on their way to sprouting.
Environmental Effects to Dial in for Perfect Germination
Now, let’s get a bit more specific. Apart from warmth and moisture, the air around your seeds is just as important. Humidity and lighting matter, too. Especially if you’re growing indoors and using rockwool or hydroponic setups.
Humidity: Aim for relative humidity between 70% and 90%.
Lighting: If you're not using soil and you’re going for a plug or hydro system, fluorescent lighting (Cool White code 33) is your best friend.
pH levels: Especially in hydroponic or rockwool plugs, your water's pH value should be around 5.8–6.2. Keep it in this range to avoid any growth issues.
It’s worth noting here that minimizing the amount of handling you do with your seeds will also help reduce the risk of damaging them. Treat them gently—they’re only just starting their lives!
Our Bestsellers
Why Germinate Cannabis Seeds in Water?
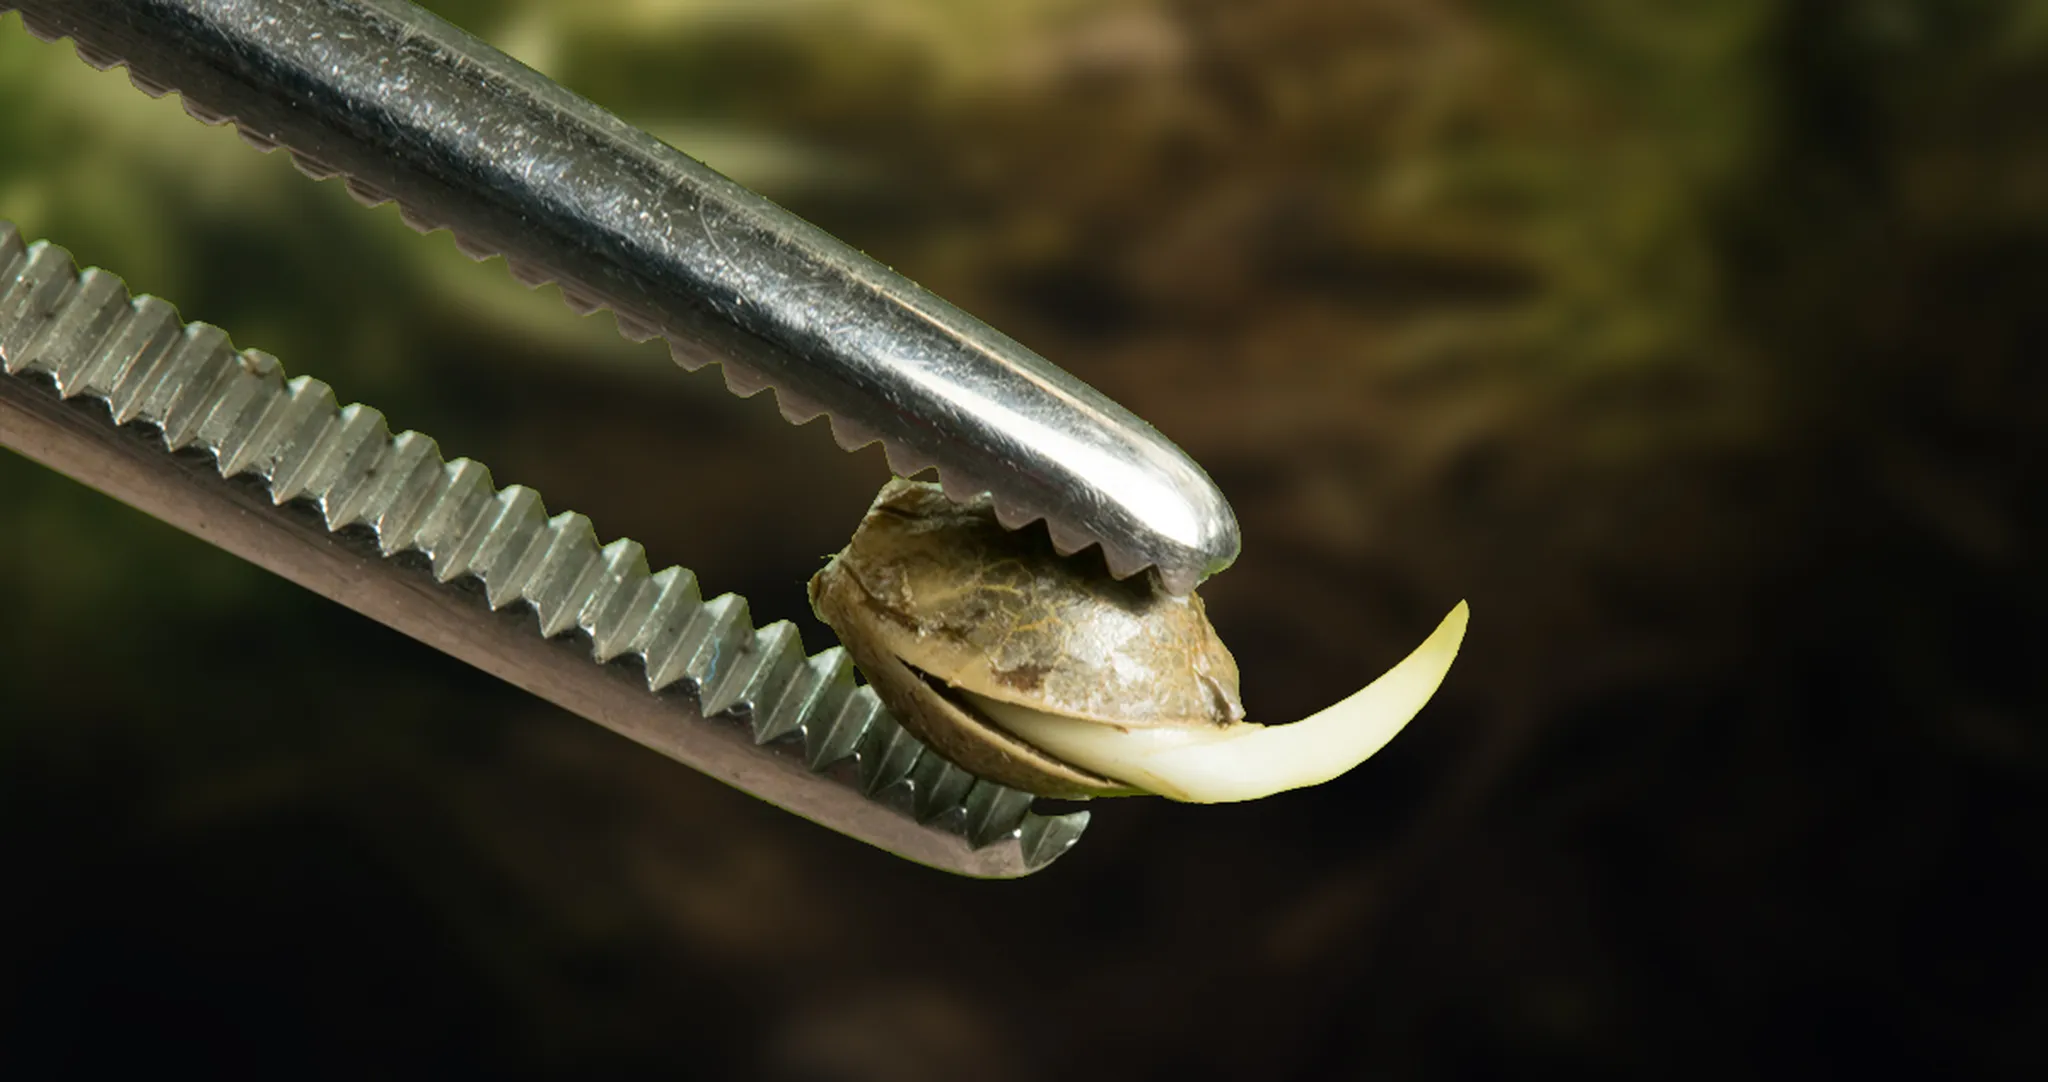
Germinating cannabis seeds in water is popular for a good reason: it works. Water helps soften the hard outer shell of the seed, making it easier for the tiny root (called the radicle… I love that) to break through. By pre-soaking, you give your seeds the best possible chance of sprouting.
Plus, it's a good way to check if your seeds are viable and weed out the duds. If a seed’s going to pop, it’ll usually do so in water. Once the root tip starts to show, you know you’ve got a healthy, living seed ready for action.
Are There Any Downsides to Starting Seeds in Water?
Germinating seeds in water is a faithful, tried and tested method that's been used for years, but as with anything in life, there are a couple of things to keep in mind.
Firstly, please don't leave your seeds soaking for too long. Once they’ve cracked and that radicle little root is showing, it’s time to transfer them. Too much time in water can lead to drowning, which is definitely not ideal for the seeds or your cannabis-growing dreams.
Another potential downside? Handling. When transferring your seeds from water to the growing medium, make sure that your hands are clean and you’re handling the seeds gently. A damaged seed at this early stage of development is less likely to survive.
Can I Use Tap Water to Germinate Cannabis Seeds?
Yes, you can use tap water, but with a bit of caution. If your water is treated with chlorine, you might want to let it sit for a few hours to allow the chlorine to evaporate. While chlorine won’t typically stop germination, it’s not ideal for your plant’s long-term health.
We recommend clean, distilled water is your best bet when germinating cannabis seeds. It’s free from any unknown minerals or chemicals, which means you don’t have to worry about contaminants messing with the germination process.
If your tap water has a lot of minerals or chemicals (which is common in both well water and city water), it’s better to play it safe and opt for distilled water. You want to keep things as clean as possible, so filtered rainwater may even be a safer option than many public water supplies. Basically, if you wouldn't drink it, why would you want to give it to your seeds?
First Grow?
Step-by-Step: How to germinate cannabis seeds in water
Now, let’s get to the fun part—actually germinating your seeds!
Step 1: Gather Your Supplies
You’ll need the following:
Good-quality cannabis seeds. (we got you covered in that department)
One clean container per seed variety (a glass, bowl, or cup)
Splash-proof labels and a pen
Clean, distilled water at room temperature
Remember, you always want to make sure everything is clean before starting to avoid contamination.
Step 2: Fill the Container with Water
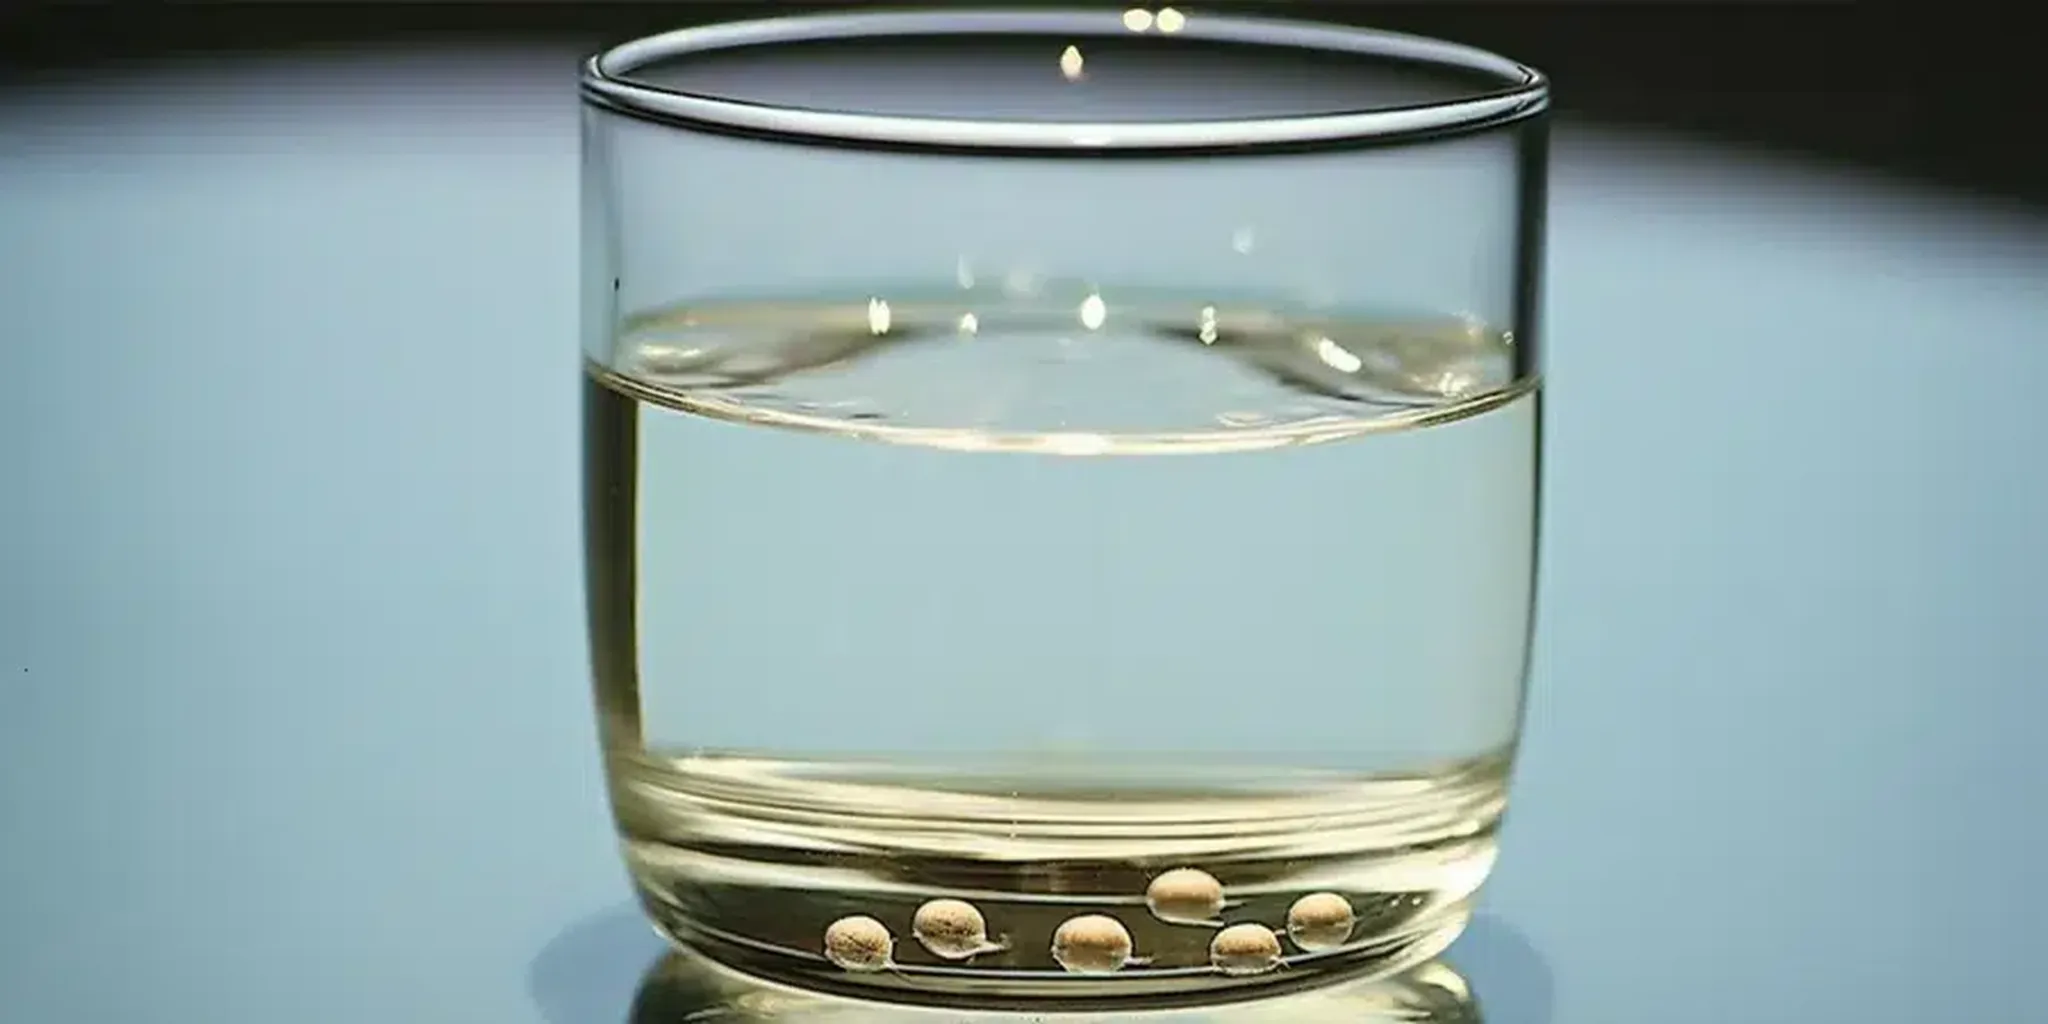
Pour your clean, room-temperature water into the container. You don’t need much—about ½ cup (125ml) is enough for most seeds.
Step 3: Drop the Seeds in the Water
Gently place your cannabis seeds into the water. While some will float and others may sink, don't freak out. That’s normal. If they don’t sink right away, give the container a little swirl or lightly push them under with something clean (like a disinfected spoon).
Step 4: Label Your Container

This step is optional but useful. Write down the name of your seed’s strain name, the number of seeds you’re germinating, the date and time, and the type of water you used. It’ll help you track your progress and stay organized.
Step 5: Store in a Warm, Dark Place
Place the container somewhere warm and dark—around 77°F (25°C) is perfect. Make sure the spot is safe from pets or anyone who might knock it over. Seeds like darkness when germinating, as it mimics their natural environment underground.
Step 6: Check After 8 Hours
After about 8 hours, check on your seeds. You might see a tiny root starting to peek out. Once the white root shows, you're in business. Now they’re ready to be transferred.
Step 7: Transfer to Your Growing Medium
Gently move your germinated seeds to your chosen medium—whether that’s soil, a pellet, or rockwool. You want to be very careful during this step to avoid damaging the root.
Step 8: If Necessary, Soak for Up to 24 Hours
If your seeds haven’t cracked open after 8 hours, don’t worry. Let them soak for up to 24 hours, but no longer. After that point, even the most stubborn seeds should start to show signs of life.
Step 9: Use Scarification for Tough Seeds

If, after 48 hours, your seeds still haven’t germinated, they're clearly shy and require a little extra finessing. At this point, you can try a technique called scarification. This involves lightly and gently, scraping the surface of the seed with a blade or fine sandpaper to help water penetrate the shell.
Step 10: Move to The Paper Towel Method of Germination
Maybe you dared use the scarification technique; maybe you didn’t. (I get it, it sounds scary)
Anyhow, you might want to transfer your ungerminated (and/or scarified) seeds to a paper towel and try to coax some life out of that stubborn lill bean using the paper towel germination method.
Do:
Use a clean container that’s the right size.
Document your grow—it helps to know what works and what doesn’t. Future you will appreciate it.
Be patient. Some seeds take longer to sprout than others.
Don’t:
Rush. Give your seeds time to germinate and trust the process
Panic if your seeds don’t sprout right away—it’s normal for them to take up to 24 hours or more.

Final Thoughts
Germinating cannabis seeds in water is a great way to start growing your own weed. It’s simple, beginner-friendly, and takes out a lot of guesswork by giving you a reliable indication that your seeds are viable. Just keep the balance of warmth, moisture, and darkness, and you’ll be on your way to sprouting healthy cannabis plants in no time.
Take your time, follow the steps, and enjoy the process. Before you know it, you’ll have beautiful cannabis seedlings ready to grow into strong, healthy plants. Until next time, cannabis fans, happy growing!

Roach
Roach, a 20+ year cannabis enthusiast, activist & storyteller, blends humor, art & expertise—crafting words, strains & macabre masterpieces.
Continue Reading
You might also find these interesting.


