Make Your Own Cannabis Fertilizer
Reviewed by: Chad Westport
How to Feed Your Weed Naturally, No Bottles, No B.S.

ILGM
Editorial Staff
Table of contents
Ever looked at a sixty-dollar bottle of bloom booster and thought, “There’s no way this costs that much to make”? You’re not the only one. These days, more and more growers are skipping bottled nutrients and using what they already have, like banana peels, fish scraps, and simple ferments. It’s not just about saving money. Done right, homemade fertilizer can actually work better and leave your plants cleaner and stronger.
Still, let’s be real. Tossing kitchen scraps at your plants won’t grow top-shelf buds. Making your own cannabis fertilizer takes a little planning, a little know-how, and some help from the microscopic world under your soil.
TL;DR
You can grow strong and healthy cannabis using homemade fertilizers made from everyday materials, but it takes more than banana peel water. This guide gives you clear recipes based on each grow stage, introduces KNF techniques like FPJ and LAB, and walks you through simple safety steps so you can grow clean and consistent plants without relying on bottles.
What Does Cannabis Actually Need From Fertilizer?
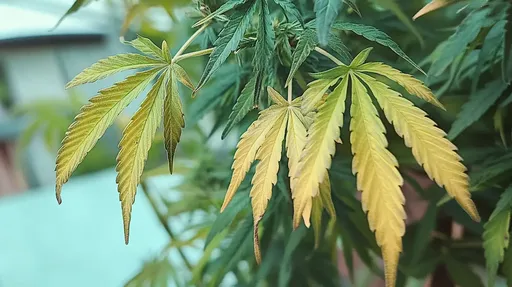
Cannabis plants need different nutrients at different times. During veg, they crave nitrogen to fuel growth above the soil. Once flowering begins, they shift focus and want more phosphorus and potassium to build buds.
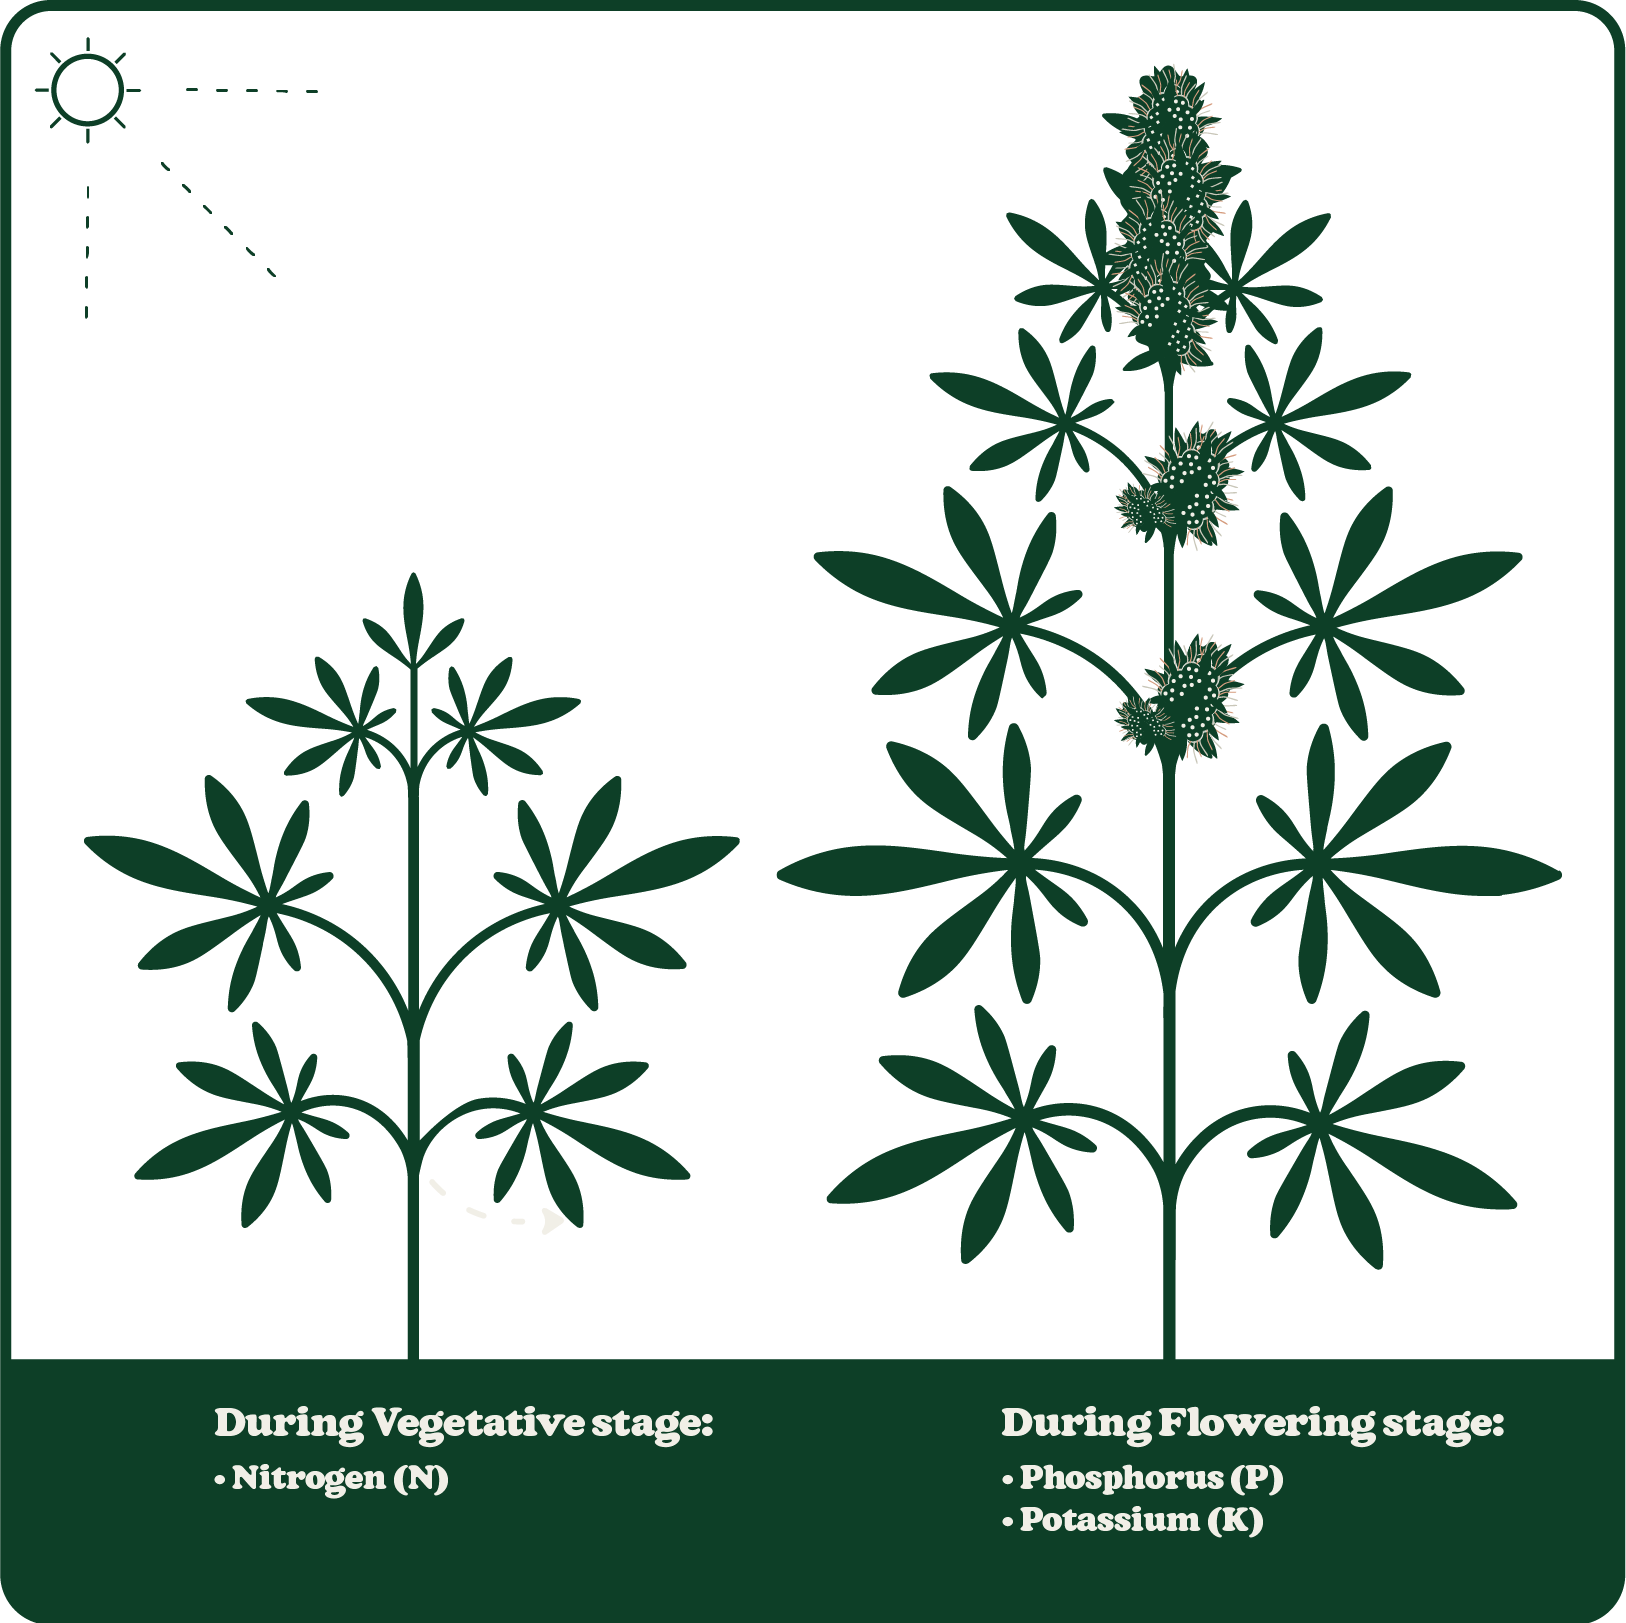
Along the way, they also need secondary nutrients like calcium, magnesium, and sulfur. Trace elements like iron, boron, and zinc also play a part in terpene development, root health, and overall vigor.
Homemade fertilizer only works if those nutrients are in a form your plant can actually absorb. That’s why fermentation, composting, and microbial life matter — they help make nutrients available at the root level.
Our Bestsellers

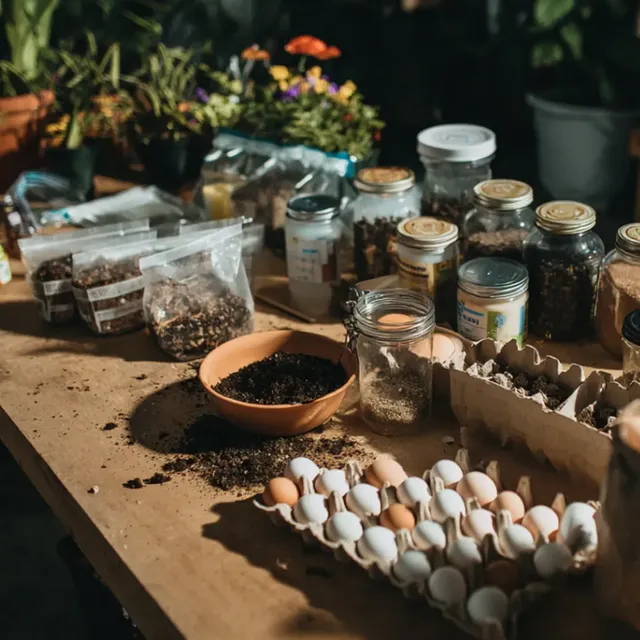
Can I Really Use Kitchen Scraps To Feed Cannabis?
Yes, but only if you prep them right. Otherwise, you’ll risk feeding the wrong things, like mold or pests. When preparing your ingredients, chop them into as small pieces as possible.
Here’s a quick guide:
| Kitchen Scrap | Usefulness | Notes |
|---|---|---|
| Banana peel | High in potassium | Works well in banana FPJ during flower |
| Eggshells | Source of calcium | Must be vinegar-extracted or finely ground |
| Coffee grounds | Rich in nitrogen | Compost or brew into teas — don’t apply raw |
| Fish scraps | Balanced NPK | Ferment into FAA; expect it to smell |
| Molasses | Feeds microbes | Not a fertilizer but supports microbial growth |
Grower Tip (from Reddit r/OrganicCannabis): “Ferment your banana peels with brown sugar for a week, then dilute 1:500. That stuff brought out some crazy resin in my autos.”
Beginner Cannabis Fertilizer Recipe: Banana FPJ (Fermented Plant Juice)
Best For: Flowering stage, weeks two through six
Nutrients: Potassium, sugars, natural plant hormones
Good for: Soil and living soil grows, indoor or outdoor
What you’ll need:
2 to 3 ripe banana peels, chopped
1 cup brown or raw cane sugar
1 wide-mouth glass jar
Cheesecloth or a paper towel with a rubber band
How to make it:
Chop the banana peels into small pieces.
Weigh the peels and mix with an equal weight of sugar.
Massage the mix until juices begin to release.
Pack the mix into a clean jar and leave about an inch of space at the top.
Cover with your breathable lid and secure it.
Let it ferment at room temperature, between 65 and 75°F, for 2 to 3 weeks.
Strain the liquid through a coffee filter or fine mesh.
Store the final liquid in the fridge. It’ll keep for up to 3 months.
How to use it:
Mix 1 to 2 teaspoons per liter of water, or 1 tablespoon per gallon.
Use it once per week during the early and middle weeks of flowering.
You can also use it as a foliar spray at a 1:1000 dilution after lights out.
Pro Tip: You can add mango, papaya, or pumpkin peels to adjust nutrient balance or influence the terpene profile. But keep it simple the first time. Just using banana works great.
Need Fertilizer?
What are the best DIY fertilizers for each grow stage?
Here’s a stage-by-stage breakdown:
Veg Stage (Weeks 2 to 5)
Stinging nettle tea (great nitrogen source)
Alfalfa meal tea (contains nitrogen and growth hormones)
Fish hydrolysate or FAA
LAB to support microbial life in the soil
Transition to Flower (Weeks 6 to 7)
Banana FPJ (rich in potassium)
Light wood ash water for potassium and calcium (be aware, wood ash has a high pH. Use it very lightly and double check the pH of your DIY fertilizer)
WCP for calcium phosphate to support bud formation
Optional foliar spray with Epsom salt and LAB for magnesium and mold resistance. (Stop any foliars once buds begin forming)
Flowering (Weeks 8 to 11)
Banana and papaya FPJ
Bone meal tea for phosphorus (use lightly)
Important: Always dilute inputs between 1:500 and 1:1000 before using them on your plants.
Is homemade fertilizer safe? What about mold or pests?
It can be, but only if you follow the right steps. Going DIY gives you more control, but it also means you’re working with live microbes, raw material, and fermentation. Mess that up, and things can turn ugly fast.
Here’s what to look out for:
Risks:
Fermenting without oxygen can breed harmful pathogens
Overbrewed compost teas can turn sour and stink
Too much homemade input can cause lockout or big pH shifts
Raw scraps attract insects and other pests
How to stay safe:
Always add air to compost teas while brewing
Label and refrigerate your finished ferments
Test pH before every application
If you’re unsure, use a lighter dilution than you think you need
Pro Tip: “I used a batch of banana FPJ that fermented too long in the fridge — it smelled off and gave my plants twisted leaves. Now I always check the pH and make sure the liquid looks clear.”
DIY vs Bottled Nutrients: Is it worth the switch?
For a lot of home growers, yes — but only if you're willing to get involved and learn a bit.
| Factor | DIY Fertilizer | Bottled Nutrients |
|---|---|---|
| Costs: | Low, using scraps and sugar | High, often $100 to $300 per harvest |
| Effort: | Moderate to high | Very low |
| Smell: | Can be strong, especially with fish | Minimal |
| Consistency: | Varies by batch | Always the same |
| Microbial life: | High | Usually sterile |
| Control: | Full control over inputs | Limited options |
Pro Tip: If you’re growing in living soil or outside, homemade fertilizer can give you better terpenes, flavor, and trichomes. If you’re running hydro or coco indoors, proceed with caution since those systems aren’t as microbe-friendly.
What’s the deal with compost tea, ferments, and KNF?
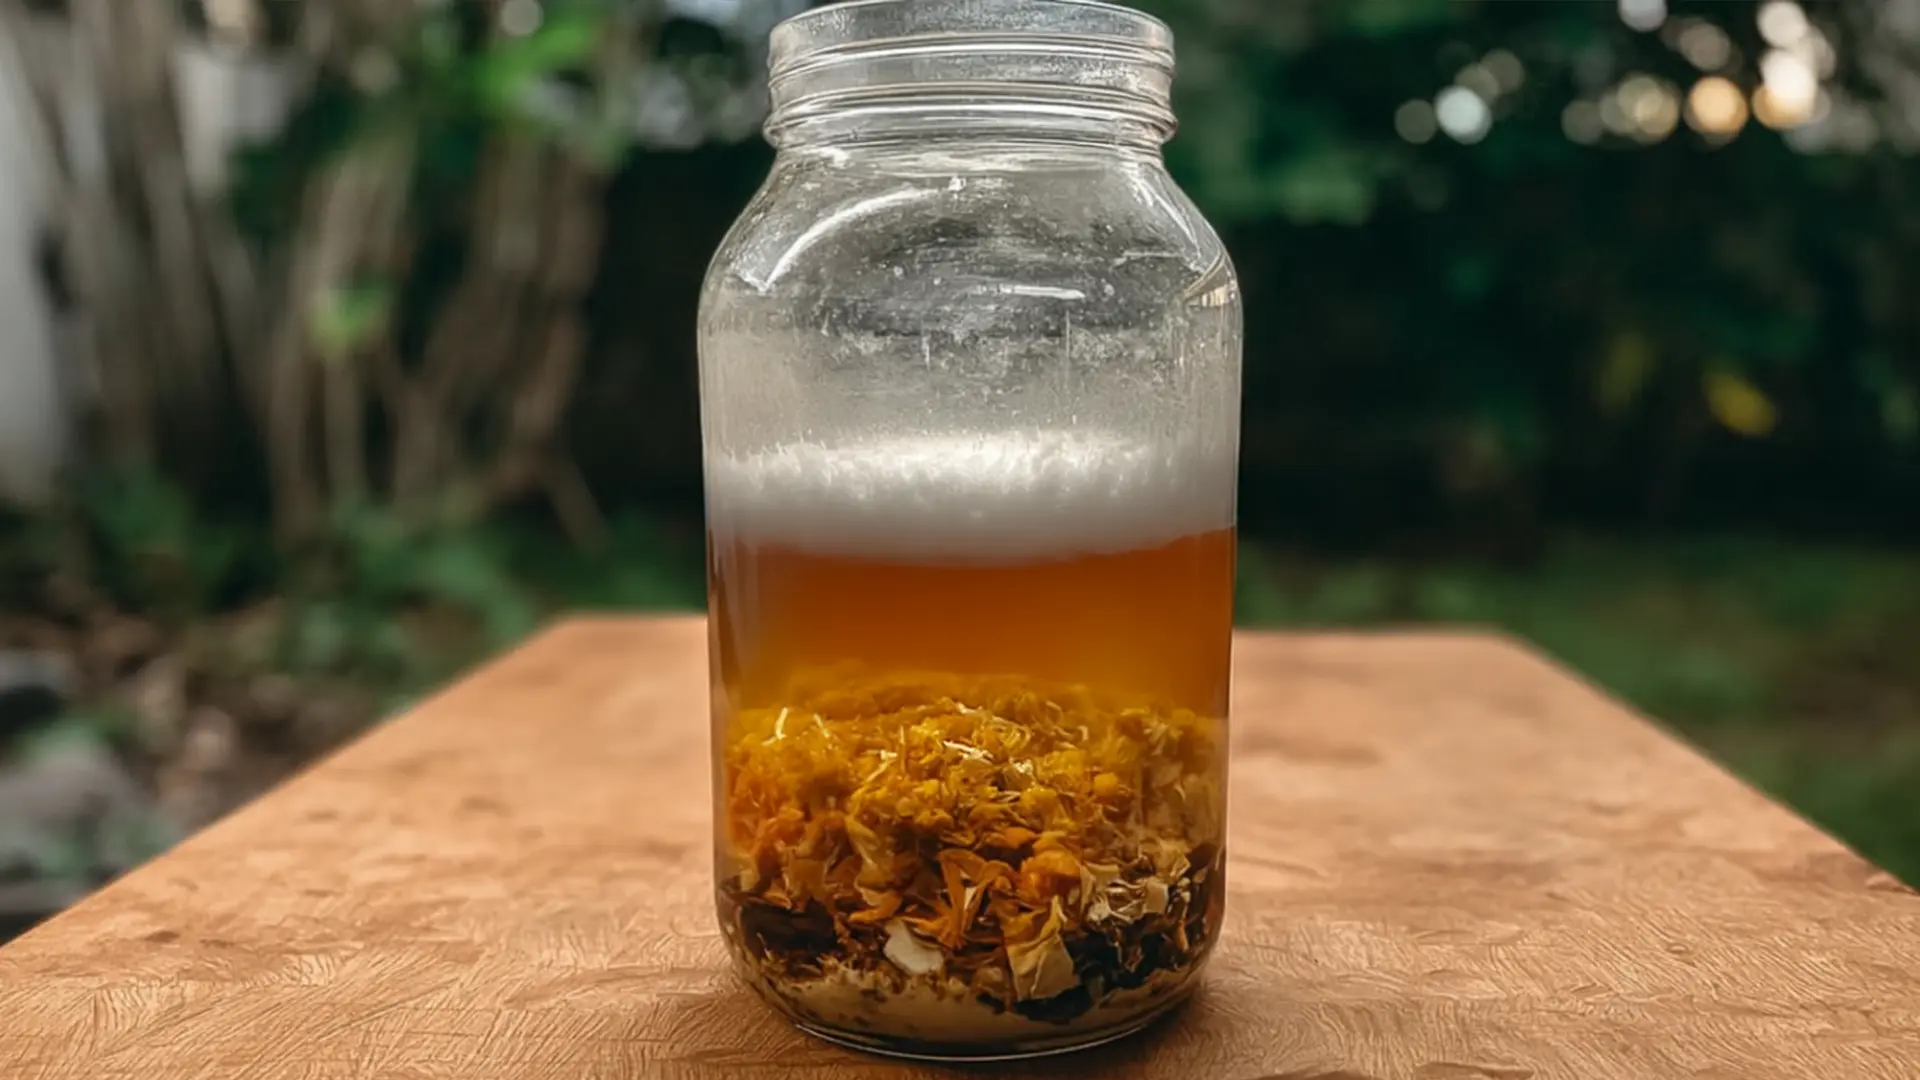
 Above: Your typical DIY Compost tea setup
Once you start making your own fertilizer, you’ll run into compost tea, fermented plant juice, and other KNF techniques. They can sound intimidating, but they are just methods for unlocking nutrients and feeding the soil’s living network.
You might be steeping compost, fermenting banana peels, or culturing LAB, but the goal is the same. Make nutrients more available and feed the microbes that help your cannabis grow.
Here’s how they break down:
Compost Tea
Brew it for 24 to 36 hours with good aeration
Increases microbial life in your soil
Great for vegetative growth and early flower
Fermented Plant Juice (FPJ)
Combine green plant material with sugar
Draws out nutrients and plant hormones
Common in KNF practices
Fish Amino Acids (FAA)
Made by fermenting fish with sugar
High in nitrogen and good during veg
KNF (Korean Natural Farming)KNF is a hands-on growing method that uses fermented, natural inputs to feed plants and the microbes they rely on. It’s a favorite among organic cannabis growers who want full control over their nutrients without buying pre-made bottles.
Important:These methods work best in organic soil that already has active microbes. If you're growing in coco or an inert medium, you’ll need to build up that biology first or skip these techniques.
Other Questions Growers Asked
Q: Can I use banana water for cannabis?
A: Only if you ferment or blend it well. Raw banana water can spoil and cause issues.
Q: Is compost tea good for indoor grows?
A: Yes, if it’s properly brewed and filtered. Just avoid too much runoff and odor.
Q: How do I make FPJ for cannabis?
A: Chop fast-growing plants like comfrey or banana peels, mix them with equal parts brown sugar, let it sit for 5 to 7 days, then strain and dilute 1:500.
Q: What’s the best homemade fertilizer for autoflowers?
A: Use mild, low-nitrogen blends like banana FPJ and worm casting tea during early flower. Don’t overdo it.
Q: Can I just compost and call it fertilizer?
A: Not exactly. Compost improves your soil life, but it doesn’t offer complete nutrition. You’ll still need to add targeted inputs.
Making your own cannabis fertilizer isn’t just about saving money. It’s a way to connect with the plant and the soil. Sure, it takes more effort than squeezing a bottle, but it feels a lot more rewarding.
So next time you’re eyeing that pricey bloom booster, ask yourself if you could make something just as good with what you’ve already got. Most of the time, you can — and your plants will show you the difference.