Are You Ready For Your Cannabis Harvest?
Croptober Essentials
Alright, my friend. Pull up a chair. I heard you've got some beautiful cannabis plants outside getting close to finish, and the weather report is looking sketchy. Nothing ruins a great grow faster than a surprise storm or an early frost when you're not ready.

Stoney Tark
Cultivation Expert
Table of contents
Don't you worry. We're going to get you set up. Think of this like getting your go-bag ready. When the time comes, you won't be scrambling. You'll be calm, collected, and ready to bring your harvest home. Let's get you harvest-ready.
What Tools Do You Need?
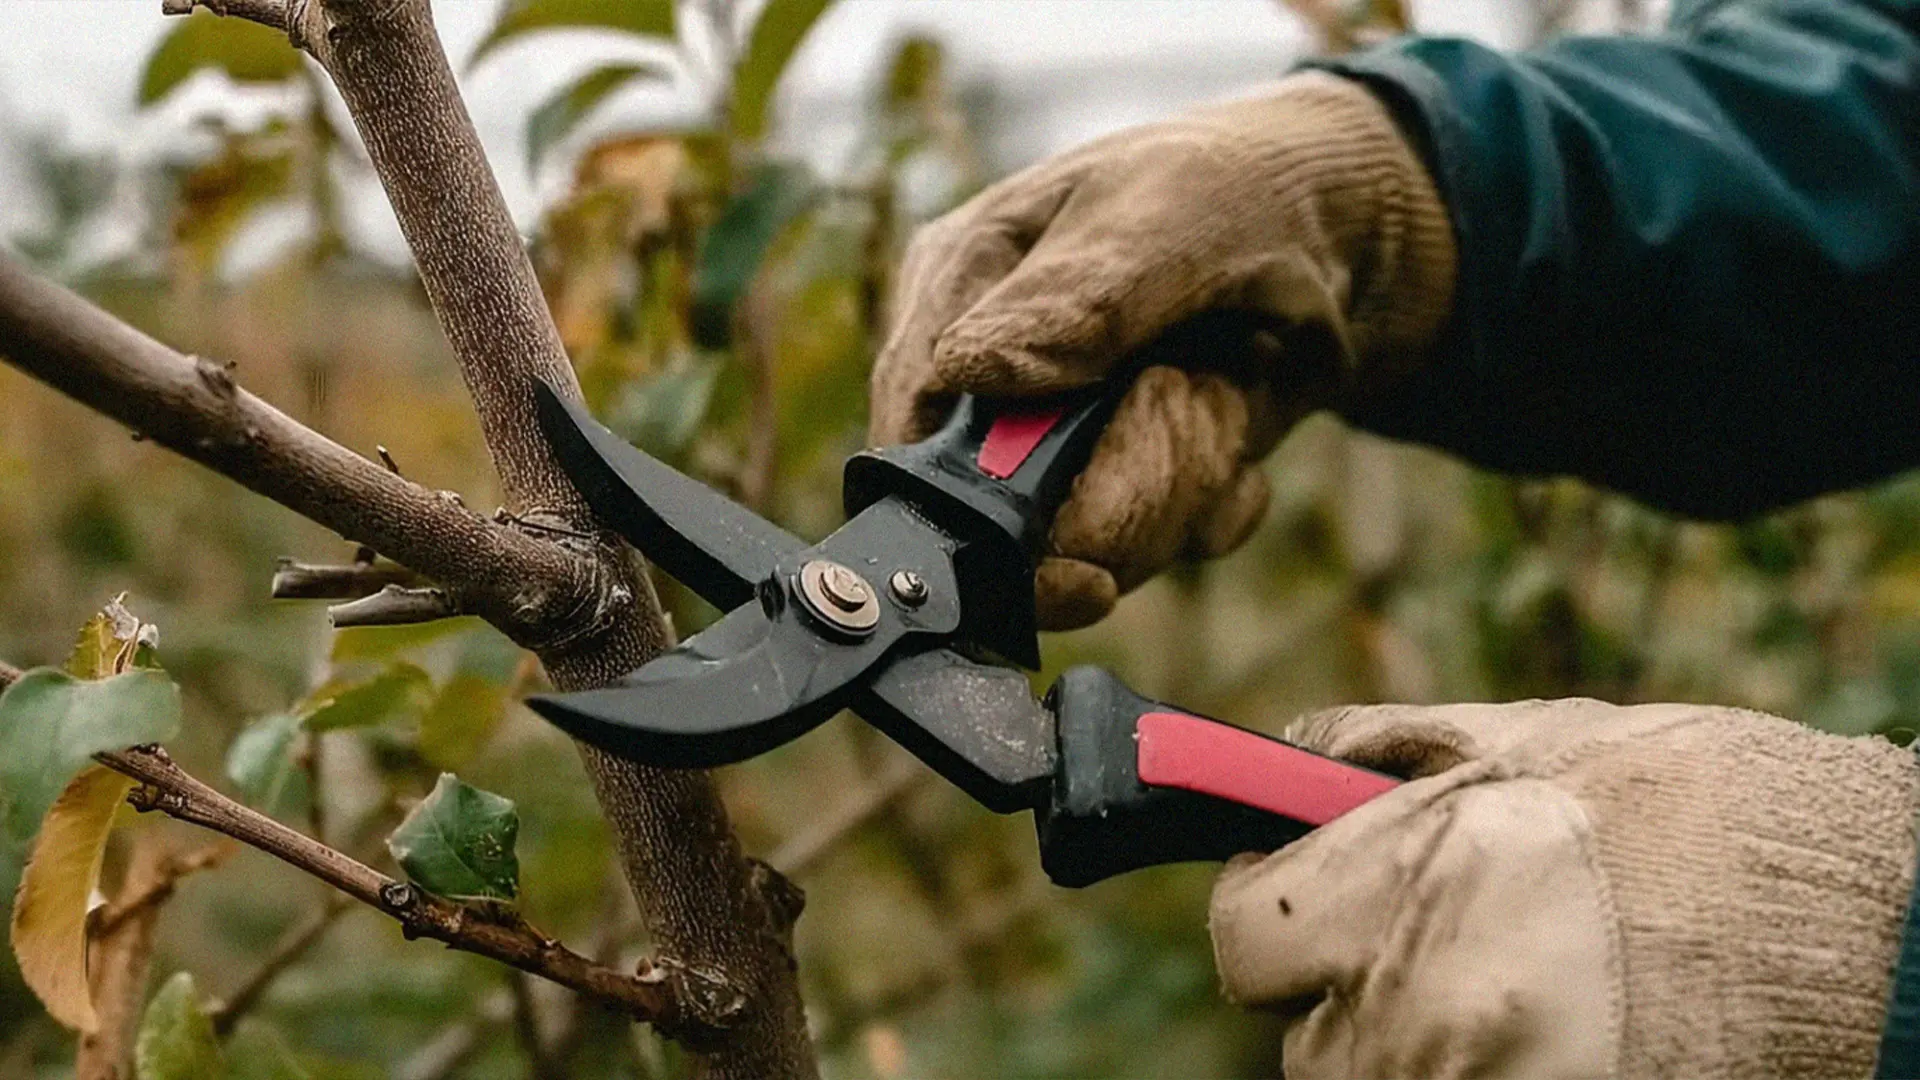
Harvest goes smoothly when you prepare your toolkit early. At minimum, have sharp pruning shears for clean cuts, isopropyl alcohol for sanitation, and jars for sterilizing between plants. Add gloves, trim scissors, and trays for resin collection. Quality tools prevent hand strain, protect your buds, and make the process cleaner, faster, and far more enjoyable.
Sharp Pruning Shears (Snips): This is your main tool. Get a good, comfortable pair. You'll be holding them for hours. A cheap pair will make your hand cramp and crush your stems instead of cutting them clean.
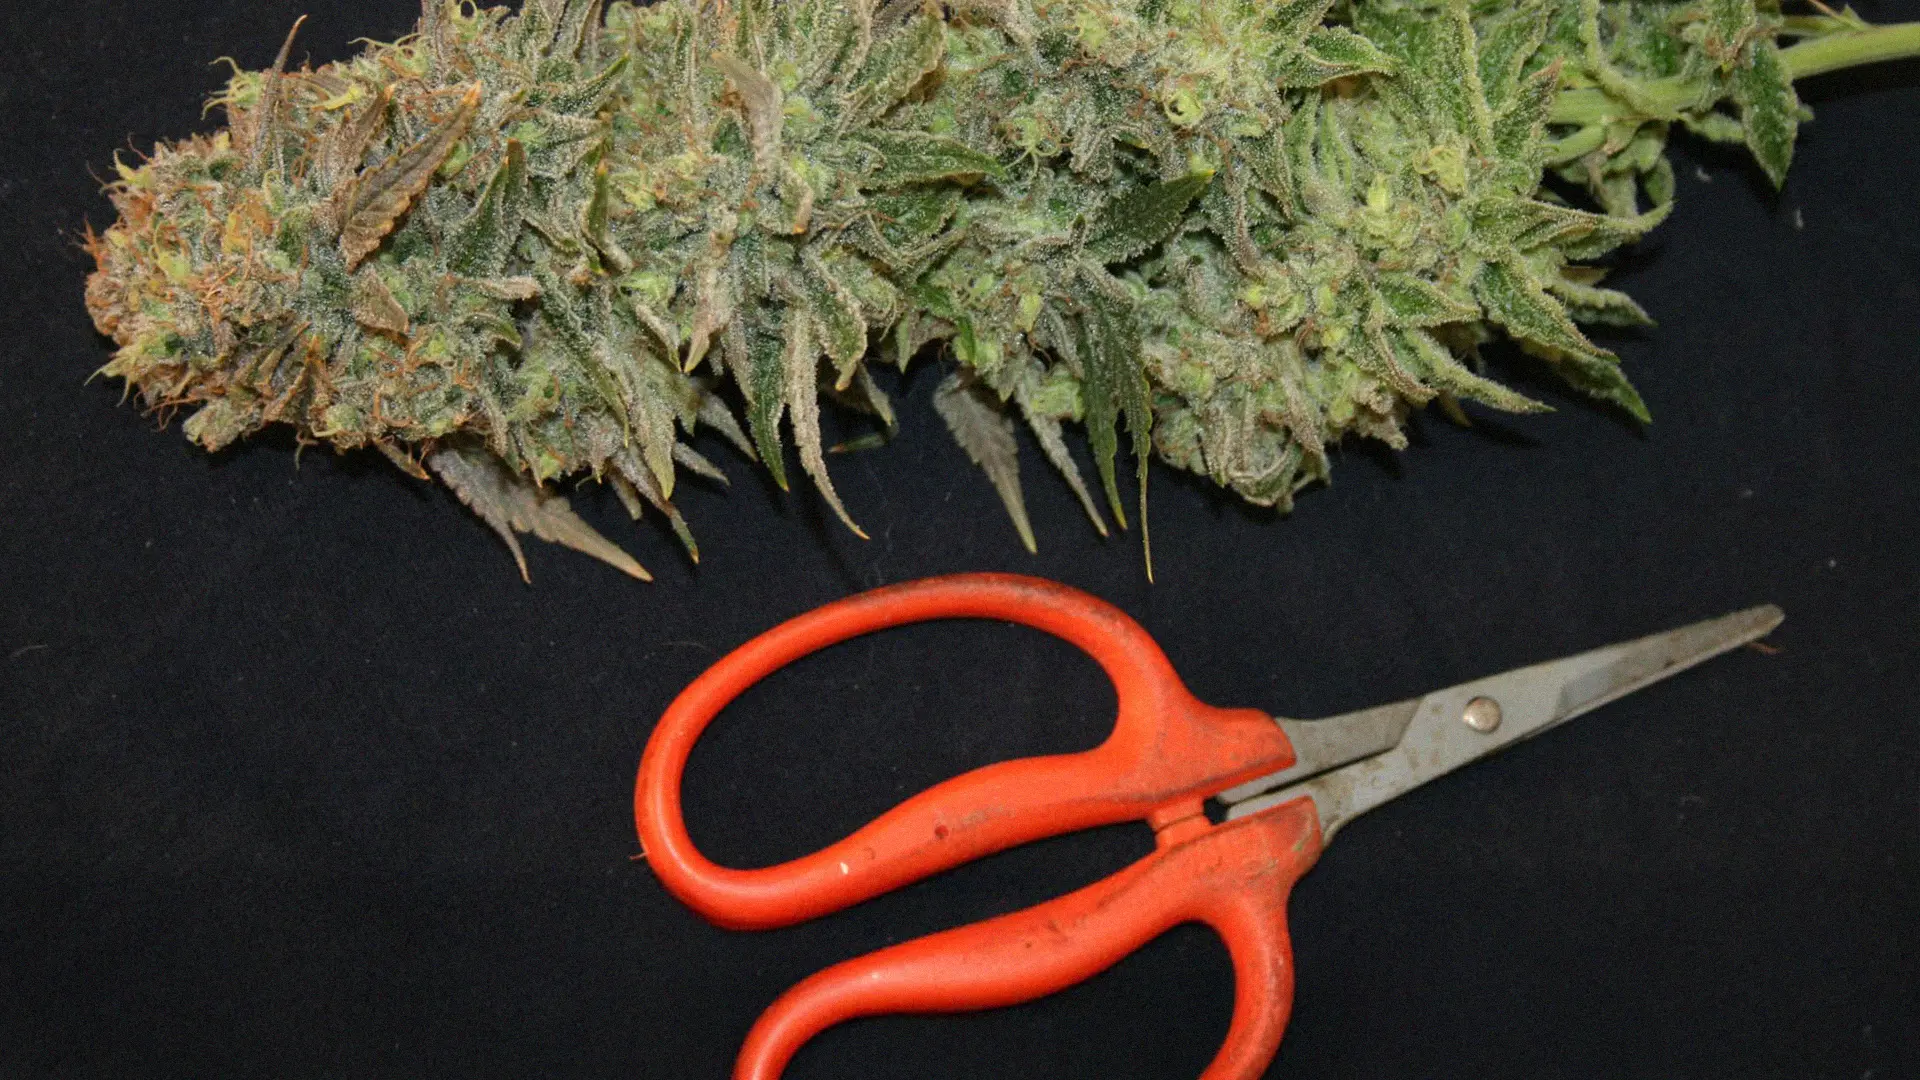
Sharp Pair of Scissors: Shears are fantastic for cutting large buds and twigs from the main branches; however, you will need a sharp and clean pair of scissors to get up close and personal when wet trimming (or dry trimming your weed after the drying process is complete).
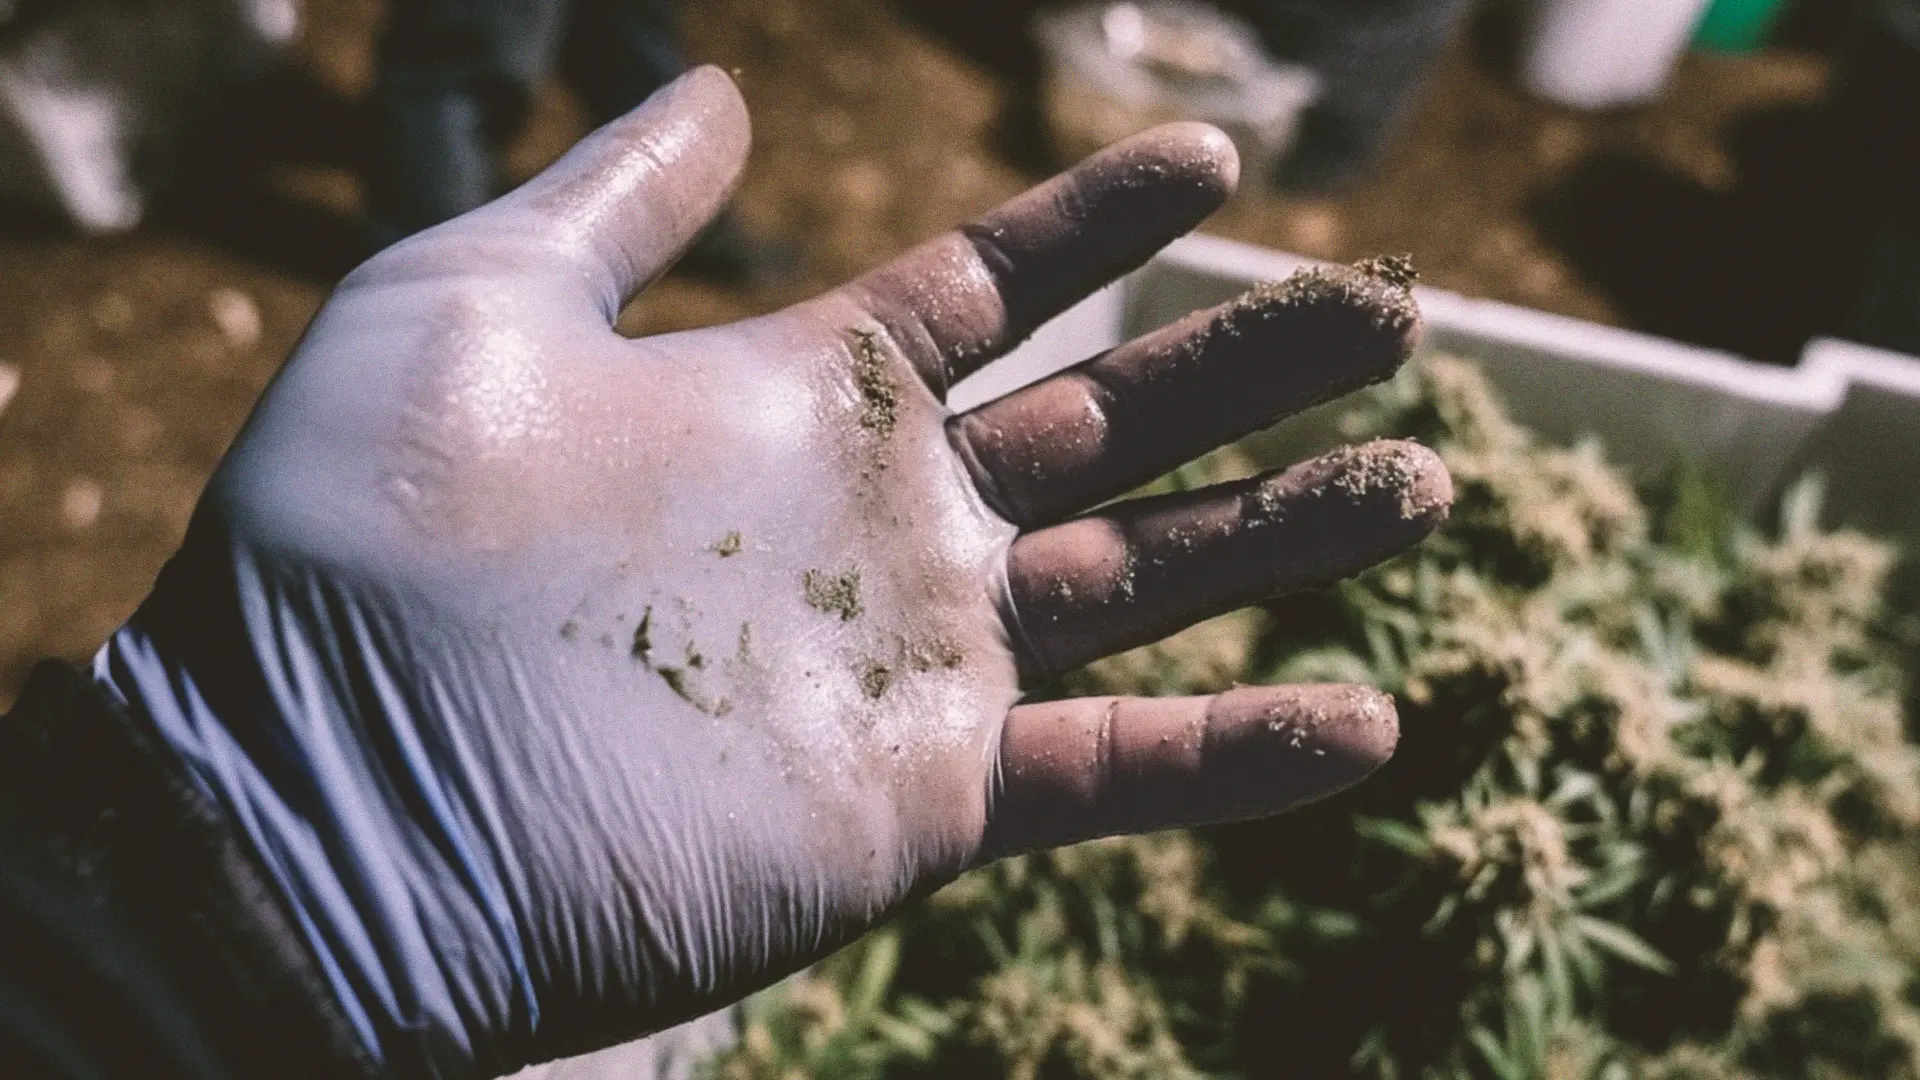
Latex Gloves: Buy a box of disposable latex gloves to slip on, making trimming as easy as possible without spending time washing resin off your hands afterwards. Handling those big sticky buds with disposable gloves prevents sticky fingers and keeps your mobile phone and car steering wheel resin-free.
Isopropyl Alcohol (99%): This is your disinfectant. You need to wipe down your shears and scissors between every plant to prevent the spread of potential mold, pathogens, or pests (eggs) from one plant to another. Sometimes you just can’t see what you are transferring from one plant to another until it's too late. Better to be safe than sorry and keep everything clean. A glass jar can make your life a little easier: Fill this with some of your alcohol. After you make a cut, you can dip your shears in here to sterilize them quickly before moving to the next plant.
Pro tip: Have a trim tray or kief catcher handy. All those fallen trichomes are free bonus hash later.
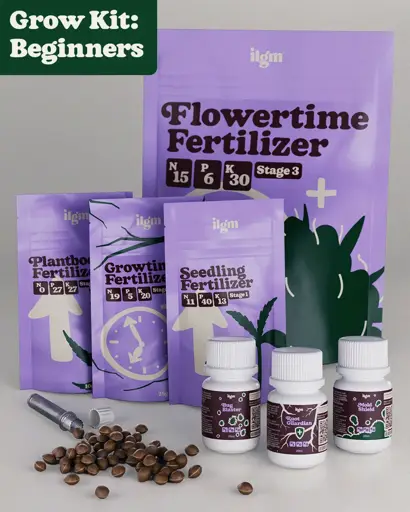
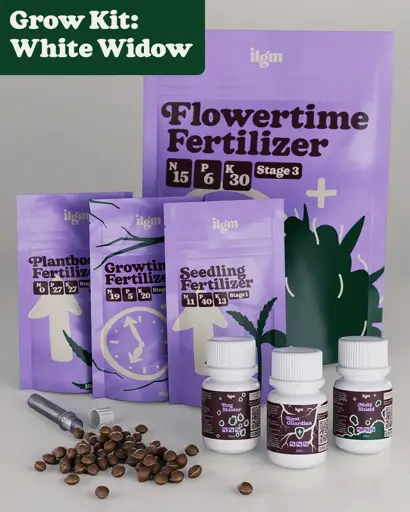
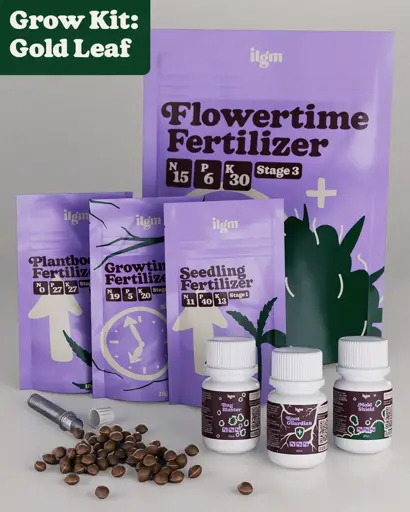
Our Bestsellers

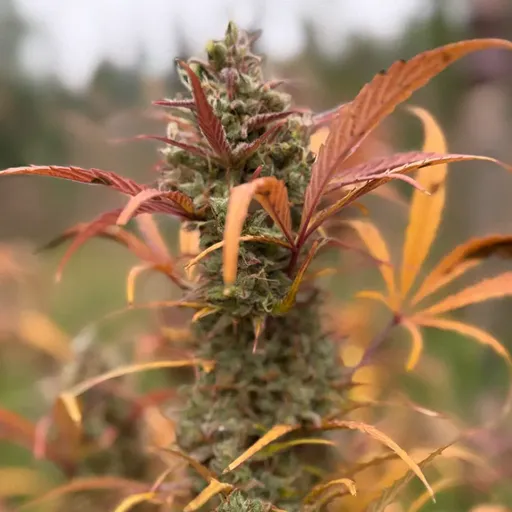
When Is the Right Time to Harvest Outdoor Cannabis?
This is the question every grower asks, and the answer depends on your eyes, your tools, and sometimes even your gut.
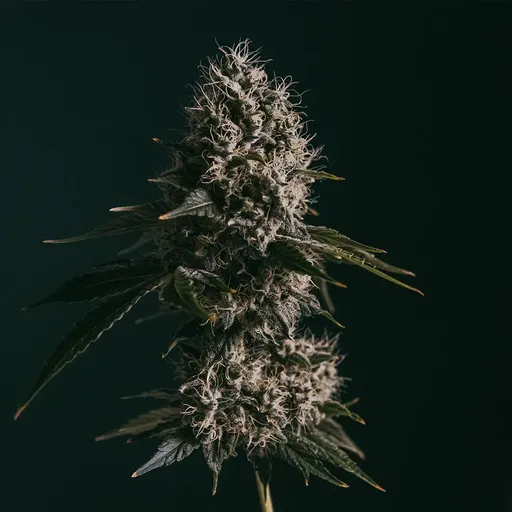
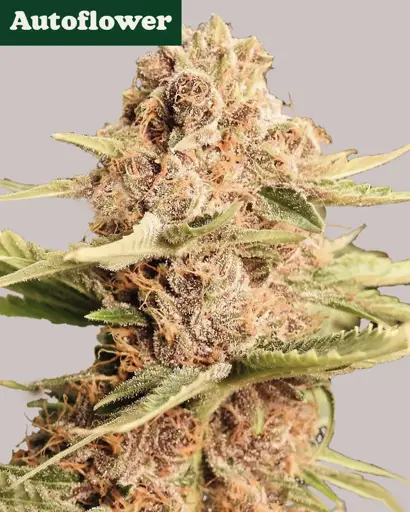
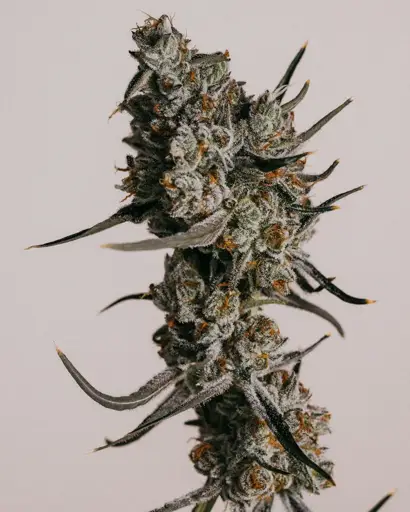
Trichomes tell the truth. Grab a jeweler’s loupe or magnifying glass. When most trichomes are cloudy with some turning amber, that’s peak potency. Too clear = not ready. All amber = more sedating.
Pistils are your backup guide. When about 70–90% of pistils (hairs) have darkened and curled in, you’re in the harvest window.
Listen to your climate. If a storm or frost is coming, sometimes you harvest early rather than risk losing the crop. Cloudy trichomes are better than moldy buds.
By region: Coastal growers may have to cut early because of humidity and rain risk, while desert growers can often let plants go longer since the air is dry.
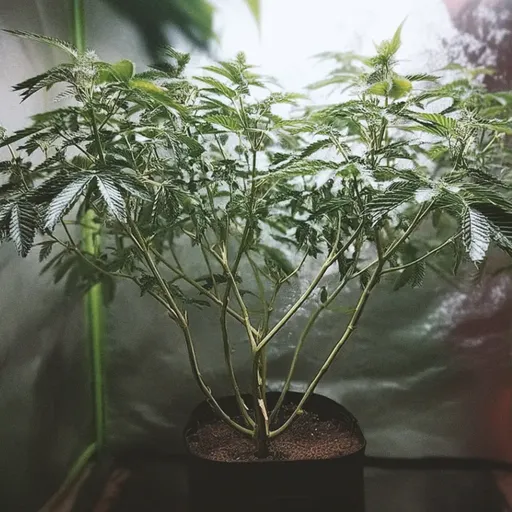
Want High Yields?
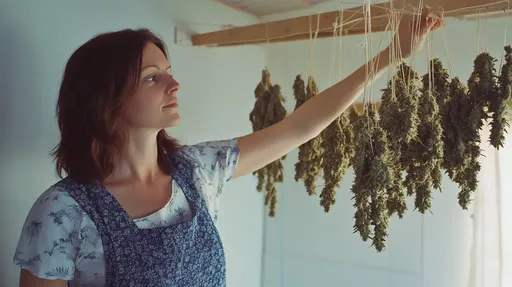
Where Will You Dry Your Cannabis Harvest?
Drying your cannabis after harvest is the most important part. A controlled environment ensures potency and flavor. Ideal drying spaces are dark, away from sunlight, cool (60–70°F/16–21°C), and maintain a humidity level of 50–60%. Too damp invites mold, too dry ruins terpenes. Gentle airflow is crucial, but never point a fan directly at your buds. A closet, or sealed spare room with a hygrometer and carbon filter setup, works great, but a grow tent will work best!
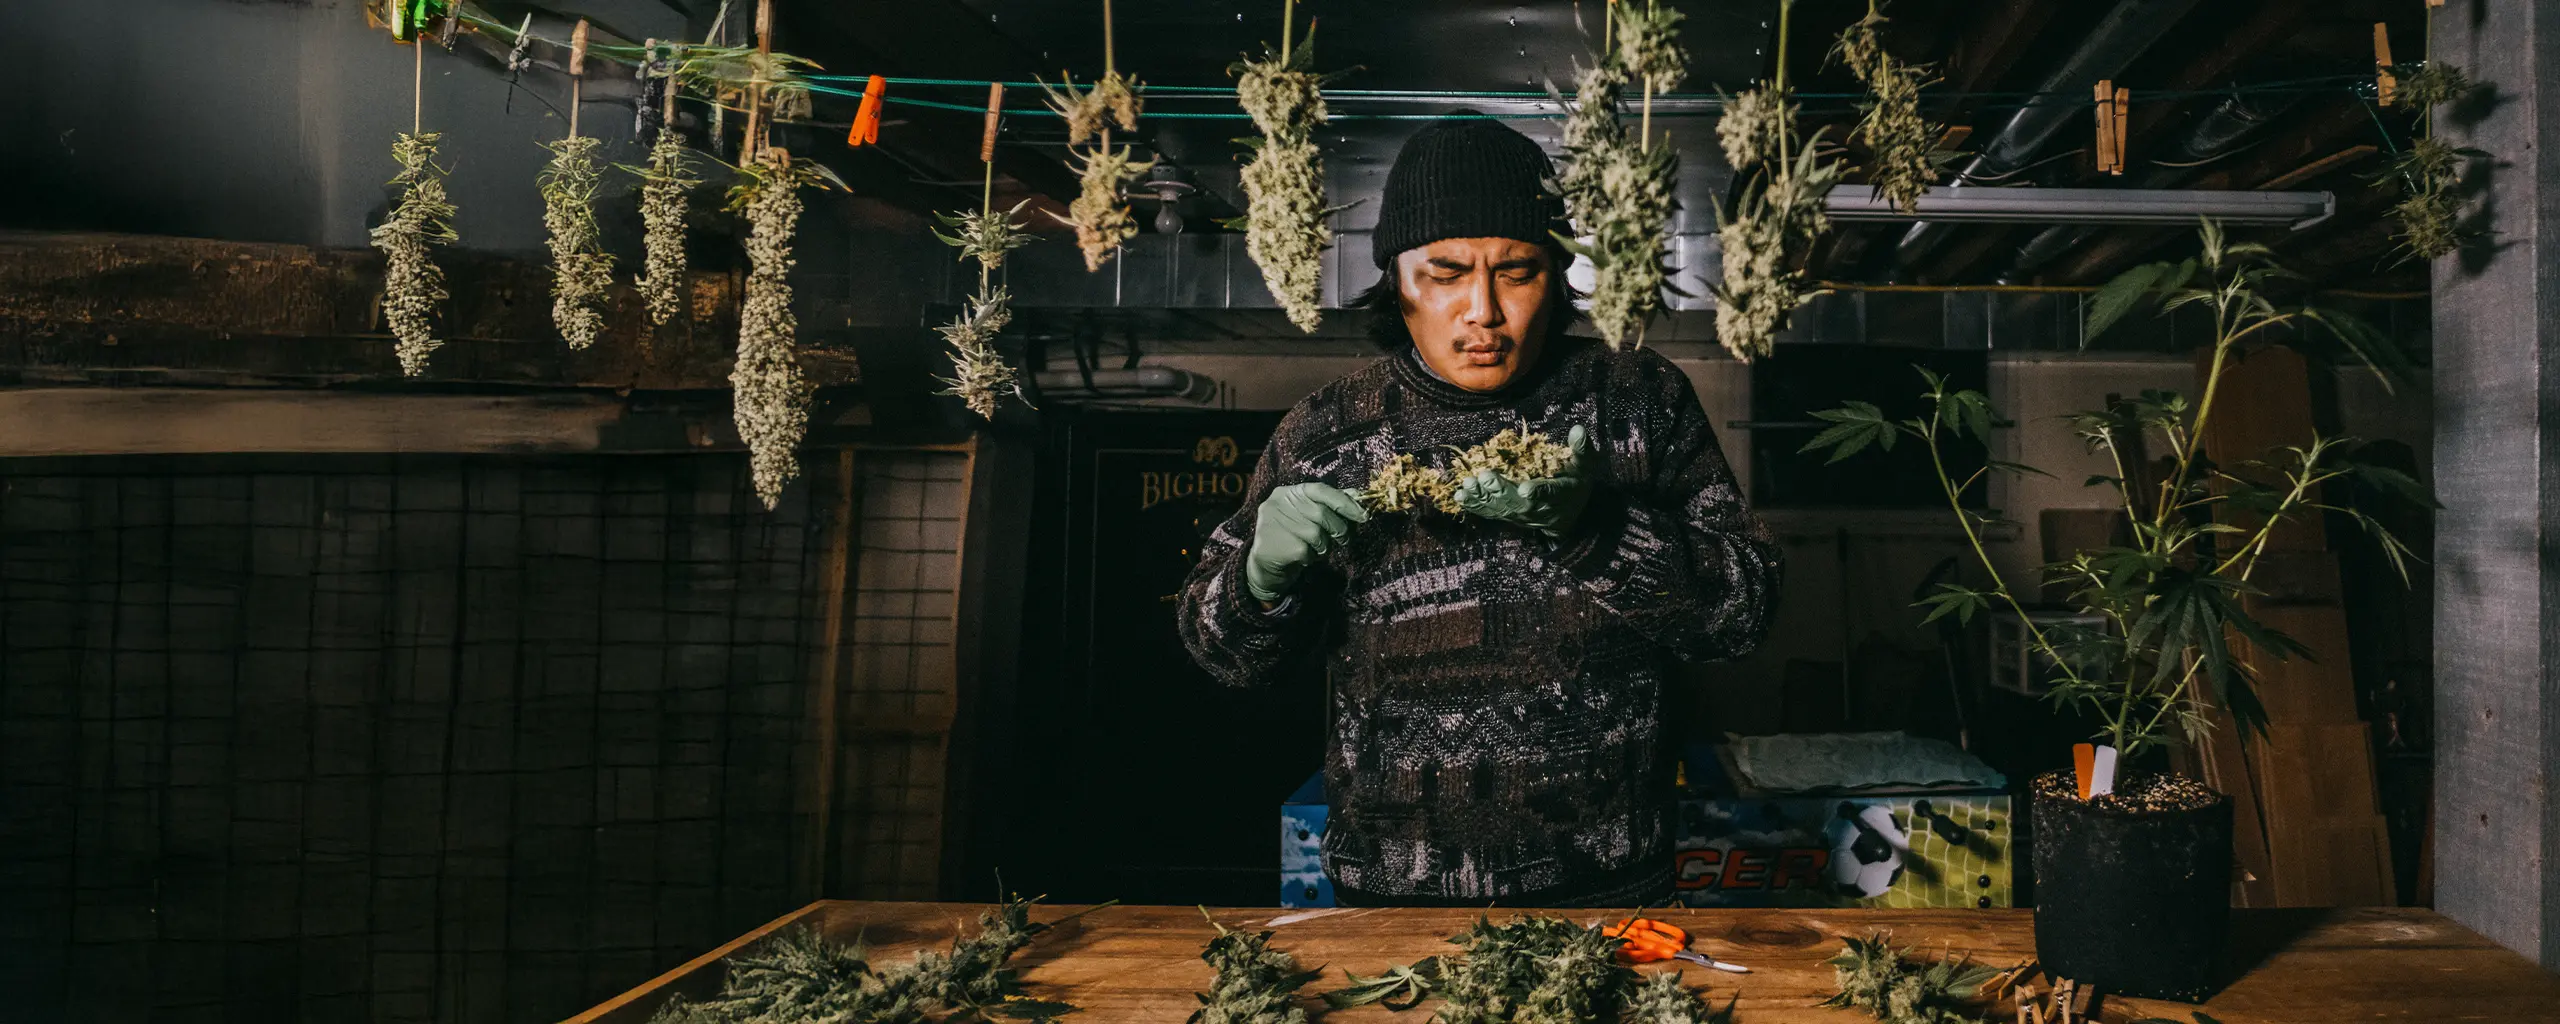
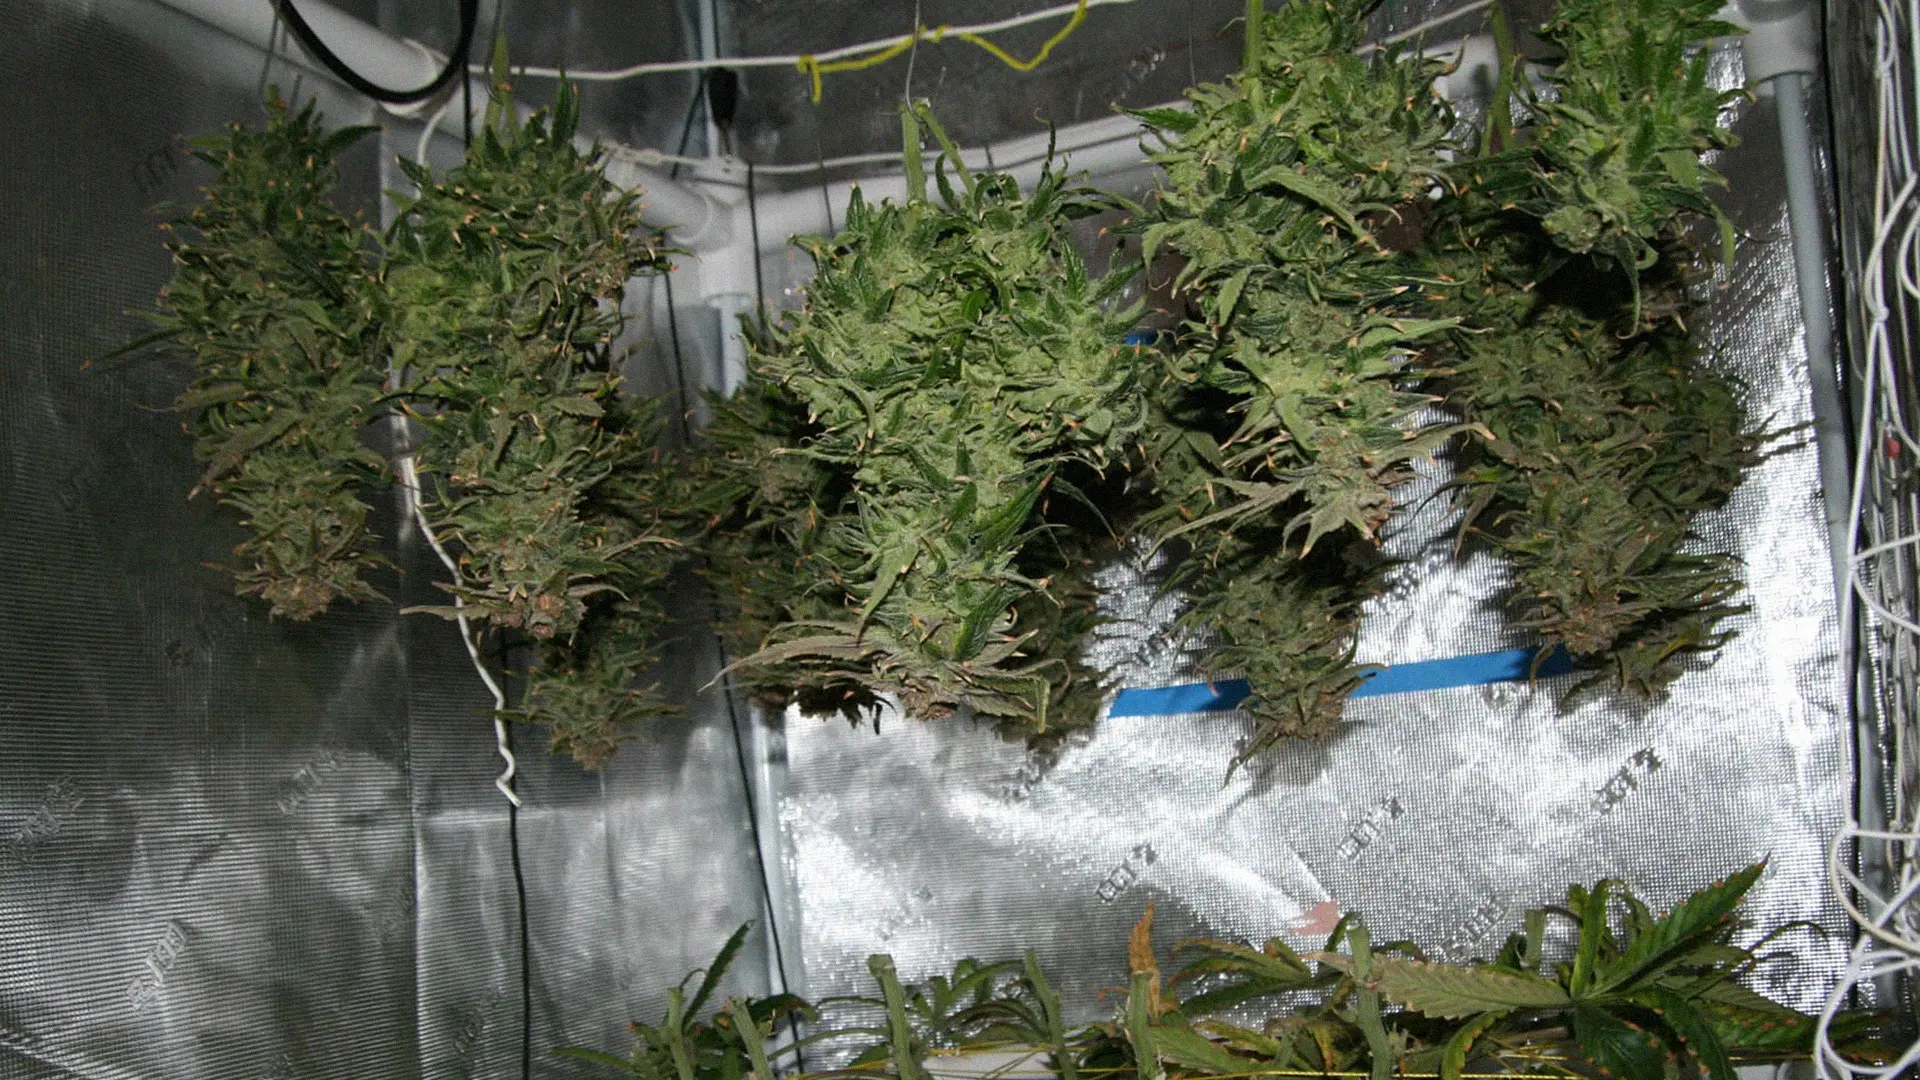 Drying setup by forumuser Beardless
Dark: Light degrades THC. A closet, a spare room where you can block the windows, or even a tent dedicated to drying.
Cool: Aim for 60-70°F (16-21°C). A cool space slows the dry down, which is what you want.
With Gentle Air Flow: You need a small oscillating fan. Point it at a wall, NOT directly at your hanging buds, to avoid the buds drying out too quickly. You just want the air to move around gently to prevent mold, not blast the terpenes off your precious flowers.
The Right Humidity: This is tricky outdoors. If your drying space is too humid, get a small dehumidifier. If it's too dry, you might need a small humidifier. A simple hygrometer (a little device that reads temperature and humidity) is a must-have. It tells you what's actually happening in the room.
Pro tip: Keep your drying setup discreet. Cannabis drying smells incredible—but not everyone shares your enthusiasm. If you need to stay stealthy, invest in a carbon filter and seal off the drying room.
How Will You Dry Your Cannabis?
Hang branches upside down using string, racks, or ties that won’t damage stems. Keep space between buds to avoid mold, and maintain slow drying over 7–14 days. As stems become snappy, prepare for trimming. Gloves, trays, and small scissors make the detail work efficient while preserving resin. Proper drying protects aroma, potency, and smoothness.
Cotton String or Gentle Twist Ties: Don't use thin wire or anything that can cut into your branches. You need to hang them upside down.
Something to Hang From: Get creative. A clothes rack, a string line across the room, or some hooks in the ceiling of your drying space will work perfectly.
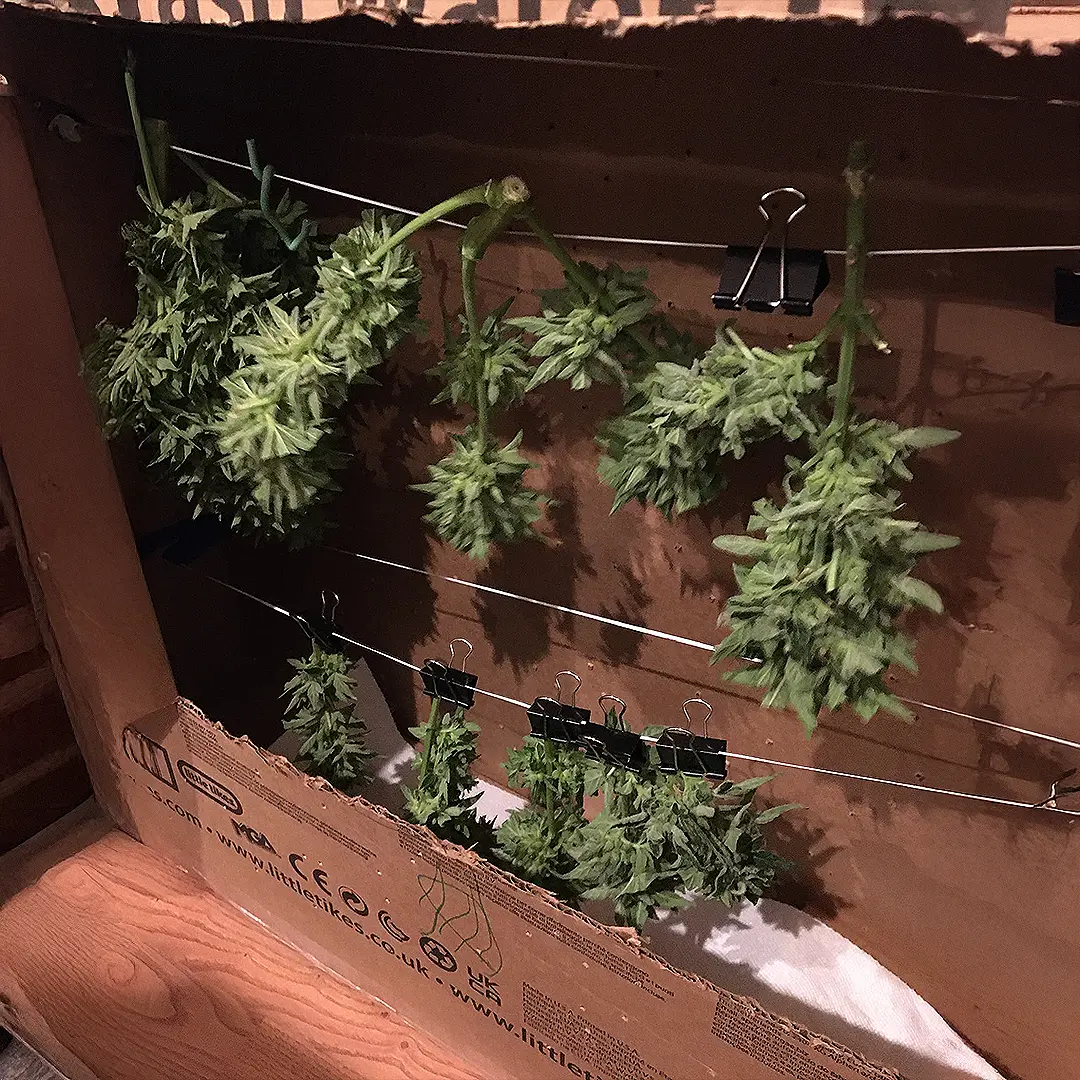 Cardboard box drying setup by forumuser dirtyalbany
Pro Tip: Prep Your Trim Station For Later:
A Clean Table: Cover it with something easy to clean, like a plastic tablecloth.
Trim Tray (Optional but nice): These trays have screens that catch all the precious kief that falls off while you trim. It's a nice bonus, and it should fit comfortably on your lap.
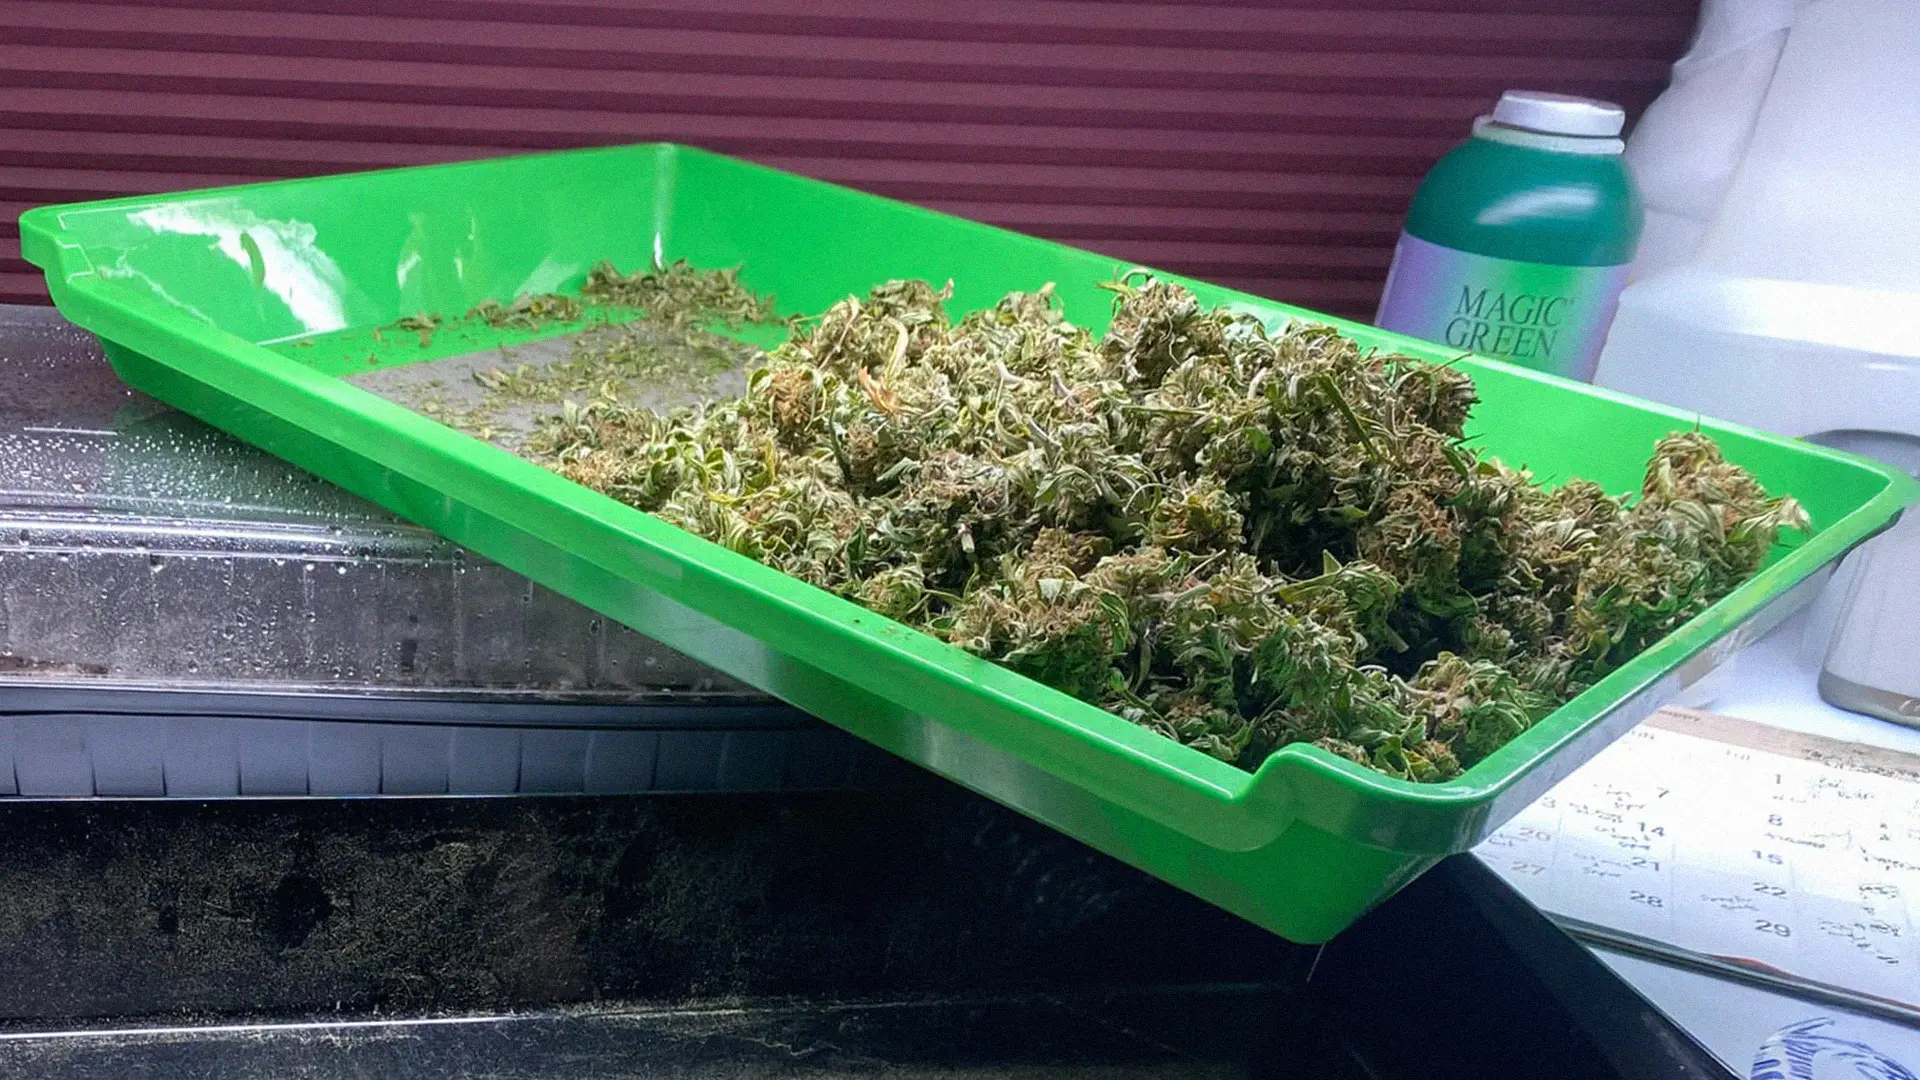
Trimtray by forumuser Fieldofdreams
Nitrile Gloves: Trust me. You do not want to be picking sticky resin off your hands for days. These will save you and your mobile phone screen!
Smaller Trimming Scissors: For the detailed work when you do your final trim.
Need To Harvest Suddenly?
When the weather turns, you may need to harvest immediately. Cut branches, consider a bud wash to remove outdoor dust, then hang them in your prepped drying area. The key is airflow and patience—rushing leads to harsh smoke. Expect strong odors, so use carbon filters if discretion matters. Even in a surprise harvest, organization leads to greater success.
Step 1: The Bud Wash (Optional but Smart to do Outdoor)
Your plants have been outside. Dust, dirt, bug poop... you name it, and it's on them. A bud wash might be a great idea if the situation calls for it.
Get three buckets. Fill the first with warm water and a cup of lemon juice. The second with warm water and a cup of baking soda. The third with clean, cool water.
After you cut each branch, gently swish it in bucket one, then bucket two, then dunk it in the rinse bucket. Shake off the excess water gently. It sounds crazy, but you'll see the dirt in the water. It’s worth it.
Step 2: The Hang
Immediately hang your washed (or unwashed) branches upside down on your lines in your prepared dark space.
Give them space! Don't let the buds touch each other. This is how mold starts. Good airflow is your best friend here.
Step 3: The Wait (The Hardest Part)
This isn't a race. A slow dry is a good dry. It will take anywhere from 7 to 14 days.
How do you know when they're dry? The stems will snap, not just bend. The outside of the buds will feel dry, but the smaller stems might still have a slight flex. This is the perfect time to take them down for the next step: The cure.
How to Control the Smell of Cannabis Drying?
Your house is going to smell like crazy. Amazingly. There's no way around it. If that's a concern, your drying space needs to be as sealed as possible. An inline fan with a carbon filter (like the ones for grow tents) is the absolute best way to control the smell. Set it up in your drying room. It will scrub the air clean.
Pro tip: In some places, drying cannabis isn’t just about smell—it’s about staying compliant. Check your local rules on home growing and storage before harvest so you’re not caught off guard.
FAQs
How do I know the right time to harvest outdoor cannabis?
Check trichomes with a magnifier—cloudy with some amber indicates peak potency. Pistils turning 70–90% brown is another visual cue.
Can I harvest cannabis in the rain?
Yes, but it’s risky. Harvesting wet plants increases mold chances. If unavoidable, dry buds quickly with proper airflow.
What’s the best way to harvest in different climates?
Humid regions: Watch for botrytis (bud rot). You may need to harvest a little earlier to avoid it.
Dry regions: Monitor trichomes closely. Low humidity may make drying too fast, so slow it down with a humidifier.
Cold climates: Frost risk means you may have to pull the trigger early, but better a slightly early harvest than frozen buds.
Do I really need to wash outdoor buds?
Washing is optional but highly recommended for outdoor grows. It removes dust, bugs, and spores that affect flavor and safety.
How do I speed up cannabis drying without losing quality?
Use dehumidifiers and controlled airflow. Avoid high heat, which destroys terpenes. Aim for a steady slow dry rather than rushing. Never blow fans directly at the buds.
What should I do if mold appears during drying?
Isolate affected buds immediately, increase airflow, and reduce humidity. If mold spreads, those flowers are unsafe to consume.
What comes after drying?
The cure! Once buds are dry to the snap test, put them in airtight jars, burp them daily at first, and let them slowly develop flavor and smoothness.

Stoney Tark
Stoney Tark, a top cannabis writer & breeder, shares expert tips on growing, breeding & hash making. Author, podcaster & industry voice!
Continue Reading
You might also find these interesting.