Grow schedule soil-Basic

Grow schedule soil-Basic
growing marijuana in soil

This schedule is suitable for people growing in pre-fertilized soil.

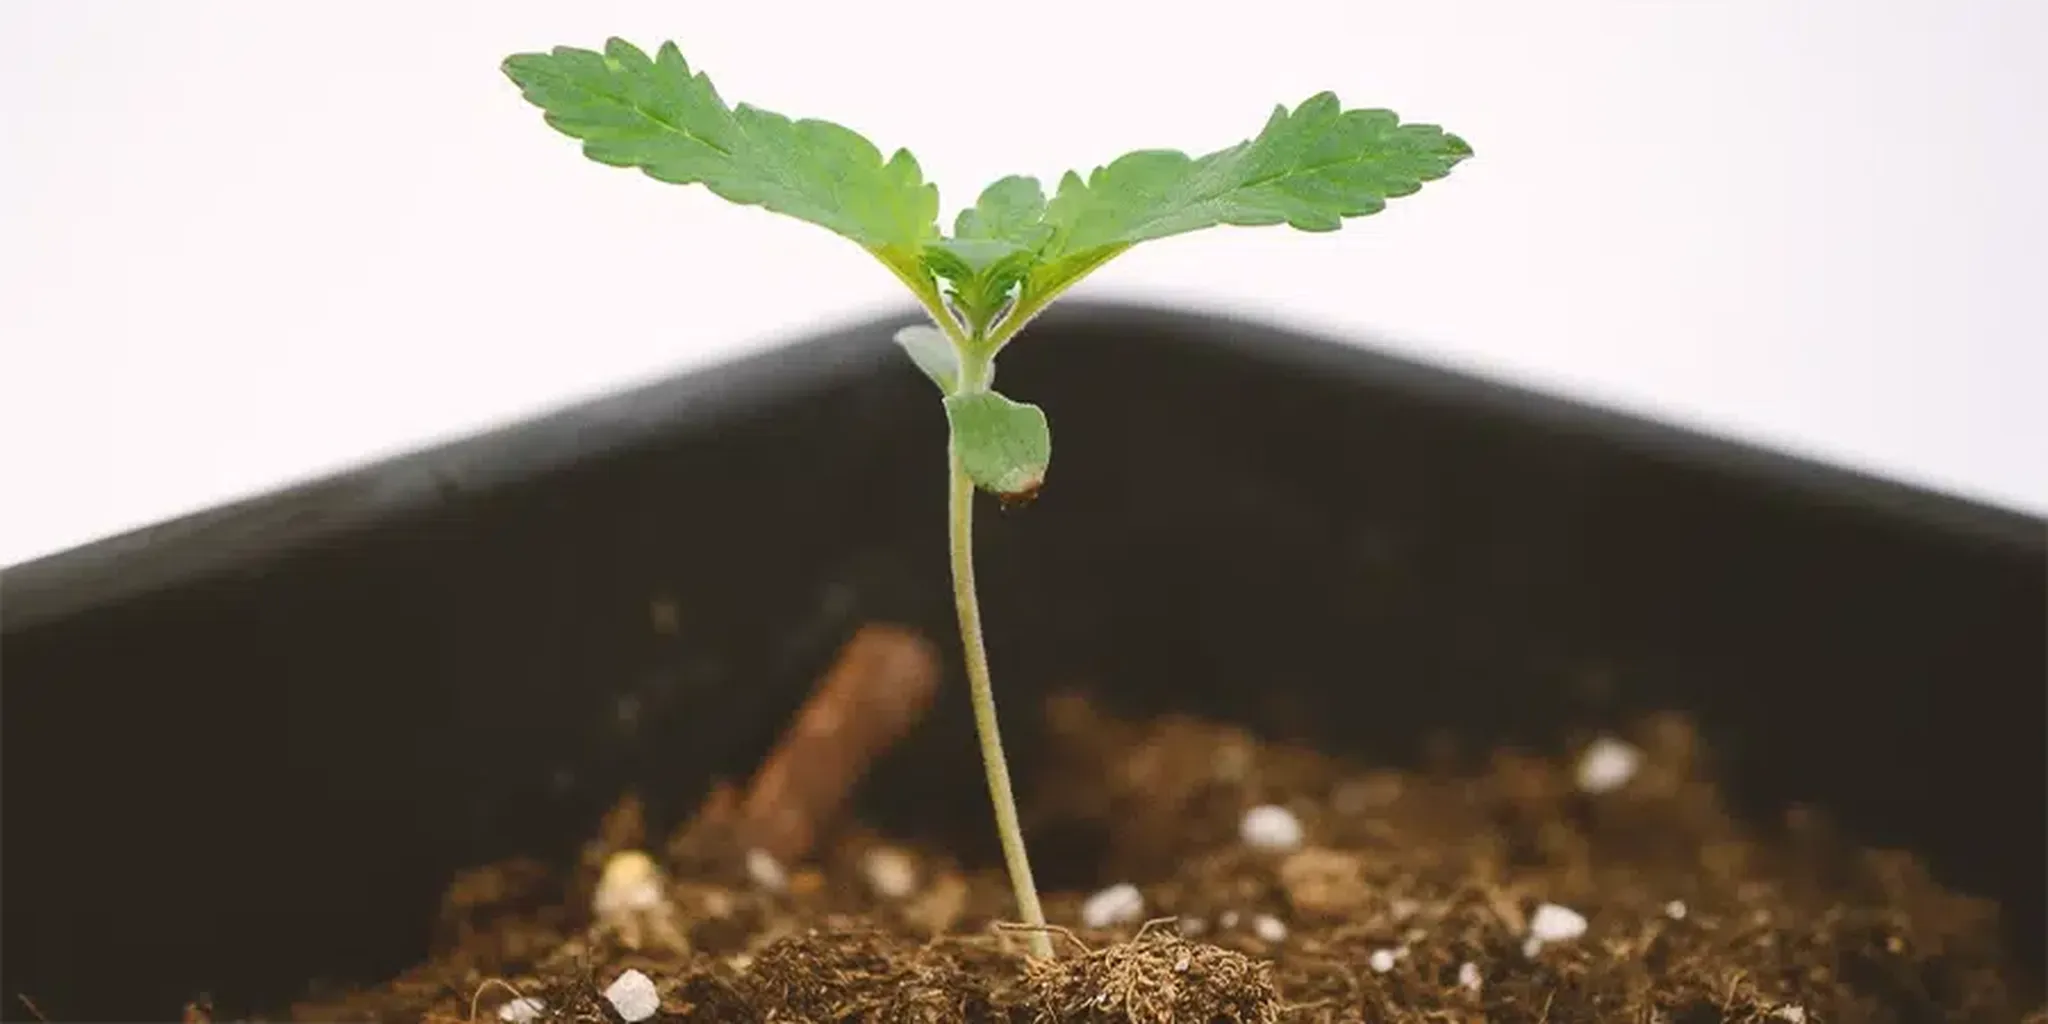
The schedule starts on the day you place your cuttings or seedlings in your grow room.

Seedlings therefore already need to have a number of internodes and cuttings must be well rooted.

Read the entire schedule, so you know what to expect.

Setup:

  • 3′ x 3′ grow tent
  • 4 x Amnesia haze – 9 week flowering
  • 400 watt MH during veg stage
  • 600 watt HPS during flowering stage
  • Humbolt soil
  • Marijuana booster nutrients

Week 1 vegetative stage

  • Amount of light: 50% of the lights on
  • Light distance: 40 inches between lamp and plant for 400 watt
  • Light duration: 18 hours/6 hours of darkness
  • Temperature day/night: 73/64
  • Humidity: 70%
  • pH: 6.0
  • EC: 0

During the first week the seedlings have to get used to the light. You should use an Metal Halide lamp during the grow phase if you have one.

MH lamps provide much more white/blue light than HPS, promoting their growth. Fluorescent cool whites are also suitable but a lot less powerfull.

Marijuana Week 1 vegetative stage
First week of stage

I always use a 400 watt MH lamp during the vegetative stage.

For the first watering, give that much water that it starts to come out the bottom of the pot and wait with the next watering until the plants used all the water.

You don’t need to provide them with nutrients yet, because this is present in the soil.

This soil from FoxFarm or Humbolt is perfect for growing marijuana. Spray your plants every day with a plant spray to keep the humidity high.

Week 2 vegetative stage

  • Amount of light: 100% of the lights on
  • Light distance: 20 inches between lamp and plant for 400 watt
  • Light duration: 18 hours
  • Temperature day/night: 75/64
  • Humidity: 65%
  • pH: 6.0
  • EC: 1.0

Turn on all light if you have more and decrease the distance between the lamp and the plant to 20 inches, but make sure it doesn’t get too warm.

Water your plants from underneath once, so the roots will start searching for water and they’ll quickly grow towards the bottom of the pot.

Marijuana plants Week 2 vegetative stage
2 weeks of stage

You can provide a bit of nutrients, preferably with a high nitrogen content, such as grow booster or Grow fertilizer from Flower Power.

And this is the right time to top your plants if you want to. They have enough time to keep growing. Read more about topping marijuana plants.

Fast growing cannabis seed

Buy Fast Growing Seeds

  • Easy to grow
  • Guaranteed germination
  • High yield
  • Grow guide available

Put a fan on the lowest setting and aim it just above the plants, so they all ‘dance’ a bit. This gives them a firm stem.

You can switch to flowering once the tips of the leaves of the plants start touching each other, so you know you’ll get a nice, green blanket of leaves.

Week 1 flowering

  • Amount of light: 100%
  • Light distance: 20 inches
  • Light duration: 12 hours
  • Temperature day/night: 77/64
  • Humidity: 65%
  • pH: 6.0
  • EC: 1.0

By shortening the duration of light from 18 to 12 hours the plant thinks fall is coming, and it will start to flower.

It takes several weeks before the first flowers become visible and the plant will keep growing nicely until then.

Marijuana plants first week of flowering
1 week flowering

The need for nitrogen therefore remains high. Make sure the rotating fan is aimed between the lamp and the plant.

This transports the hot air underneath the lamp and you don’t damage the plants too much with the hard wind.

Check the bottom of the leaves for any damage or discoloration because of bugs or nutrient deficits and make sure the tips of the leaves aren’t ‘burning’ = becoming yellow.

This could indicate a surplus of nutrients. More about nutrients in the Plant Care section on this link.

Week 2 flowering

  • Amount of light 100%
  • Light distance 20 inches
  • Light duration 12 hours
  • Temperature day/night 77/64
  • Humidity 60%
  • pH 6.0
  • EC 1.3

You shouldn’t top the plants anymore, but pruning some useless side shoots is perfectly fine.

The removal of these side shoots at the bottom, makes the plant use its energy solely for the production of thick buds.

Read more about pruning in the article How to prune marijuana plants.

Marijuana plants second week of flowering
2 weeks of flowering

They’re growing very quickly now, so you have to check the distance between your plant and lamp every other day and adjust it if necessary.

If the top leaves are starting to curl or show discoloration, it’s too warm and the extractor needs to be turned up or the distance between the lamp and plant needs to be increased.

Increase the EC with 0.1 every week and see how the plants react to this.

If you make sure all abovementioned values are correct, you should have healthy, green plants by now with thick stems and large leaves that can carry the weight of many heavy buds.

Let my free marijuana grow bible be your ultimate guide as you begin your marijuana journey.

Week 3 flowering

  • Amount of light 100%
  • Light distance 20 inches
  • Light duration 12 hours
  • Temperature day/night 77/64
  • Humidity 60%
  • pH 6.0
  • EC 1.4

The root system of the plant has grown out and should come out of the bottom of the pot by now.

The first flowers will become visible and the plants will grow slowly for a while.

Marijuana plants week 3 of flowering
3 weeks of flowering

They now use the maximum amount of water, so make sure they always have access to water by always having a moist soil.

Feel halfway down the pot with your hand and lift them often to check the humidity.

If you’re growing with regular seeds you should have removed the males by now, before they can fertilize your females and endanger the quality of your marijuana.

End this week with a good rinsing. Don’t add any nutrients to the water when rinsing, but make sure the pH is 6.

Week 4 flowering

  • Amount of light 100%
  • Light distance 20 inches
  • Light duration 12 hours
  • Temperature day/night 77/64
  • Humidity 50%
  • pH 6.0
  • EC 1.5

You’ll see that little buds are starting to form all over and that the plants are getting a nice smell.

The need for phosphor (P) increases, so move on to a good flowering nutrients, such as Bloom by flower power.

Marijuana plants week 4 of flowering
4 weeks of flowering

You should’ve given your plants a good rinse at the end of last week, without any nutrients.

This is to lower the nutritional value with a high nitrogen concentration in the soil and plant, so the plant can immediately absorb a good dose of phosphor to quickly let the little buds develop.

Week 5 flowering

  • Amount of light 100%
  • Light distance 20 inches
  • Light duration 12 hours
  • Temperature day/night 77/64
  • Humidity 50%
  • pH 6.0
  • EC 1.6

The plant won’t grow anymore and will only focus on the production of buds.

Make sure the distance between the plant and lamp is optimal; as much light as possible, but not too warm.

Marijuana plants week 5 of flowering
5 weeks of flowering

The buds are even more sensitive to heat than the leaves. Attach a thermometer to a plant stick and place it under a lamp to see how warm it gets.

Keep feeding your plants and look out for possible damage to the leaves by bugs or nutritional problems.

Red stems are a sign of stress and can indicate certain problems. Check the Symptom Checker if you have any problems

Week 6 flowering

  • Amount of light 100%
  • Light distance 20 inches
  • Light duration 12 hours
  • Temperature day/night 77/64
  • Humidity 50%
  • pH 6.0
  • EC 1.7

The buds continue to develop and the plant will use maximum amounts of water, nutrients and CO2.

Make sure your fans keep spreading the fresh air and that your plants never get too dry.

Marijuana plants week 6 of flowering
6 weeks of flowering

This is always a long phase and not much seems to be happening. It is a challenge to keep the environment factors such as temperature, humidity and ventilation optimal right now.

Rinse your plants again at the end of the week with water without nutrients, but with a pH of 6.

This is to stabilize the EC and pH values of the plant and the soil again.

Week 7 flowering

  • Amount of light 100%
  • Light distance 20 inches
  • Light duration 12 hours
  • Temperature day/night 77/64
  • Humidity 40%
  • pH 6.0
  • EC 1.8

Your buds are starting to become really big and the plant still needs nitrogen, phosphor and all other nutrients, but needs potassium more than anything.

Use a product such as THC booster or Flower Power Boost to provide the plant with an optimal diet.

Marijuana plants week 7 of flowering
7 weeks of flowering

You’ll see that a sort of white layer will arise on little leaves around the buds; this is THC.

The whiter, the better, so give your plants maximum nutrients. You’ll see that the first hairs will start to turn orange.

Week 8 flowering

  • Amount of light 100%
  • Light distance 20 inches
  • Light duration 12 hours
  • Temperature day/night 77/64
  • Humidity 40%
  • pH 6.0
  • EC 1.8

Your buds are making their final growth spurt, but will mainly focus on the compactness and production of THC.

The bottom leaves might start to turn yellow and slowly die off, but that’s normal. It’s no nutrient deficit, so you can keep maximally feeding them.

Marijuana plants week 8 of flowering
8 weeks of flowering

Check the buds every other day for possible fungi and yellow/brown leaves.

Immediately cut off suspicious parts or post a picture on the forum and you’ll have an answer to your question in no-time.

Week 9 flowering

  • Amount of light 100%
  • Light distance 20 inches
  • Light duration 12 hours
  • Temperature day/night 77/64
  • Humidity 40%
  • pH 6.0
  • EC 0.5

In order to get rid of all nutrients, you can drastically lower the EC.

Provide your plants the last one or two times with only water of pH 6.0. This also rinses the soil, so you could use it for your next harvest.

Marijuana plants Week 9 of flowering
9 weeks of flowering

Keep all factors under control and properly check for rot or bugs.

Discoloration of the leaves is normal and all hairs on the buds are slowly turning brown.

If you feel like your plants can still use normal amounts of water and you’re not at 80% brown hairs yet, you could let them sit a bit longer.

It’s also a matter of taste. Read more about harvesting in the article When to harvest marijuana plants