


0 Reviews
Little miss Durban Poison cracked her shell and began to send out root in one day following your directions!
By growers for growers
Explore Expert Tips and Insights to Enhance Your Cannabis Journey.
Need some help getting started? Check out our most popular Cannabis growing guides to help you take that first step, and the one after, and after.
See All Guides
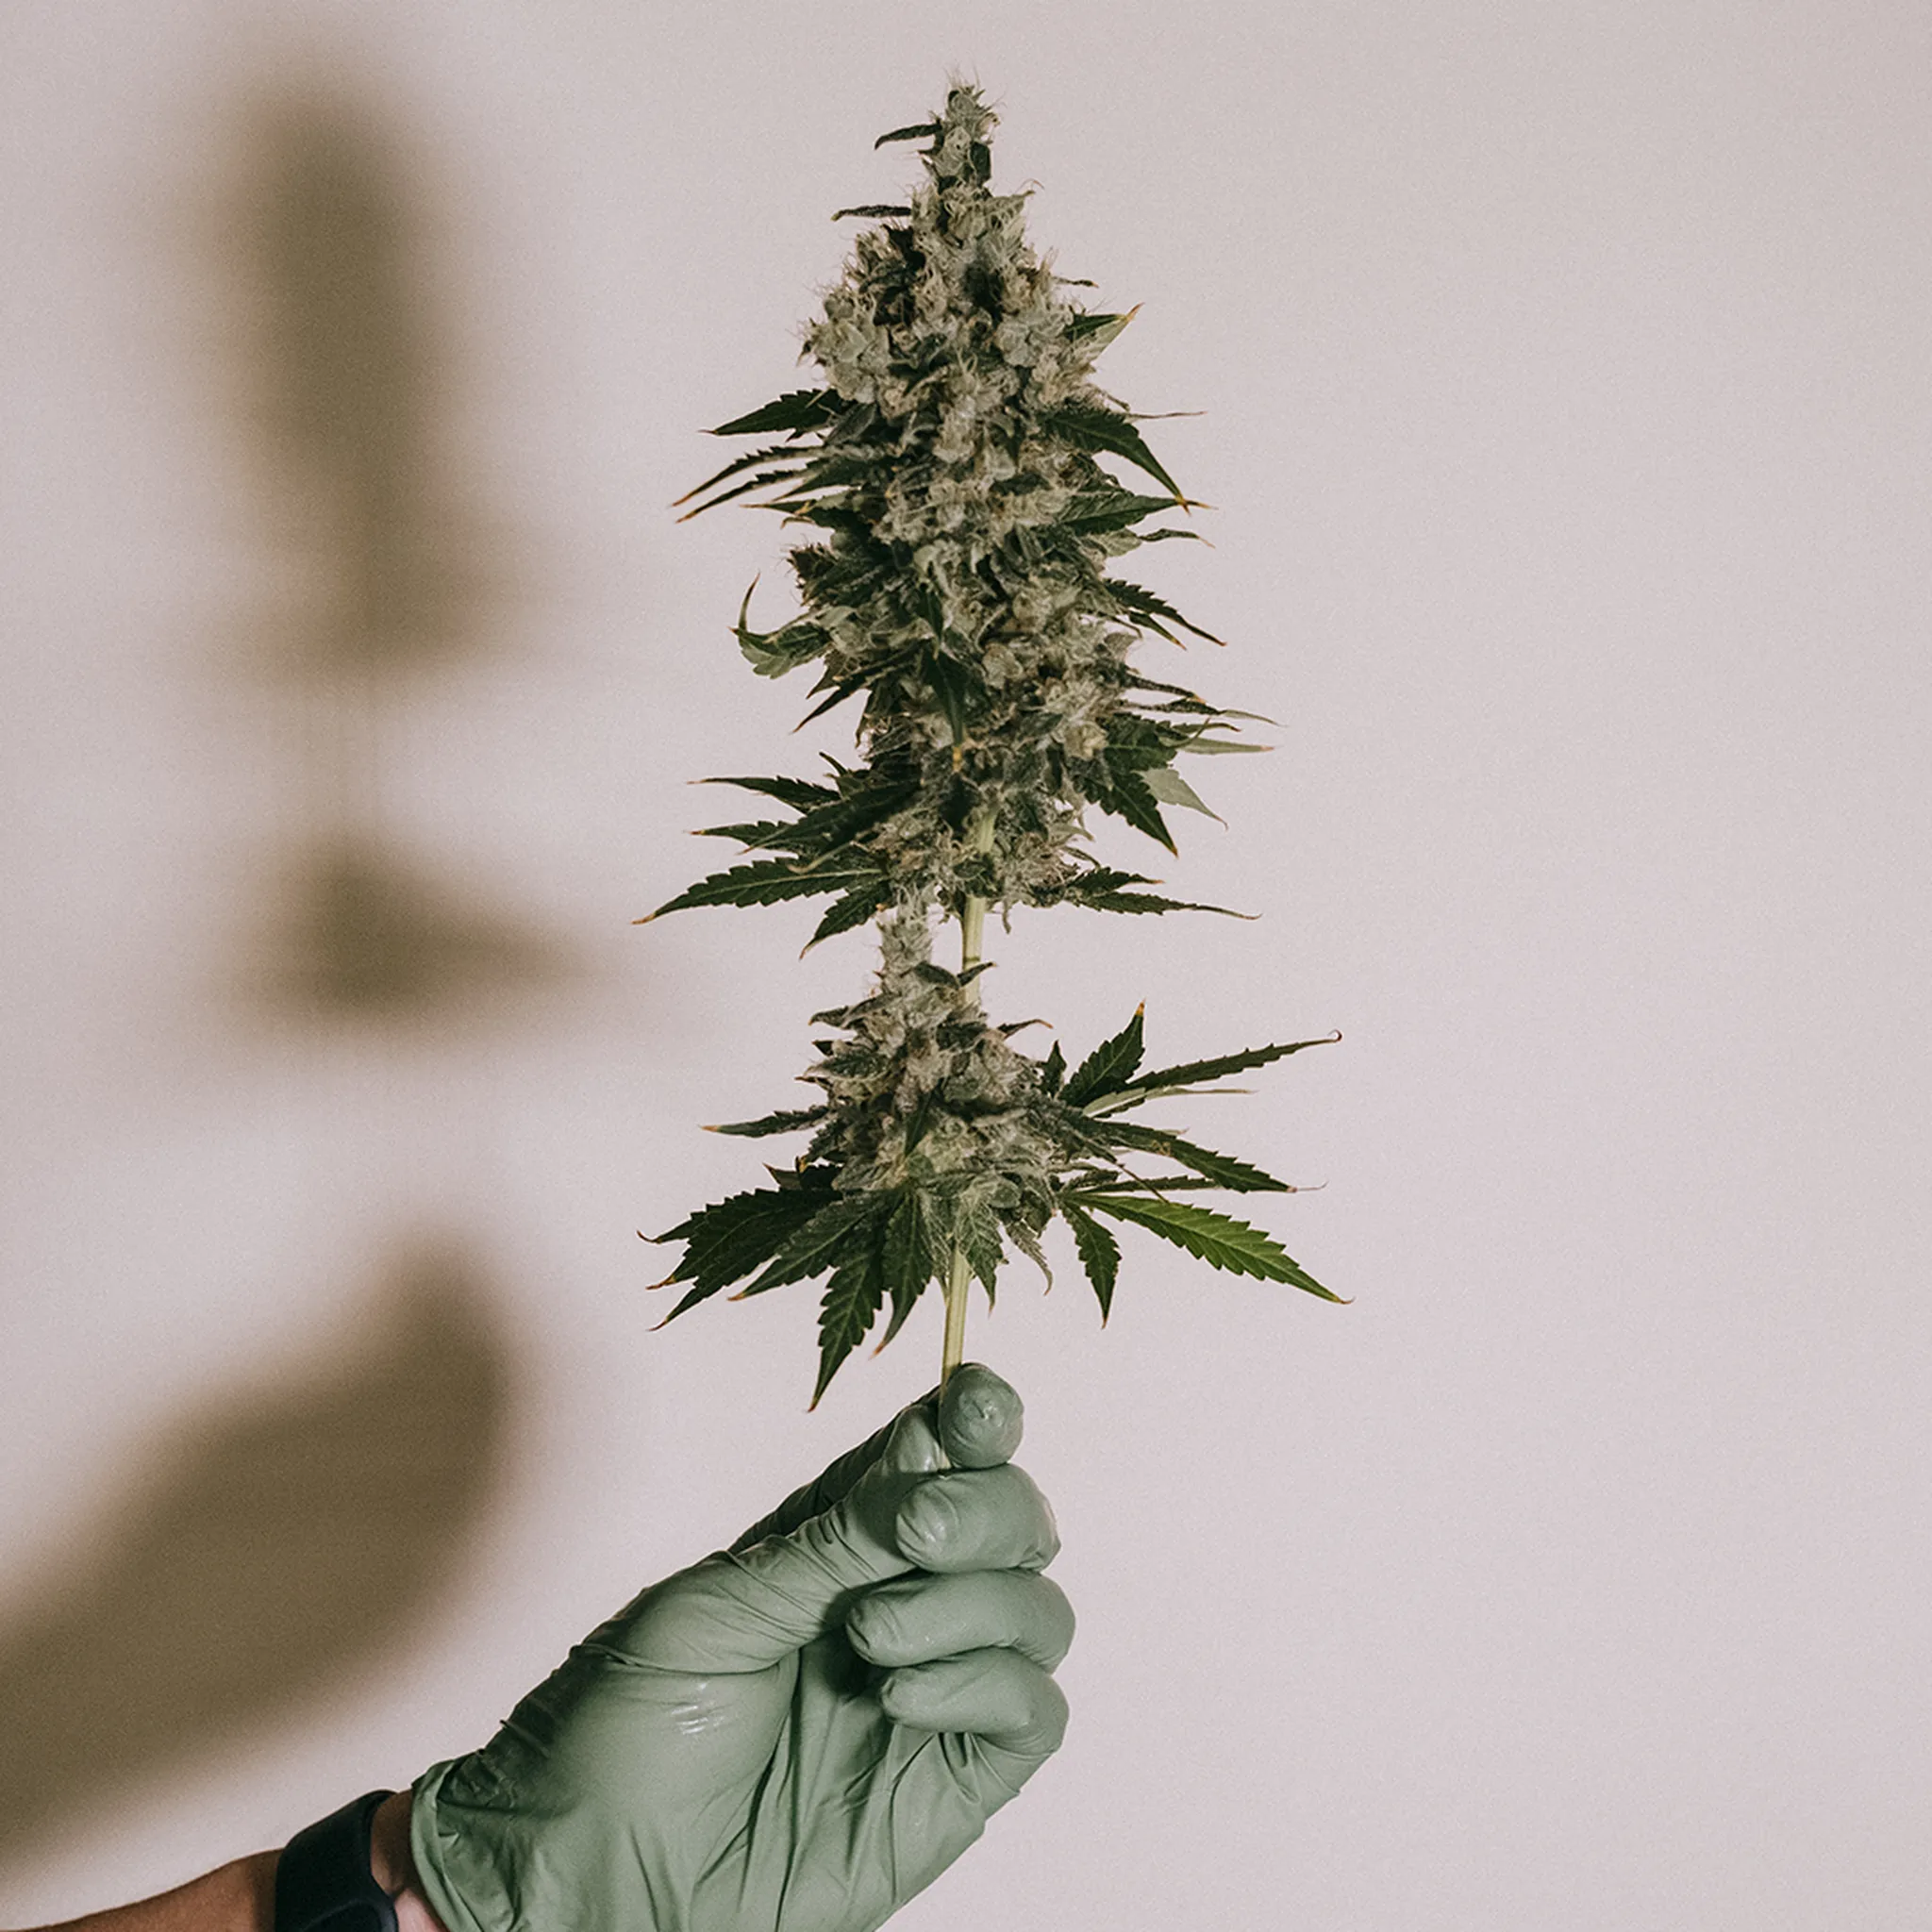
Wondering when your plant is ready to harvest? Our step-by-step guide covers everything you need.
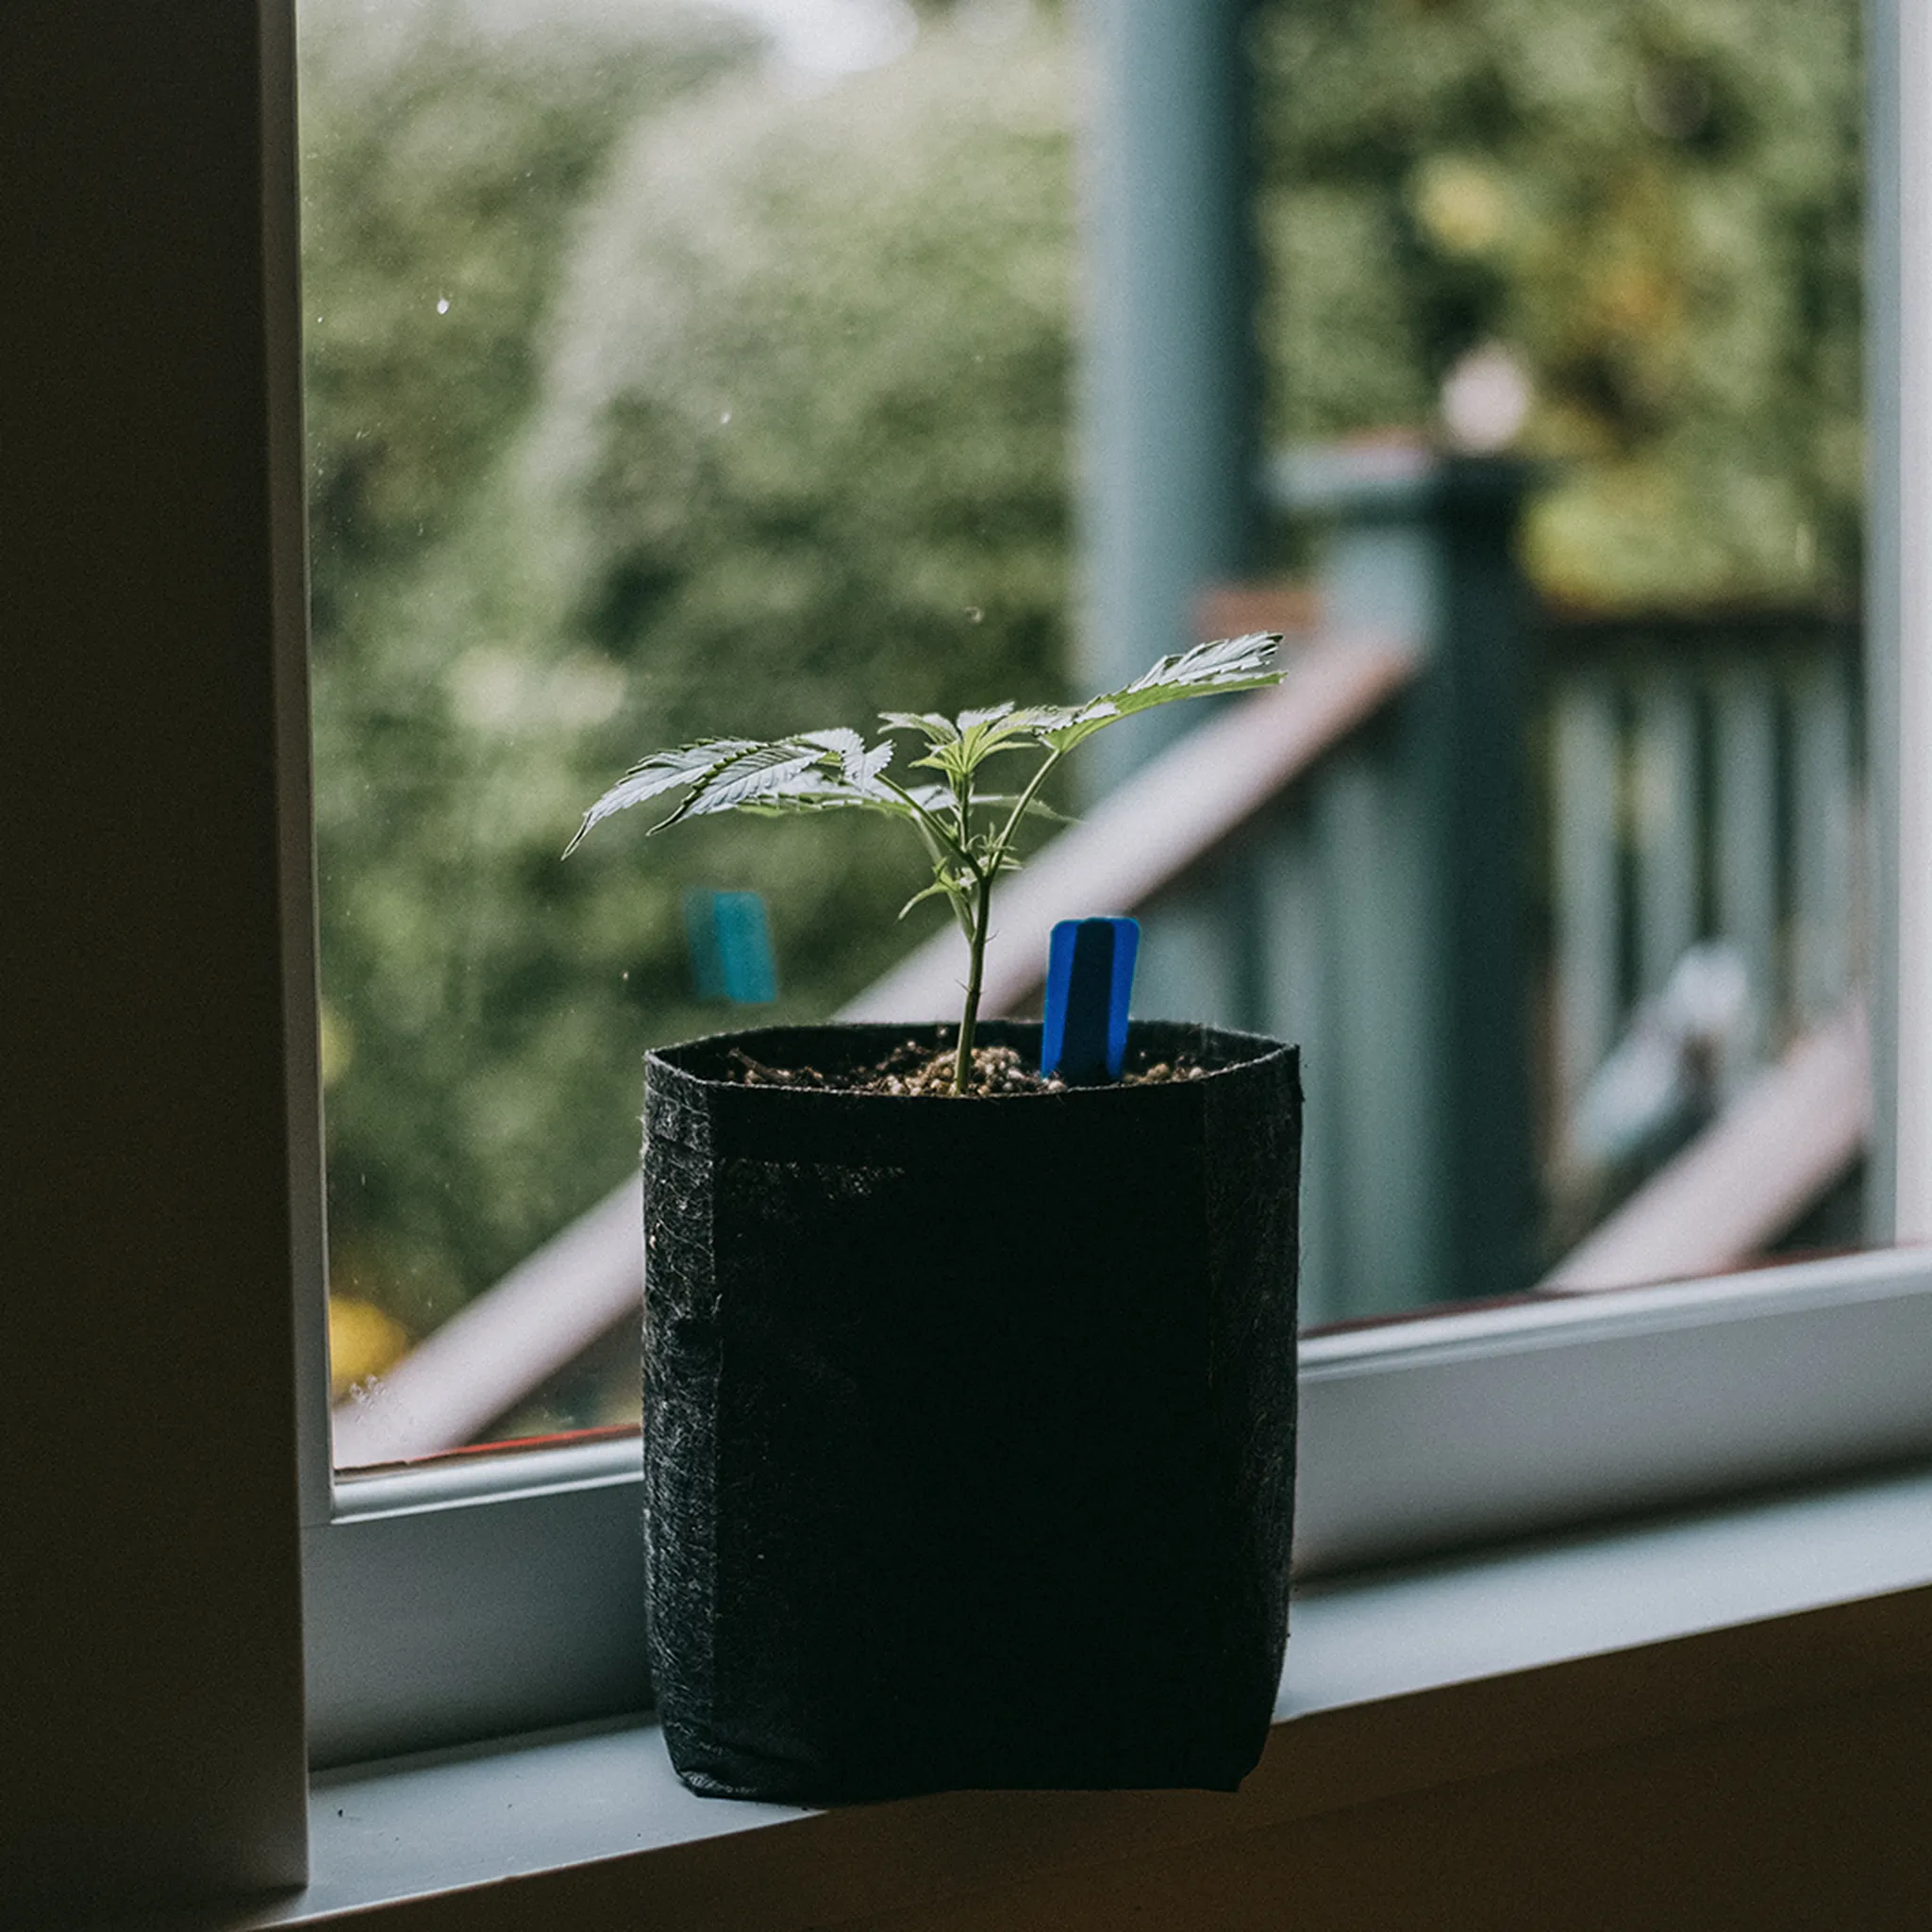
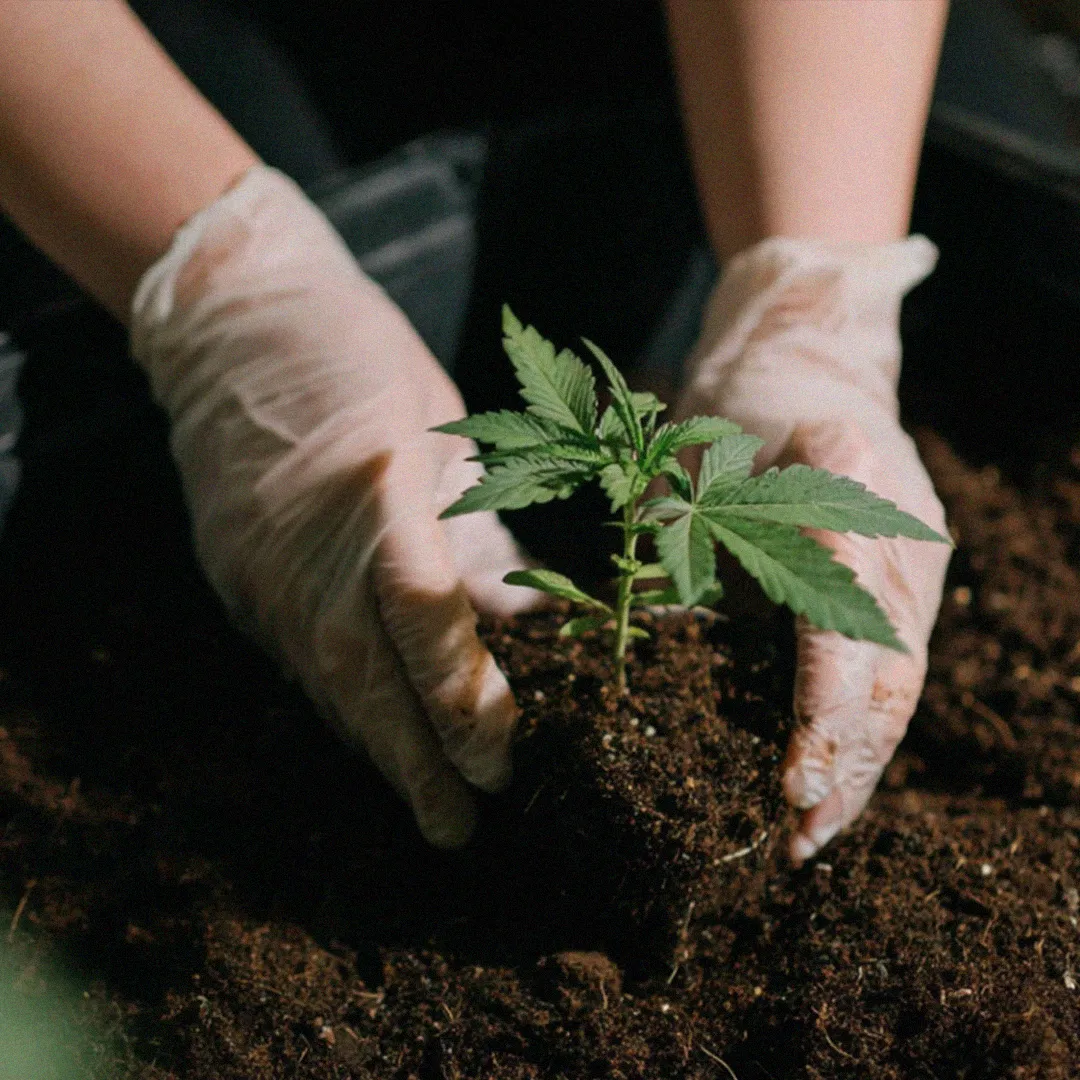
A bountiful harvest begins with proper germination. No matter the seed or your experience level, every grower starts here.
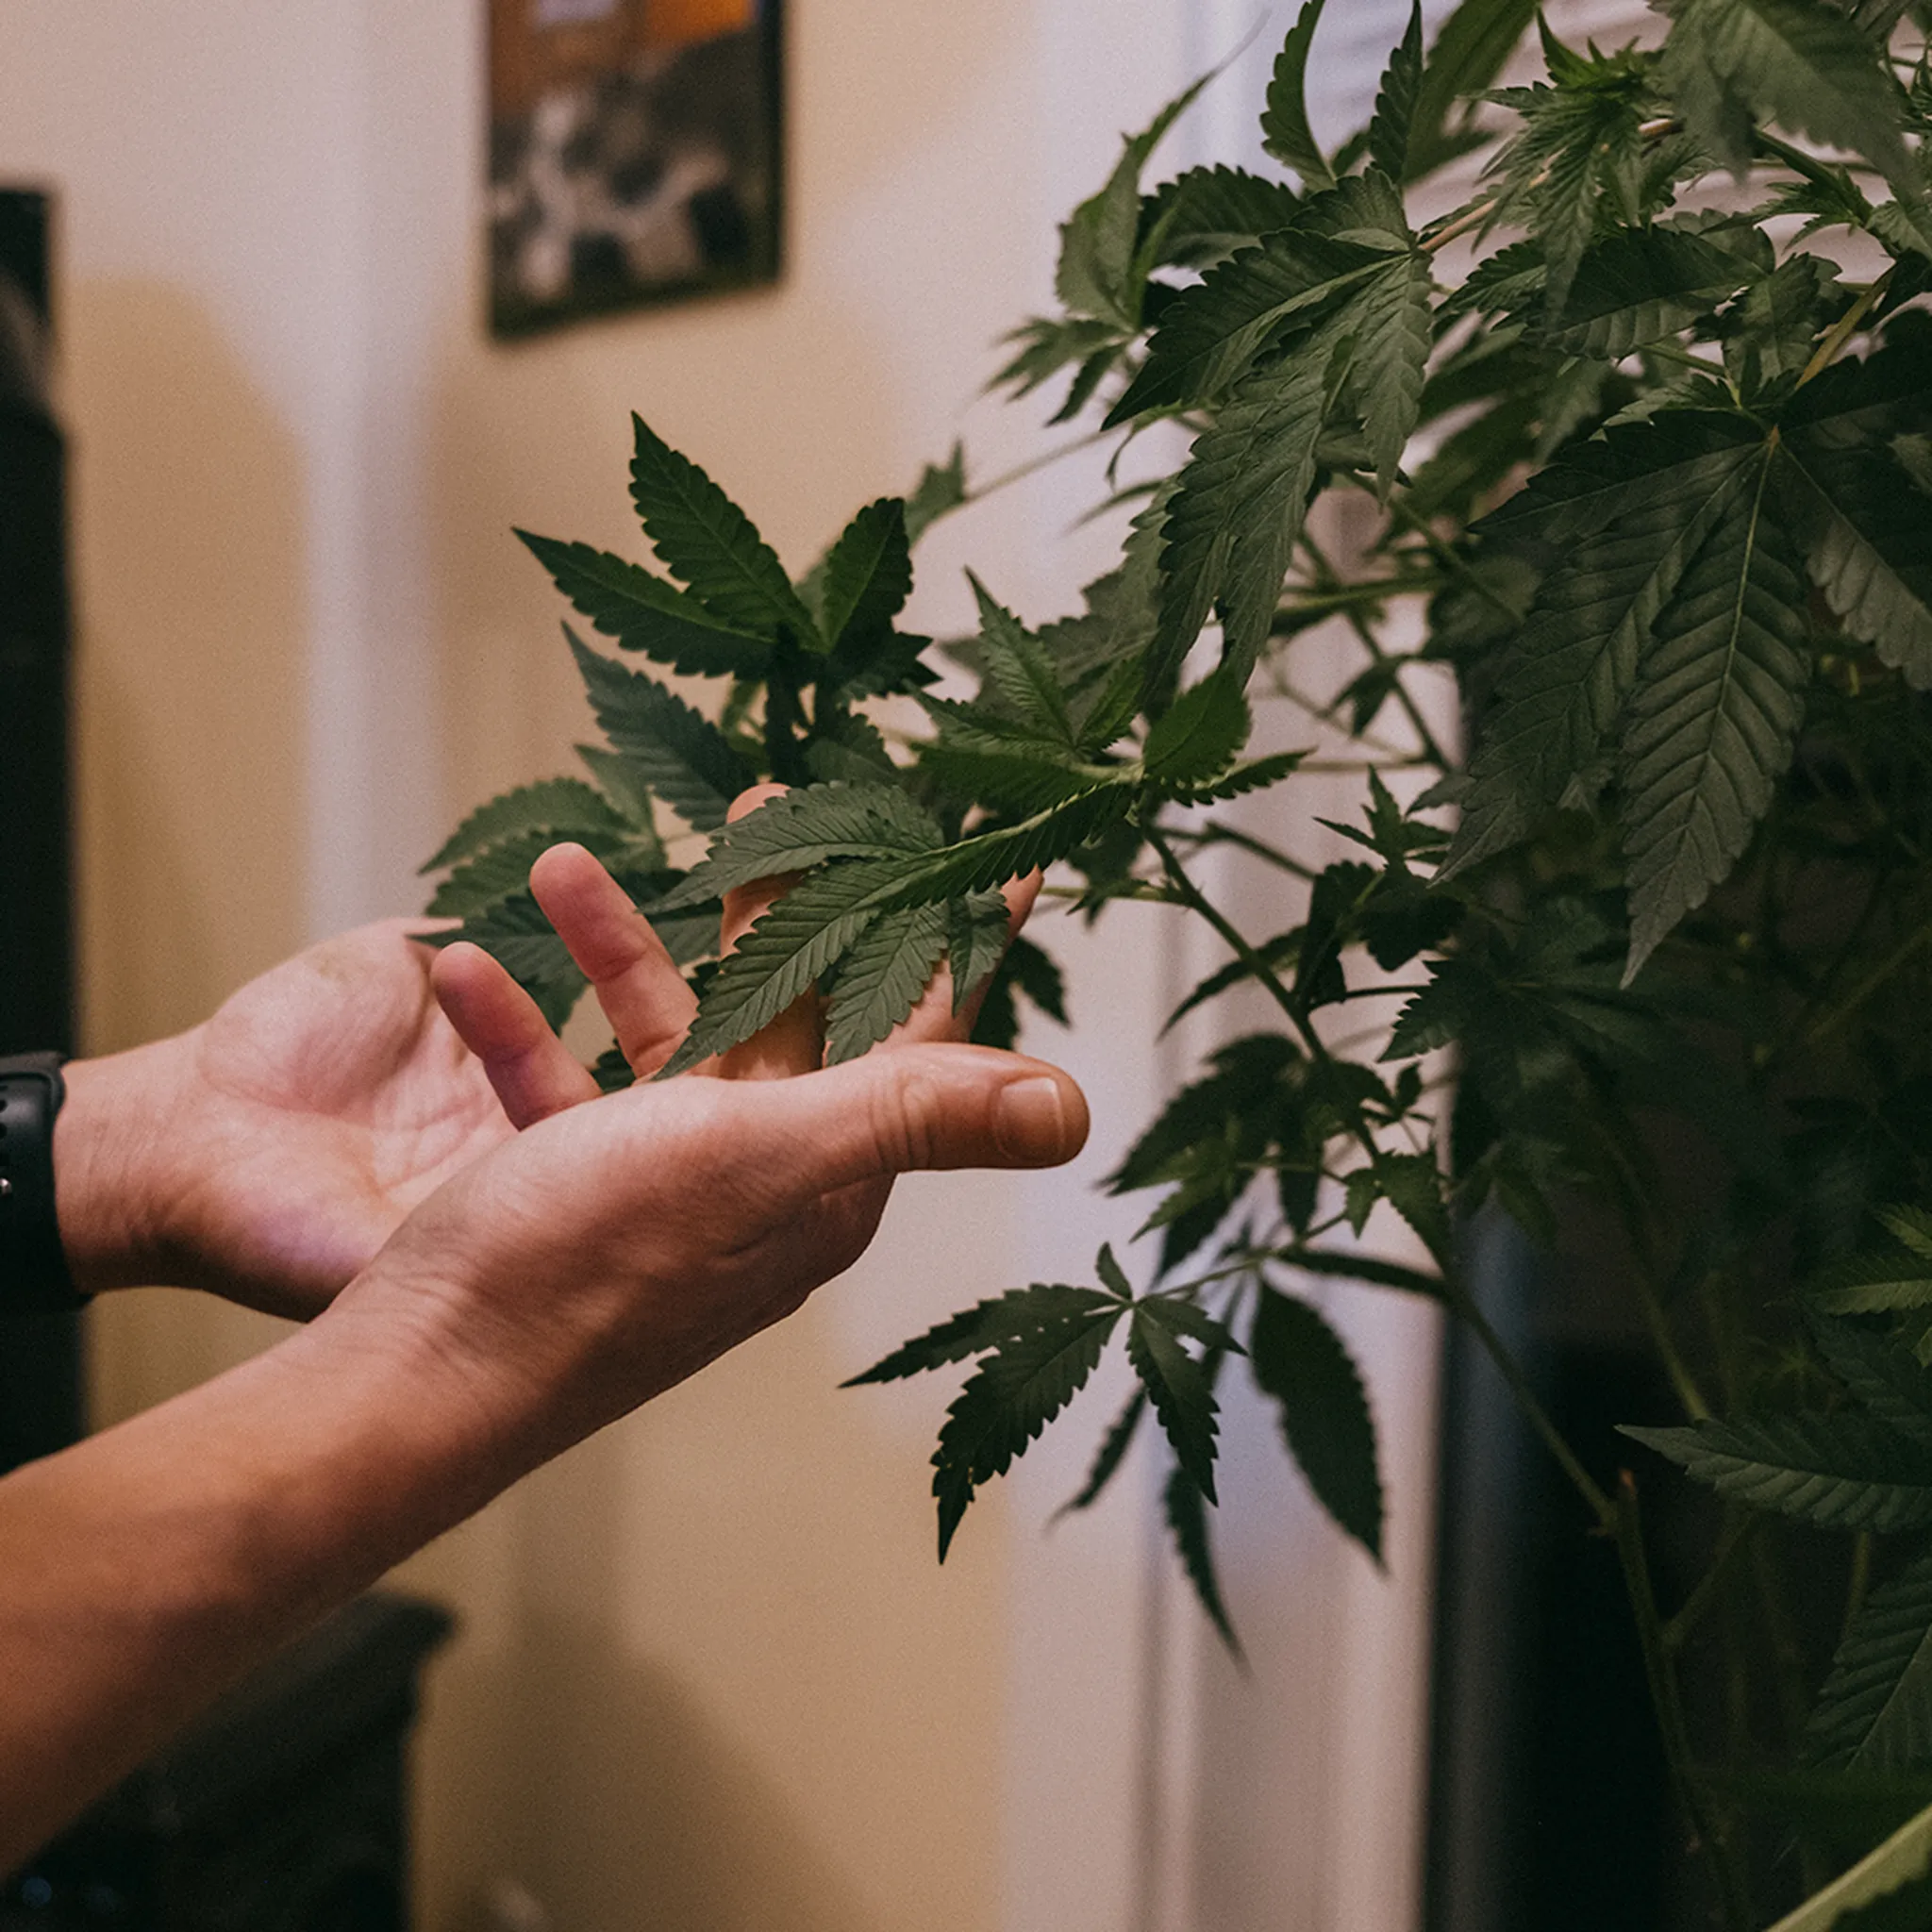
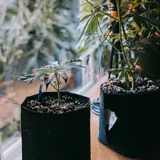
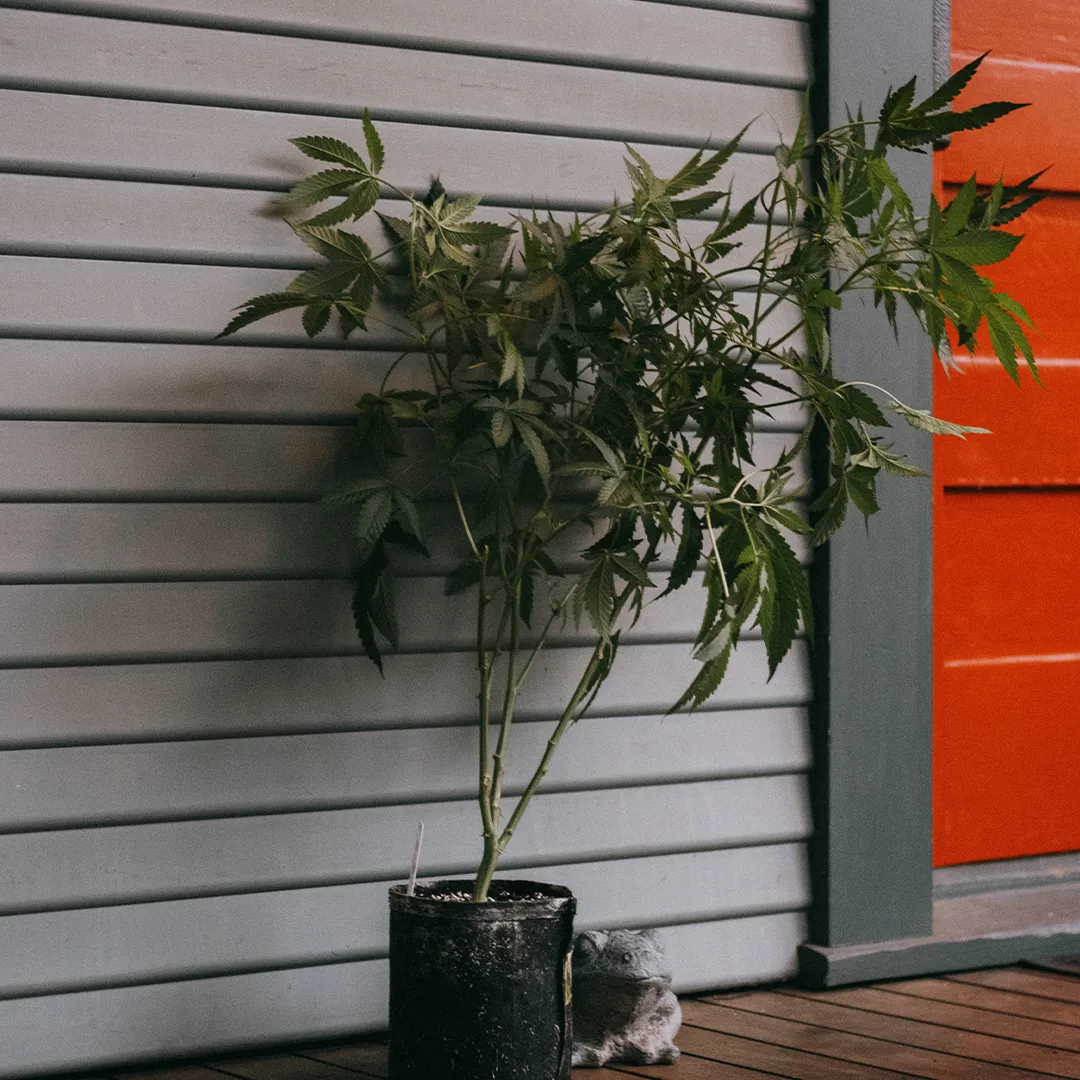
It's time to set your plant up for success. The better you guide your plants through the vegetative stage, the more you'll eventually harvest.
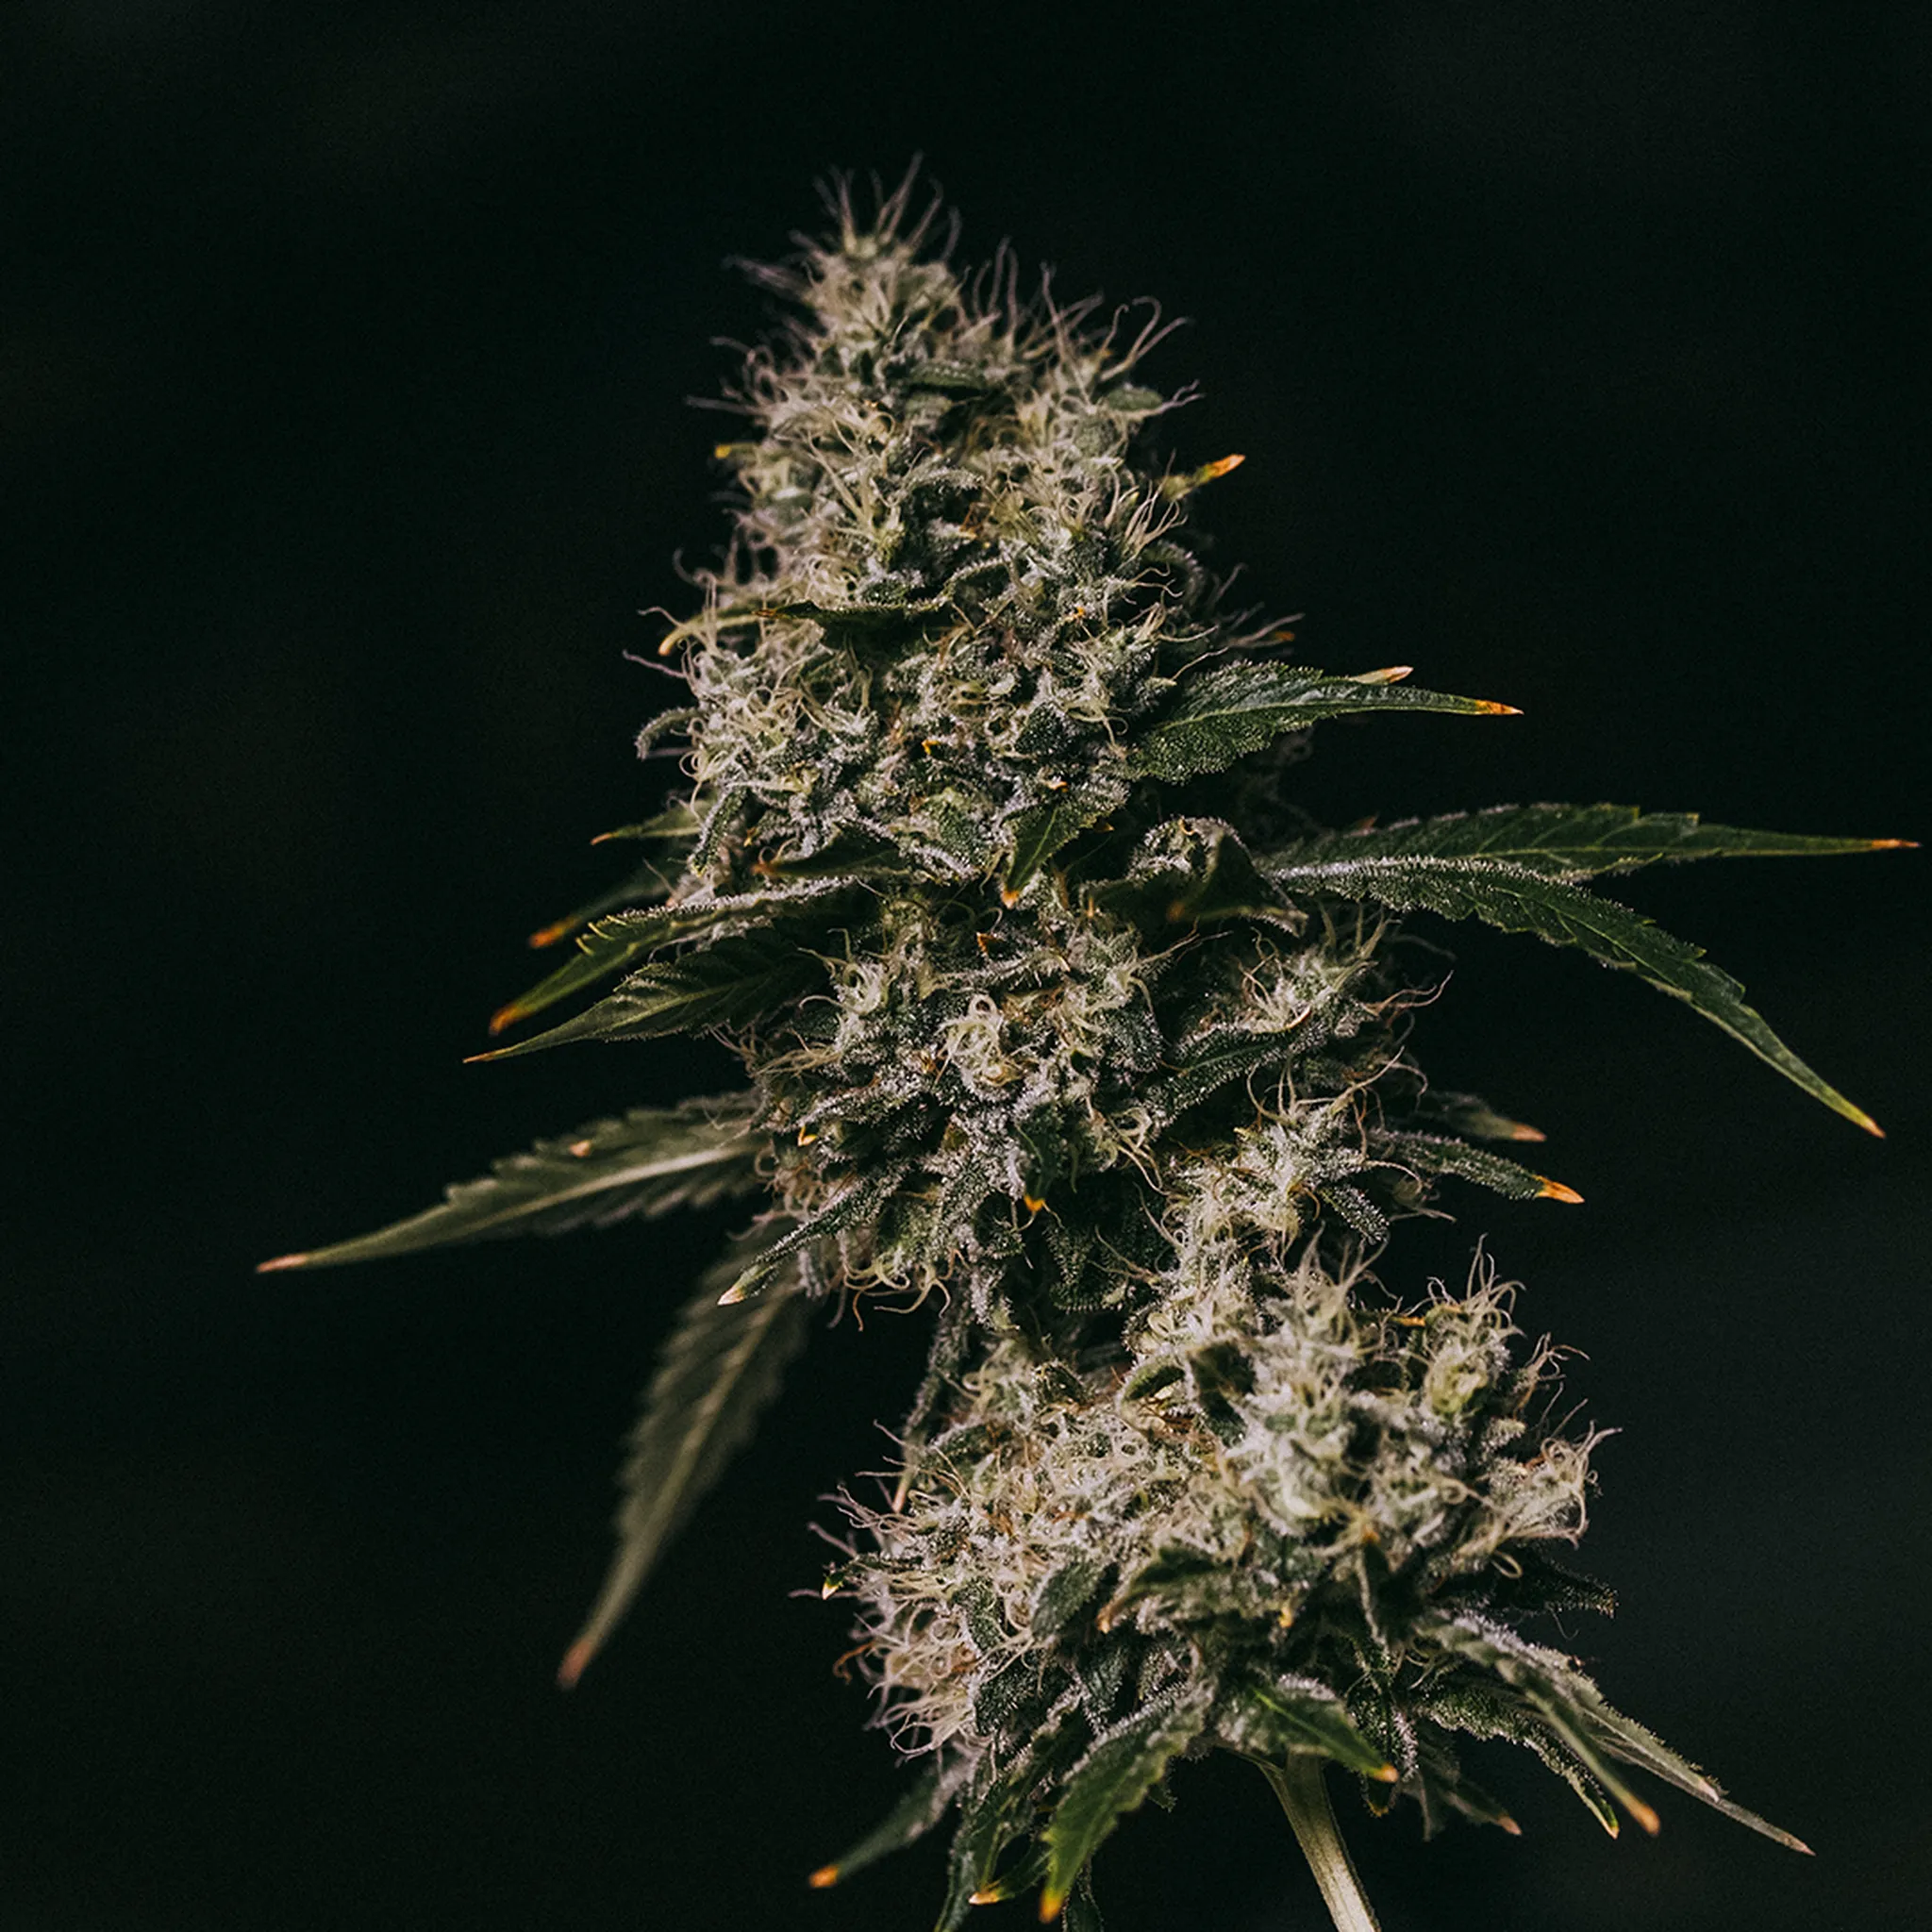
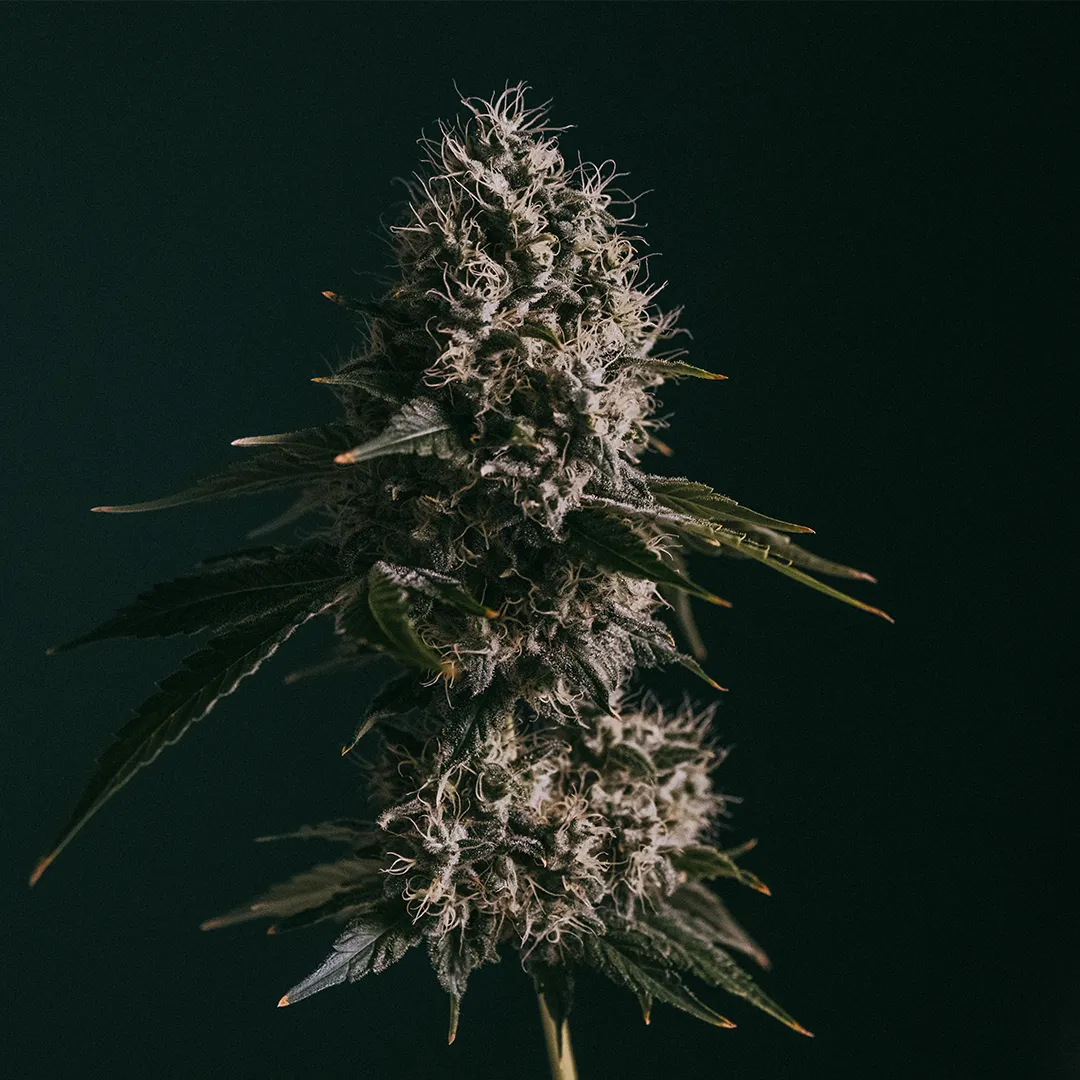
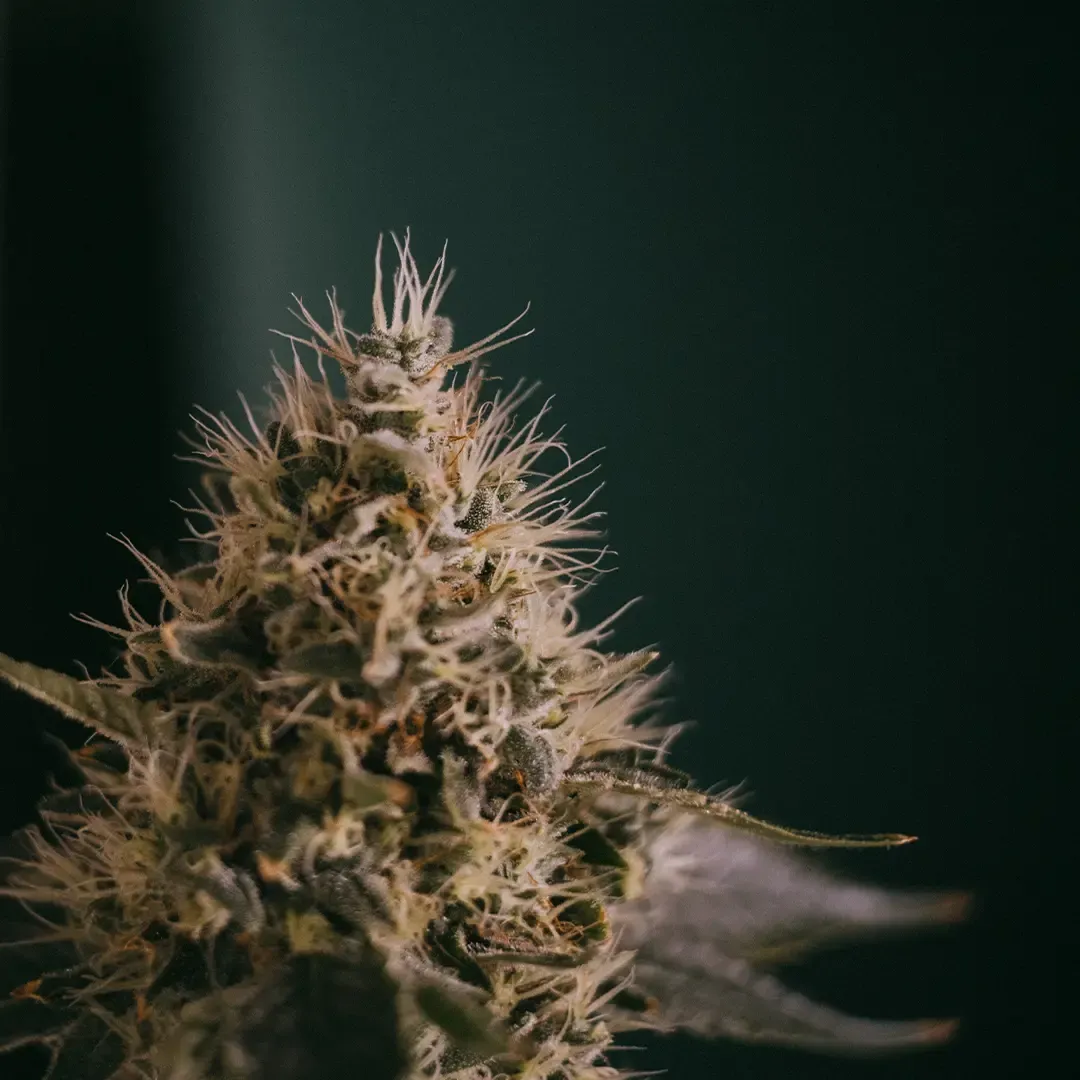
Beautiful smells, colors and, in time, tastes. The flowering phase is perhaps the most impressive one each cannabis plant goes through.
Successfully grown dankness deserves a well-though out storing solution. So that you may enjoy the fruits of your labor as long as possible.
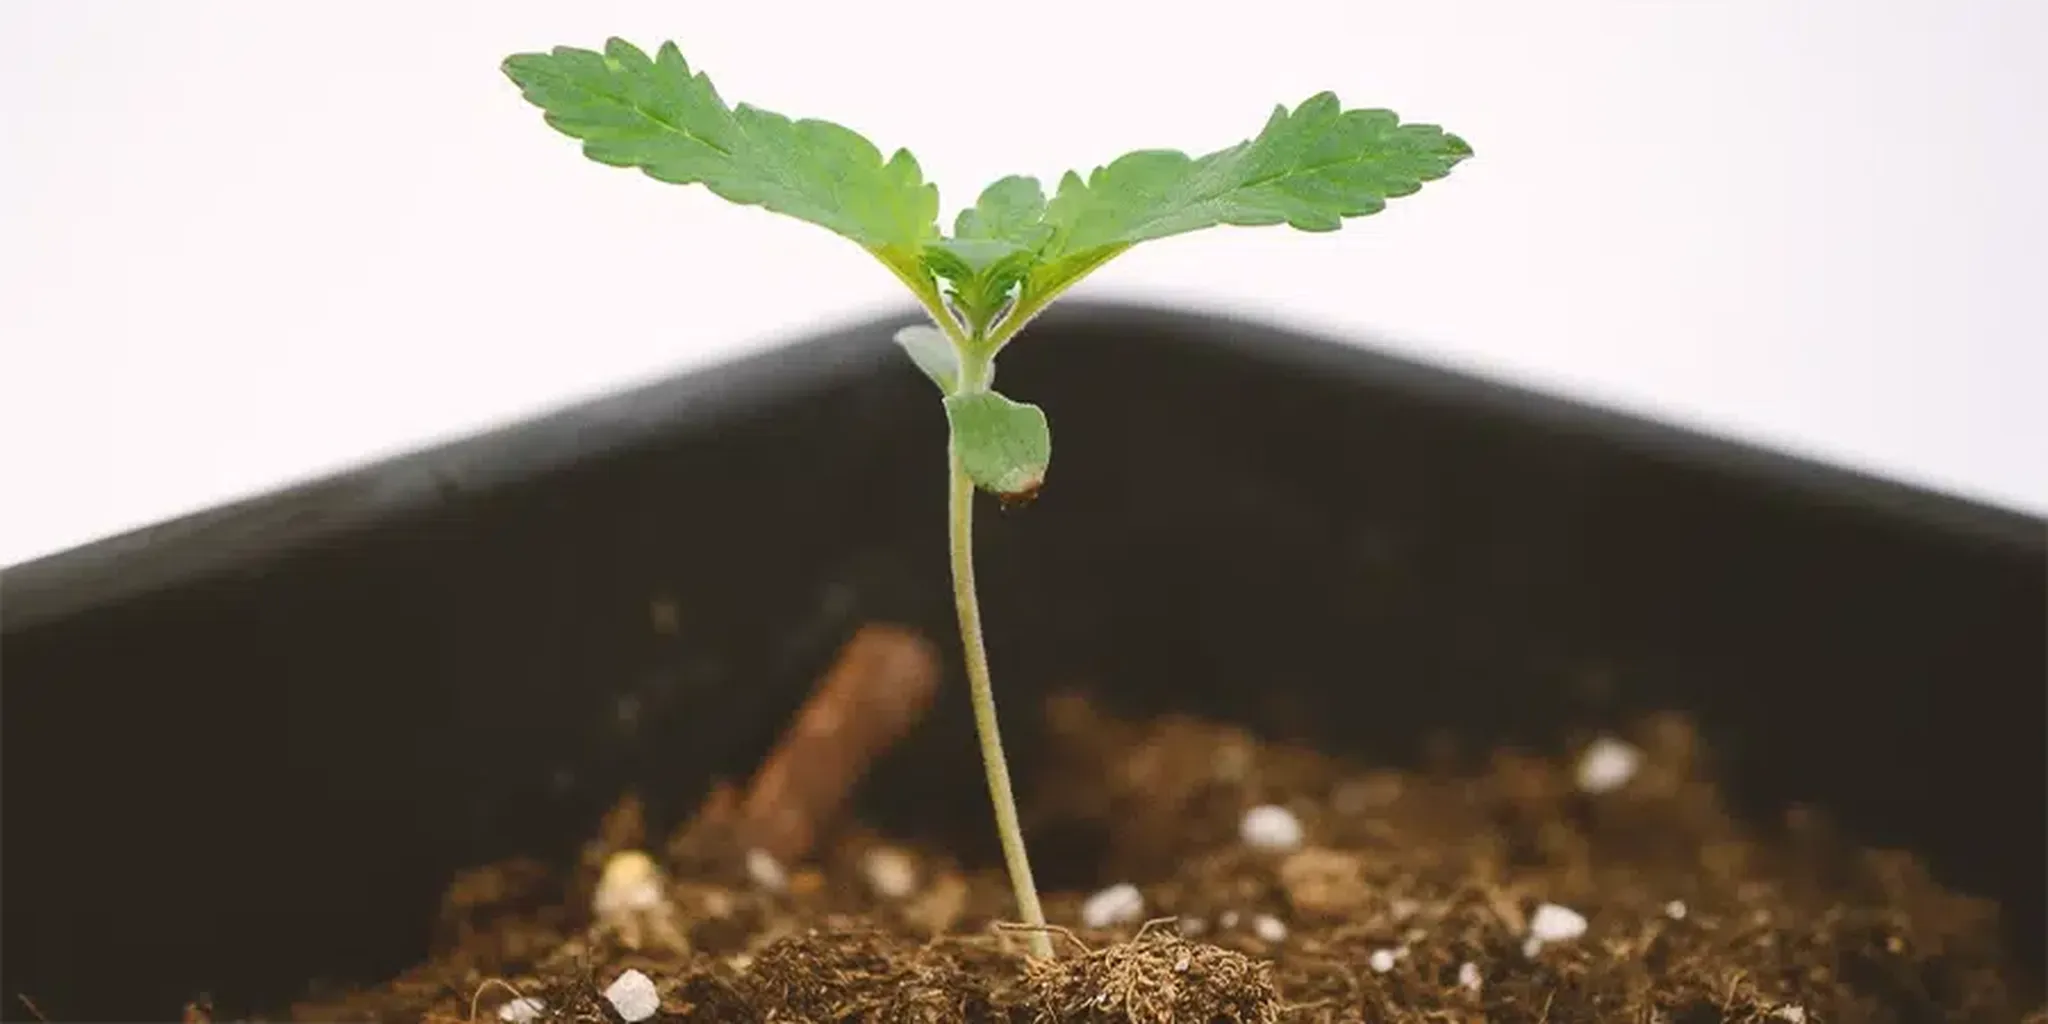
Starting with cannabis seedlings can feel like raising a bunch of tiny, green babies—they need just the right care to grow up happy and strong. And just like any young plant, seedlings have unique needs and a few quirks to watch out for. The good news? Most cannabis seedling problems are easy to fix once you know what to look for. Early diagnosis and a few simple adjustments can help you steer clear of issues down the line.

Fast & Free Delivery
Within 2 to 5 business days
Secure Payments
All major payment options accepted
Guaranteed Germination
Replace any rogue duds
Current highlights from the company
Little miss Durban Poison cracked her shell and began to send out root in one day following your directions!
All the seeds I received from ILGM have always germinated and turned into thriving plants.
Proper care and attention to the needs of the plants will yield BIG trichome covered kolas!