The Cannabis Vegetative Stage
During the vegetative stage, the plant develops very rapidly.
It will now create the leaves and stems that are needed to create and carry all the buds later on.
A lot of light is needed in order to grow this fast. Your plant can use the leaves it has at this moment to catch sufficient light and convert it into energy.
Also the root system will grow fast during this period. You probably have to transplant your plants after a week to their permanent residence, in which they’ll also flower.
So we keep an eye on the bottom side of the pot to see if the roots are growing through.
We also start feeding the plant. They need a lot of nitrogen during the vegetative stage to help them grow.
We start with a little bit and see how the plants respond. If all goes well, we can slowly give more nutrients.
And of course there’s another step by step grow journal in which I’ll show you what to pay attention to and what you have to do.
I’ll show you what can go wrong and I’ll run some nice experiments with a couple of plants.
Feel free to post questions on forum. Don’t forget to take a picture of your plants now and then and the best of luck during this important stage!
Buy Feminized Seeds
- Easy to grow
- Guaranteed germination
- High yield
- Grow guide available
Climate
Bergman’s Numbers
Environmental factors
- Light cycle: 18 hours of light – 6 hours of darkness
- Light color: Blue-white – Fluorescent or MH
- Temperature: 70 to 77 degrees
- Humidity: 50-70%
- Fertilizer: 0.5 – 1.0
- pH: 6.0
Stick to the light cycle of 18 hours of light and 6 hours of darkness. Make sure your plants are actually in complete darkness during the dark periods.
You check this by waiting until the light goes off and stand in the room with the door closed.
If your plants are in a cabinet or another small space, you could record your plants with the door closed to see if no light enters your grow room.
Make sure the light of your camera or webcam is off.
The color of the light stays the same, but it’s best to switch to a Metal Halide lamp. These lamps provide a lot of light, so your plants will grow super fast.
400 watt MH would be perfect. Another alternative is HPS, but these will give you a different color of light.
The distance between the plant and the MH or HPS lamp is 0.04 inches per watt.
So a 400 watt lamp is placed at 16 inches and a 600 watt lamp at 24 inches. Make sure the temperature doesn’t exceed 77 degrees.
If you don’t want to invest in MH lighting, you can also use regular fluorescent lights.
The plants will however grow a bit more slowly and have a smaller yield.
An advantage of fluorescent lights is that you won’t encounter heat problems as much and you’ll use less electricity.
Fluorescent lights are all right for beginners, but I recommend regular growers to buy an MH light bulb with ballast and reflector.
The same as before, so between 70 and 77 degrees. You can use a thermometer with a min-max feature to measure your temperature at night.
It will indicate what the lowest and highest temperatures were.
You can also get a thermometer that has its sensor on a wire, so you can check the temperature outside the room when the lights are off.
You can lower the humidity a bit from the point the plant has its own root system. A humidity between 50% and 70% is good.
You’ll see that the humidity increases shortly after watering and will then slowly decrease as the water evaporates and is absorbed by the plant.
Spraying the plant a bit is always a good idea.
From now on, we’re going to feed our plants a bit. We start with an EC of 1.0 and if the plants positively react to this, we slowly increase it to 1.8 right before harvesting.
if you have heavily pre-fertilized soil, you don’t have to feed your plants yet.
If you’re not sure and you’re not using the Fox Farm Soil I recommended in the previous chapter, I advise you to ask our growing experts on the forum.
There’s a large need for nitrogen during the growth, so make sure you have a nice growth feed with a lot of nitrogen.
I start with Grow Fertilizer by Flower Power. This is powdered fertilizer with a high nitrogen content. Exactly what your plants need!
Day 15
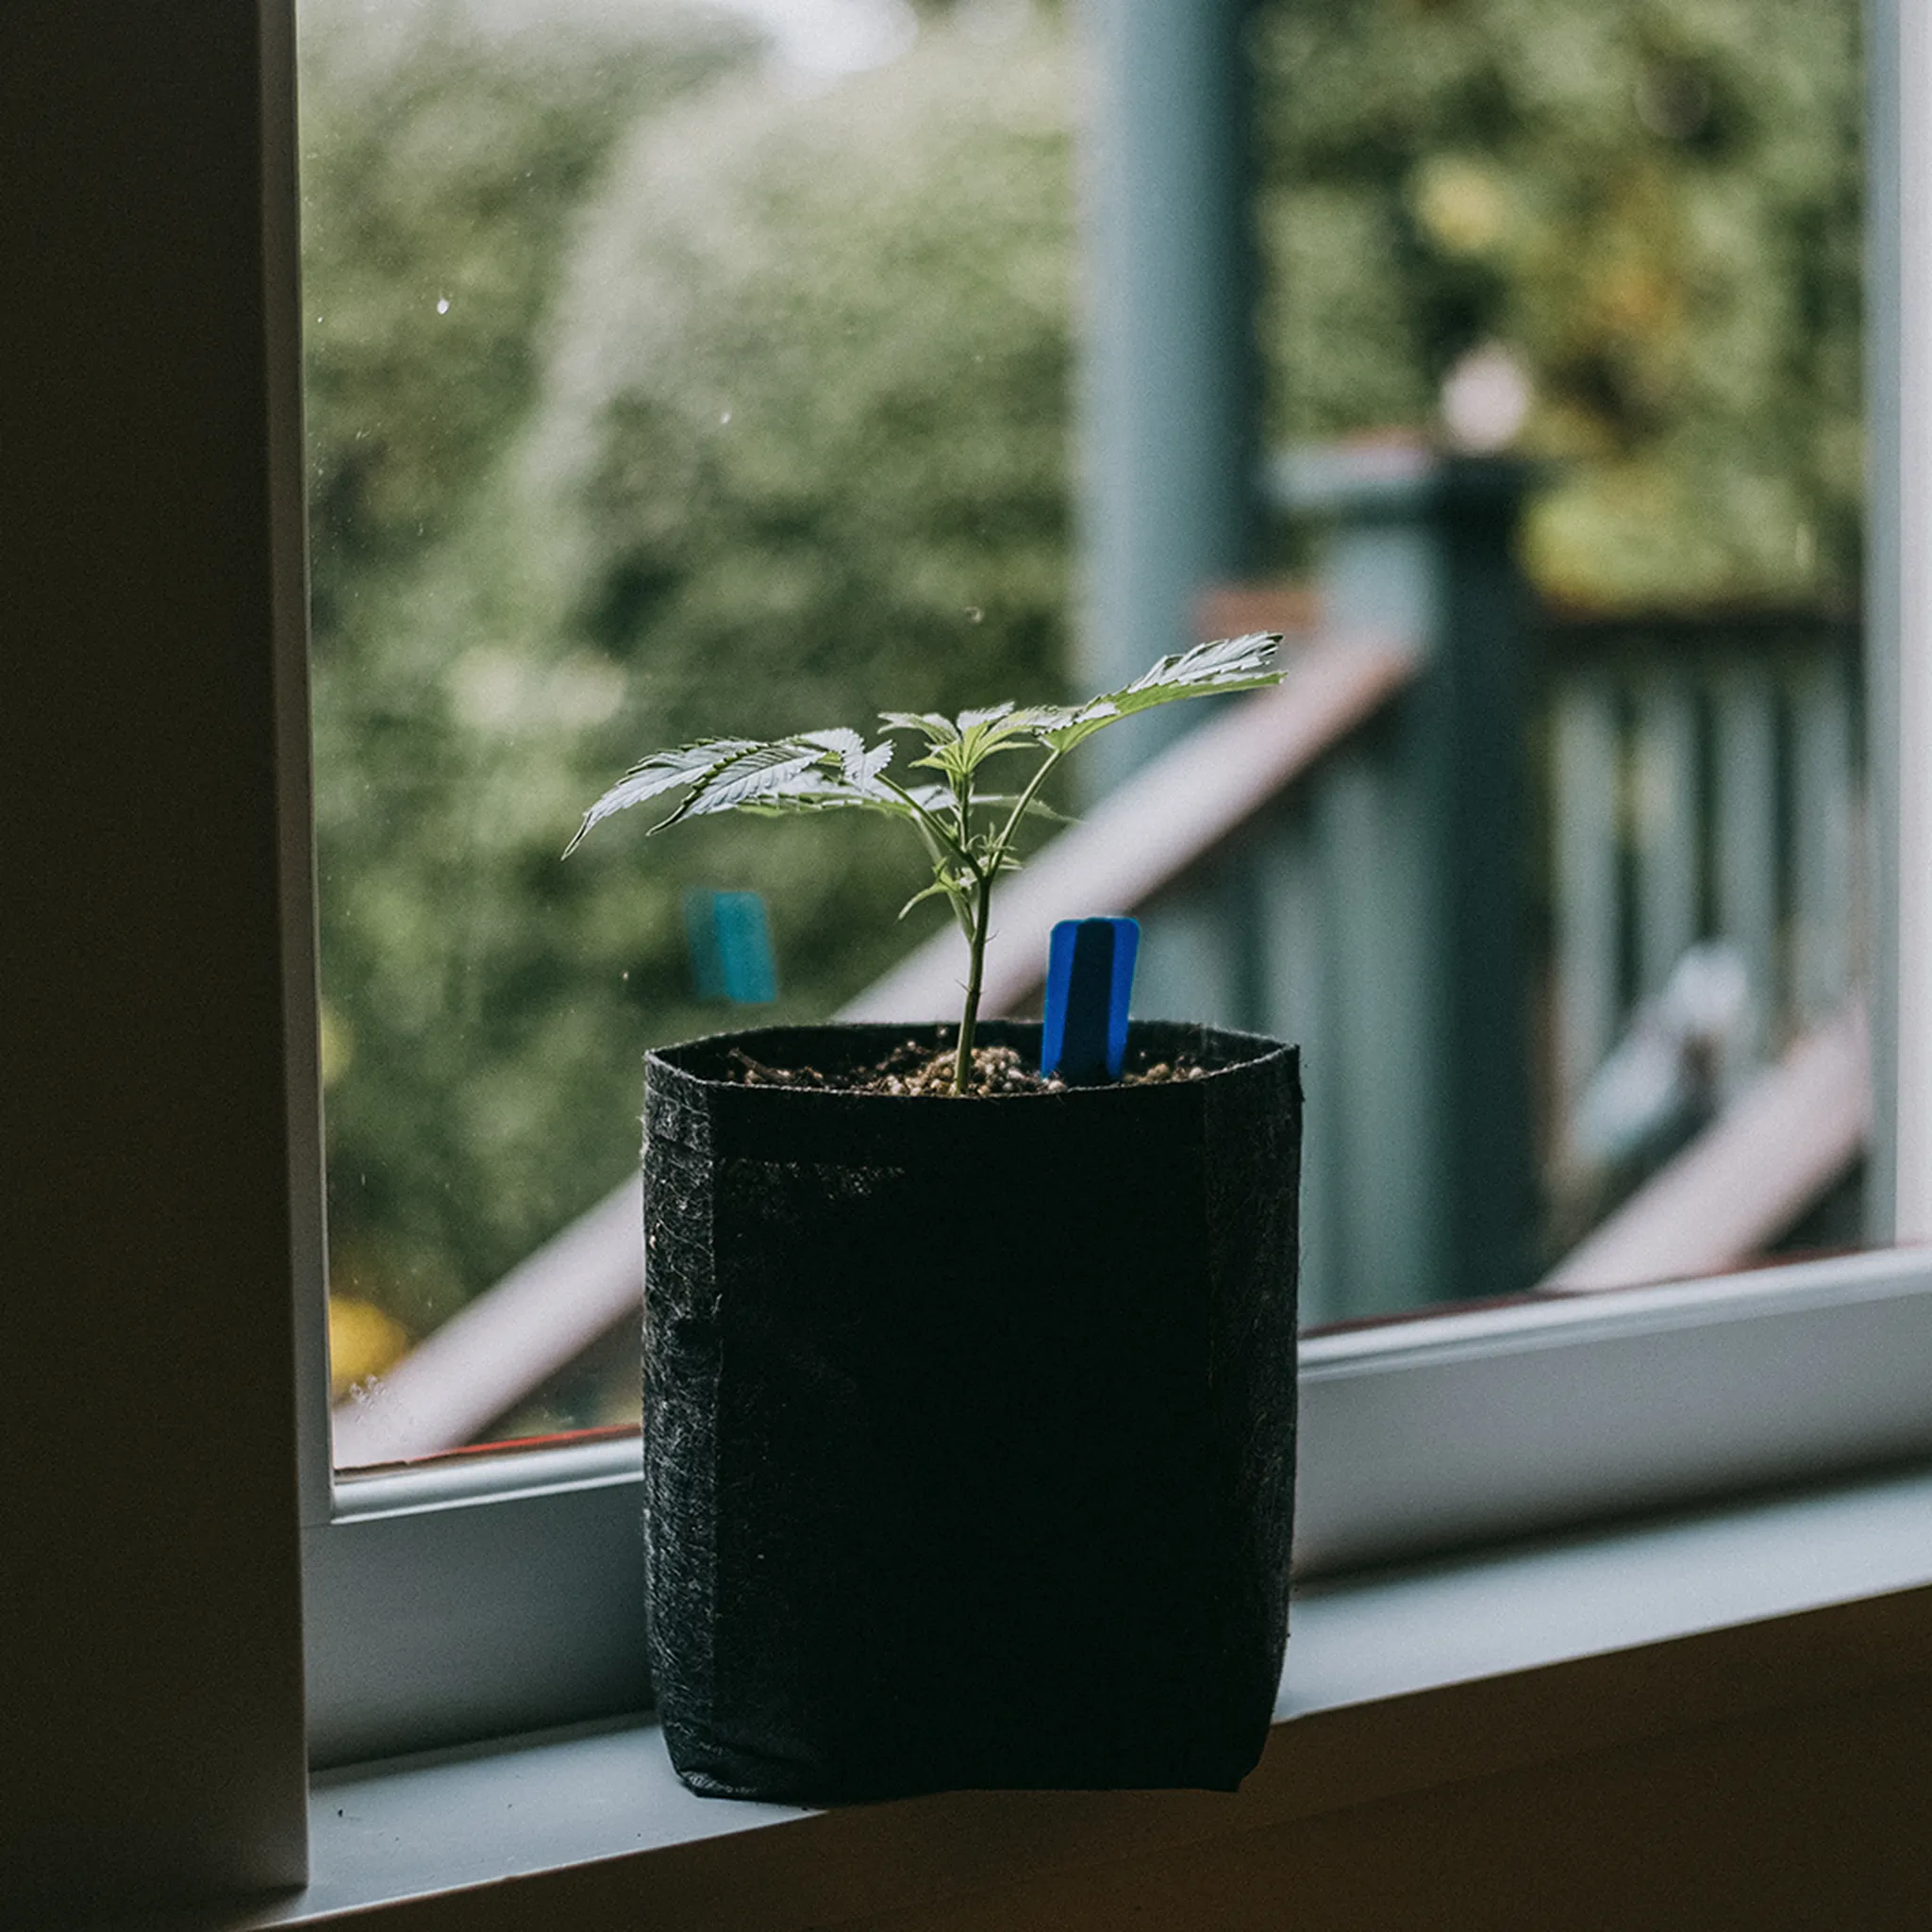
The plants are now a bit stronger and more stable. I watered them a lot the last time, and I’m letting them dry up completely for a bit.
In this way, the roots will stretch out far in their search for water. The next time I water them I give them a shot of nutrients, and they’ll experience a major growth spurt.
I want to emphasize again that not all plants grow at the same speeds. The most important thing is that they’re healthy, not how fast they’re growing.
I always stick to the rule of starting to feed my plants once they have their third pair of leaves.
Once they have their third pair, they’re officially no longer considered seedlings, but real plants.
Seedlings
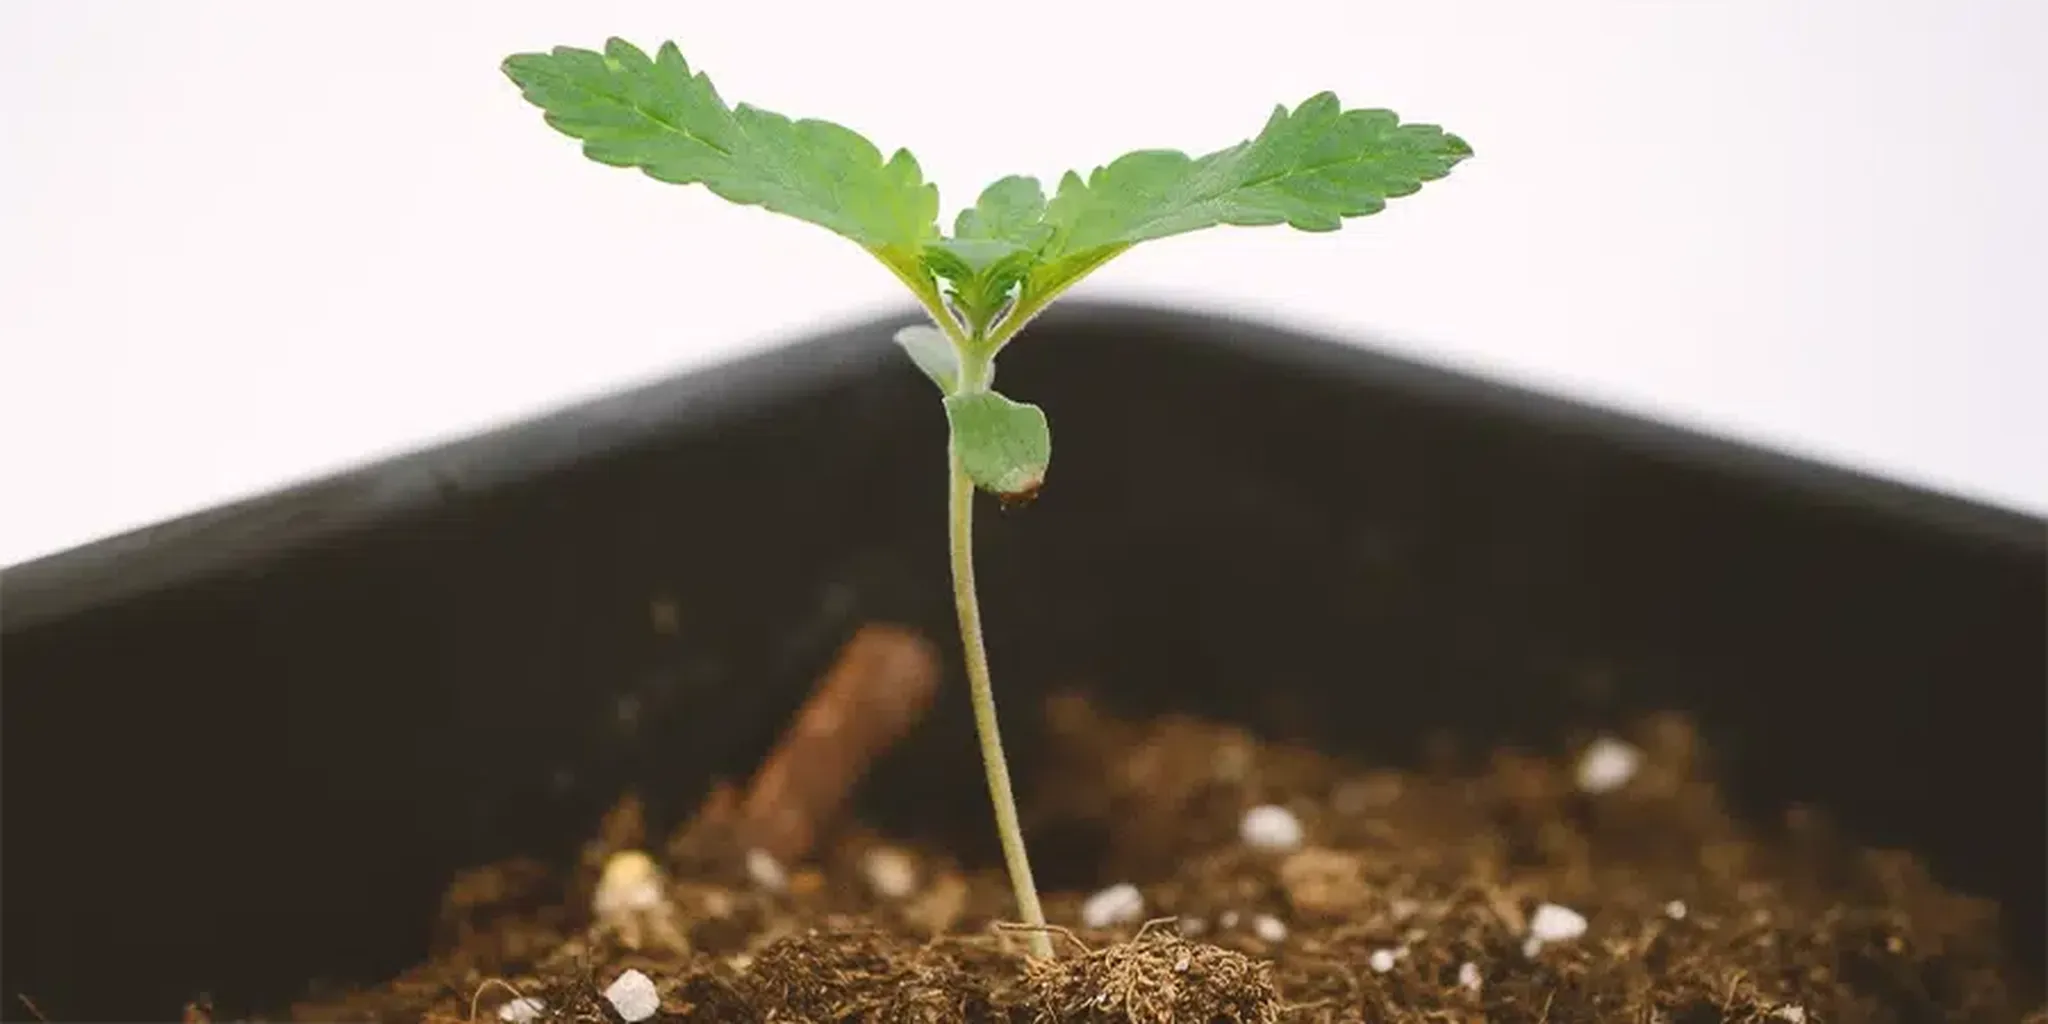
These small plants look perfect. The stems are green, the leaves are green and the third pair of leaves is getting 5 fingers as you can see in the picture.
Over the next period of time I’ll teach you how to check if your plant is healthy, because your plants can be bothered by bugs, nutrition deficiencies or an incorrect climate.
If you have the right knowledge, you can recognize these problems and prevent any unpleasant consequences.
Today I’ll discuss one of the most common problems, especially with beginners; watering.
I explained in seedling stage of this grow journal how you can check to see if your plants need water.
I still come across many cases in which plants are getting too much or too little water. These are the symptoms for both cases.
Buy Autoflower Seeds
- Easy to grow
- Guaranteed germination
- High yield
- Grow guide available
Too much or too little water
If a plant doesn’t get enough water, it won’t absorb and transport enough nutrients in the plant and it will start protecting itself by growing more slowly until the circumstances improve.
If it’s not watered for a longer period of time, the leaves will start to hang.
Watering the plant too much is another common problem. The symptoms are the same as for watering the plant too little; the plant will start to wilt and the stomata will close.
Since your plants are in bigger pots now, it’s smart to weigh them again. First empty and then filled up with water.
The perfect humidity of the soil is 60 to 70 percent. If you want to know when, how and how much to water your plants, go to the section Watering marijuana plants.
Day 17
The plants didn’t need water yet, but they did grow nicely. The roots are even coming out of the bottom of one of the pots.
This is no reason to transplant them just yet, but it’s good to know that the roots are growing properly.
I placed the lamp a little bit higher again, because the plants grow closer and closer towards the light. They can grow about 4 inches in a matter of days, so keep an eye out for this.
The temperature and the humidity are also still perfect, which is reflected in the plants. No signs of stress, bugs or deficiencies or surpluses regarding certain nutrients.
The last time I talked to you about water. Another common problem is the type of water people give their plants.
It has to have a certain acidity, the so-called pH value. You don’t have to read all this, but the more you know about marijuana plants, the better your marijuana will become.
What is pH?
The pH indicates how acidic or alkaline a substance is. In order to optimally absorb all nutrients, the pH value around the roots has to be perfect.
A wrong pH value causes your plants to not absorb all nutrients.
This leads to a deficiency of certain nutrients in the plant, because the plant is unable to absorb the nutrients properly.
But it can also develop a surplus in the soil, because the plant can’t absorb it all.
A wrong pH value around the roots usually starts showing in the leaf of the plant.
A lack of nutrients leads to discolored leaves or leaves with brown or yellow spots.
If there’s a surplus of nutrients, the plants will burn and the tips of the leaves will start to discolor. Proper basic knowledge about pH is very valuable.
That’s why I advise you to read this course about pH. In this article I explain what pH is, how you can measure it and how you can adjust the pH value of your water.
I also explain how you can measure the pH of the soil to identify the current situation.
Day 19
They’ve grown nicely! The temperature is still perfect, and so is the humidity. The plants are quite dry right now, so they could use some water.
I water them about 1/16 gallons of water per plant. I’ll be giving them nutrients starting today, so I’ll explain what kind of nutrients you need to give your plants and how to feed them.
I will of course give you some links to a number of articles with more detailed information.
Let my free marijuana grow bible be your ultimate guide as you begin your marijuana journey.
Nutrients
It’s best to use nutrients that was specially developed for marijuana plants, to know for sure the ratios are correct and you won’t have to worry about it.
I use Flower Power Grow during the growth stage. But products by Fox Farm and Canna are also really good.
As long as they contain a lot of nitrogen, because this is what plants need in the growth stage.
You can just follow the instructions on the label or the enclosed growing schedule.
It will usually tell you exactly how much nutrients you need to give each week.
These are good guidelines for beginning growers, because they represent the average needs of a marijuana plant.
But if you want to be a bit more accurate, you should measure the EC and pH values of your water.
The EC value tells you something about the amount of feed in your water. We start with a low EC of 1.0 and see how the plants react to this.
If the evaporation keeps going well and the leaves don’t show any discoloration, we can slowly increase it.
Here’s a short step by step plan on how to make a nutrient solution.
Step by Step
How to make a nutrient solution
- Fill tank with 72 degree water
- Add nutrients until you have the desired EC
- Lower the pH of the water until desired/span>
- Heat the water to 72 degrees F
How to make a nutrient solution provides you with a detailed step by step plan with a ton of background information.
First read the course on EC values, so you know what you’re doing.
Day 22
If you want to prune your plants, you could start from this point on. This is the perfect size for topping or fimming.
Topping removes the latest sprout growth, so two main tops will arise. Fimming is taking away a part of the latest sprout growth and four main tops will arise.
I wouldn’t do this if I was a beginner grower.
Read these articles if you want to know more about how to top or fim marijuana plants.
Pruning
Your marijuana plant needs to create a lot of sugars to be able to grow. It does so by converting light, water and CO2 into sugars and oxygen.
Young leaves, new growth and side shoots use a lot of sugars, because they grow really hard.
The large, fully grown leaves produce these sugars, so it wouldn’t be very smart to prune these large leaves, because your plants would no longer be able to produce as much sugars.
Even leaves in the shade produce sugars. And at the moment a leaf uses more sugars than it produces, the plant will automatically get rid of it.
The main advantage of the plant doing this in comparison to pruning is that it won’t create a wound.
This automatically means a smaller risk of infection and less energy wasted on healing a wound.
If you have a lot of growing experience, you can increase the yield a bit with certain pruning techniques.
Read the part How to prune marijuana plants for more information.
Day 24
Today it’s time to transplant the plants again. They’re going to sit in 3 gallon pots, where they will stay until they’re ready to harvest.
As you may have noticed, I transplant my plants quite often. It’s not necessarily harmful to the plant, as long as you’re very careful.
And the advantage is that you won’t water a plant too much if it’s in a small pot.
You can also check the root system every time you transplant the plants. Here are some pictures of transplanting.
Check the complete section on transplanting if you would like to know more about this.
I gave them 1/4 gallons of water. After transplanting I always give them a good amount of water, and let them dry a bit.
So they probably have enough water for a few of days. They’re now also getting into their final setup.
Once the leaves of the plant start touching each other, I’m going to force them to flower.
If you wait until the leaves are touching each other, you’re ensuring that you get a nice, green blanket of leaves, and no light is being lost to the ground.
Another thing I noticed when I inspected my plants were some white spots on the leaves.
At first I thought it was lime from the water I was spraying my leaves with. This sometimes causes white stains.
But when I looked a bit closer, I saw it were thrips.
Thrips belong to the smallest winged insects. They can cause a lot of damage to your marijuana plants, because the thrips feed themselves with plant saps from your plant.
They do this by scraping over the leaf. This creates a sort of silver grey spots on the leaves.
It looks a bit like a slime trail from a slug or caterpillar.
Luckily I caught it in time and I can treat it. I use Bug Blaster, but any product based on pyrethrin will do the job.
Mix one bottle cap of Bug Blaster with 1/4 gallons of water. Make sure you also spray under the leaf, because this is where the thrips stay.
Read the section Most common pests for more information about these bugs.
Day 26
The plants took well after transplanting and they keep growing, but they don’t need water yet.
The leaves aren’t touching each other, so we’ll stay in the vegetative stage with 18 hours of light and 6 hours of darkness.
The temperature stays below 77 degrees and the humidity remains between 50 and 60 percent. The plants are looking healthy and happy.
Last time, I sprayed the plants with an agent based on pyrethrin. This is a biological agent that’s extracted from the oil glands of chrysanthemums.
After the water evaporates, the oil will remain visible on the leaves for a couple more days. Don’t confuse this with damage or slime trails to the leaf.
Leaves
The leaves are the most important organs of a marijuana plant, because photosynthesis takes place in them.
The leaf catches sunlight and converts this along with CO2 and water into sugars. Also, the stomata are located on the leaf.
The plant can evaporate water, absorb CO and separate oxygen through these. You should therefore make sure you have healthy leaves.
In order to create healthy leaves that can produces a lot of sugars, you have to make sure they get enough light.
As much light as possible. The more light a plant gets, the more chloroplasts it will create and the more sugars it can produce.
But if the plant doesn’t feel well, it will also show in the leaves.
Stress, nutrition deficiencies or bugs can all be recognized in the leaves.
Read more about the function of the leaves in this article.
Day 29
The soil was almost dry, so they used a lot of water the past couple of days, which is a good sign.
From now on, I’m going to give them about 1/8 gallons of water each watering, so every other day.
I’m not going to give them nutrients them today, because I’m having some problems with the leaves.
I’ll just provide them with water with a pH value of 6.0.
You see some spots on the leaves and I think this is root damage.
Buy Cannabis Nutrients
- Fertilizer
- Grow kit
- Plant protector
- Grow guide available
The plants always have to take a bit of a hit when transplanting them and they can’t take as much nutrients.
These are things you always have to keep track of. It just goes to show you that things can go wrong, even for me, despite all those years of experience ?
Root system
The roots are very important to a marijuana plant. Roots absorb water and nutrients, anchor the plant in the soil and certain hormones are made in the root system.
Healthy roots have white tips with many root hairs. If your roots are brown, it indicates problems.
My plants don’t have to be transplanted anymore, but I will check the root system of 1 plant ever other week. Make sure the clod comes out of the pot and gently lift it out.
Read the course The function of the roots if you want to know more about their functioning and how to create a healthy root system for your plants.
Day 31
The damage to the leaves luckily didn’t get any worse. You can see that some leaves are a little discolored.
This is a clear sign of a nutrient problem. As long as it doesn’t affect the new growth and it doesn’t get any worse, it’s no problem.
Today I’m going to give them about 1/4 gallons of water per plant, with an EC of 1.0 and a pH of 6.0. The temperature stays below 68 degrees and the humidity around 60%.
So it’s all perfect. I put the lamp a bit higher again, because the plants keep getting bigger. The thrips that affected my plants seem to all be dead.
Spider mites and fungus gnats are the most common bugs next to thrips.
Here’s some information on how to recognize them and what you need to do to get rid of them.
Most common bugs
I’ve already encountered thrips during this harvest, so you will probably also have to deal with bugs at some point.
Outdoors it’s particularly hard to protect your plants against bugs. But indoor growers will also encounter bugs that are harmful to your plants.
I often trade clones with different breeders, and often bring in bugs this way.
But bugs also come in through the fresh air you blow into the room and on your clothes. The most common bugs are:
This is a mite that feeds on plant saps. The damage is visible on top of the leave as white dots.
The bugs themselves are located underneath the leaf and look like very small dots.
If you have many spider mites, they’ll start to create little webbings around your leaves and buds. This is very harmful to your plant.
These bugs can easily be treated with Bug Blaster or something else based on pyrethrin.
These are the ones I recently encountered. Thrips belong to the smallest winged insects.
They can do a lot of damage to your marijuana plants, because they feed themselves with plant saps from your plant.
They do this by scraping over the leaf. This causes a sort of silver grey spots on the leaves.
It’s easy to treat with Bug Blaster or another agent based on pyrethrin available in any garden centre.
Fungus gnats are small gnats that look a bit like fruit flies. The fungus gnats themselves are harmless, but they drop eggs in your soil.
The larvae that come out of these feed on the roots of your plants, which can be very harmful. Put up some yellow fly paper.
As soon as you see fungus gnats on there, you can treat the larvae with living nematodes.
If you’re growing outdoors, you’ll run a higher risk of slugs, rabbits and lice.
Go to the section about bugs if you want to know more about this topic.
Day 33
My plants are now almost touching each other, so after the weekend it’s time to force them to flower.
You do this by simply changing the hours of light from 18 to 12 a day. Let your plants grow a bit more if they’re not touching yet.
You can force them to flower at any time, but if there is still light falling to the ground, this is not absorbed by the leaves and therefore wasted energy.
Check really well if your room is completely lightproof, because even a tiny bit of light during the darkness period can affect the flowering and causes stress to the plant.
Stand in your grow room, close the door and check if any light is coming in from anywhere.
Know how to perfectly time your harvest so you can maximize your yield. Download our free mini harvesting guide.
Bergman’s Tip
Check plants when lights are off
If you want to see inside your grow room during the dark period, make sure you use a green light.
Marijuana plants don’t absorb green light but reflect this, which is why they look green.
Green light therefore doesn’t cause any stress to the plant.
Check your plants again for discoloration, spots, or
During the vegetative
Once the flowering starts, these white widows will be ready for harvesting 8 weeks later.
Possible delays in the growth because of bugs or diseases