From seedling to little plant

From seedling to little plant

If you’re growing outdoors, nature takes care of all needs of a marijuana plant.

The grownup plants produce seeds in the fall, which fall to the ground during winter.

After hibernating for a number of months, the seeds are awoken by spring and they’ll germinate.

From that moment onwards, they’ll use sunlight, rain water, CO2 in the air and nutrients in the soil to grow.

Indoors, you’ll have to provide your plants with those needs. In this chapter I’ll show you what you need to do from the point of germinating.

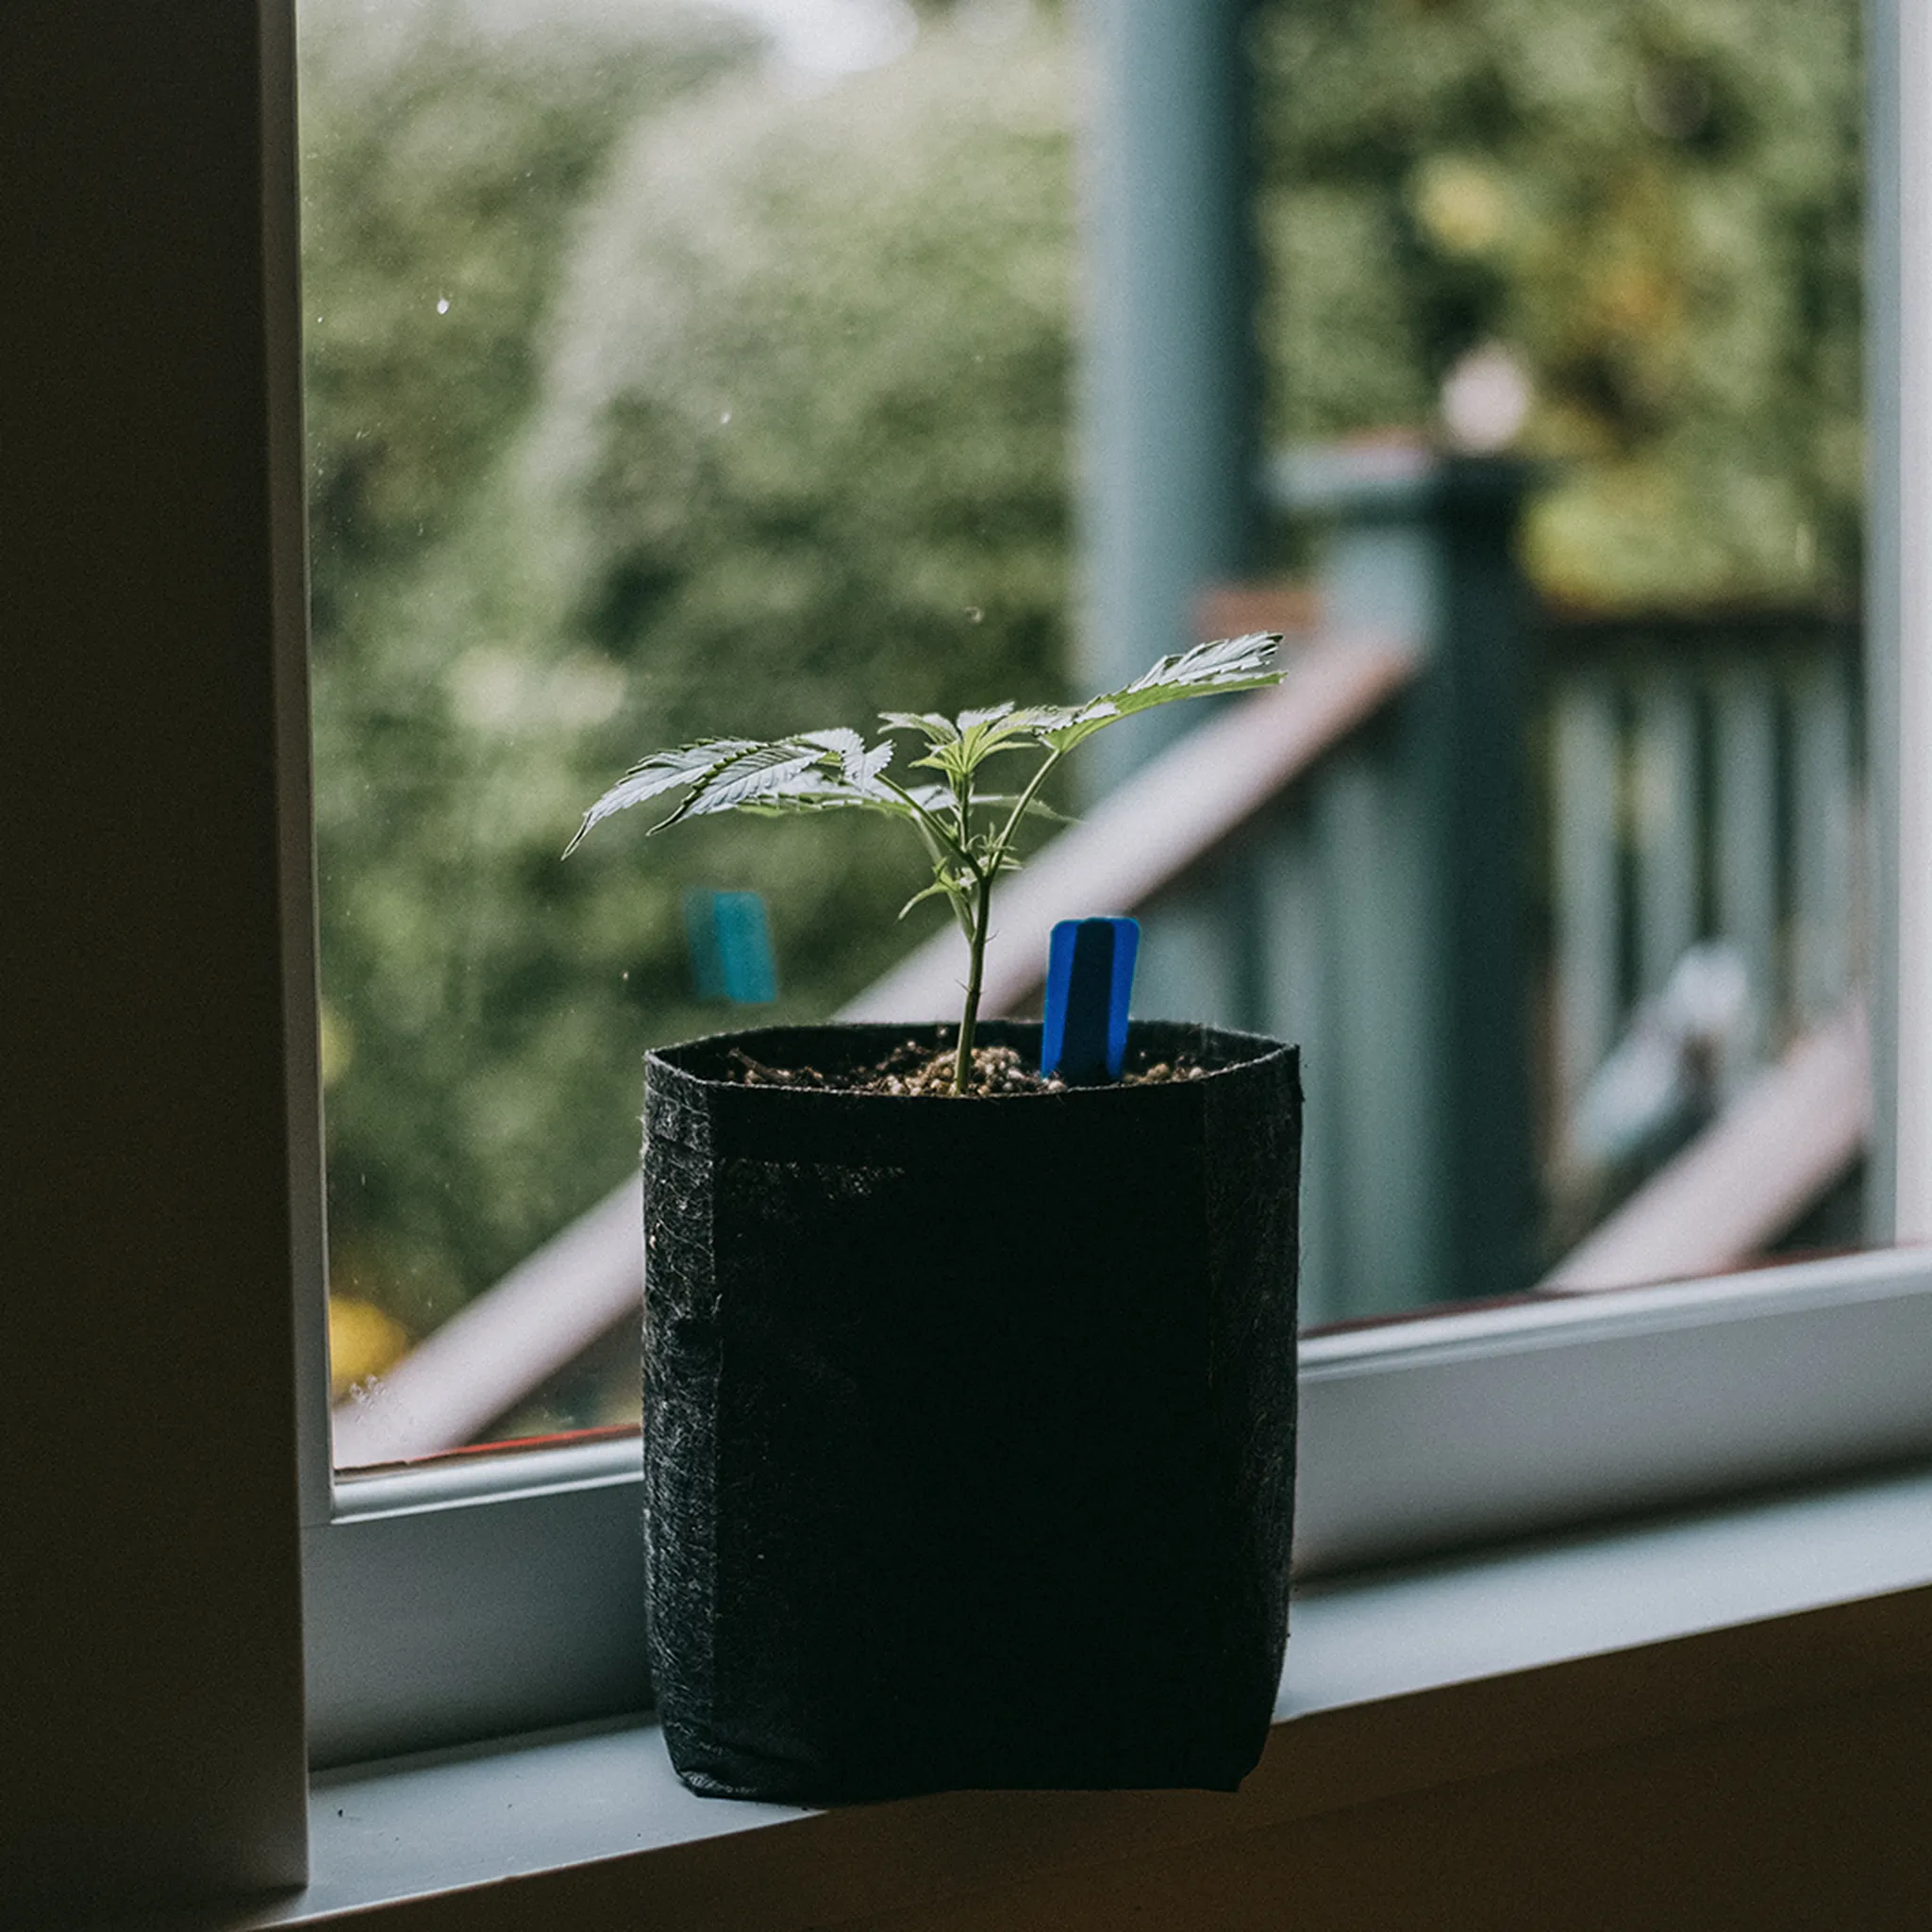
It usually takes a couple of weeks for your seedling to become a little plant.

We’ll make sure they’ll become large, strong and healthy marijuana plants that can produce tons of buds.

This is what you can expect in the upcoming weeks;

Step by step plan

First signs of seedlings

  • Take the foil off the pots once you see the plants
  • Place the plants under the lamp
  • Make sure they have enough water and the right temperature
  • Let them grow until the roots come out the bottom of the pot
Take the foil off the pot of marijuana seedling
Take the foil off the pot

Once you see the first plants come out of the soil, you can take the foil off the pots.

The humidity no longer has to be as high, and the lamp has to hang as closely above the plants as possible, without it becoming too warm.

The closer the lamp is placed to the plants, the more light they’ll catch and the better they’ll grow.

Create a good climate for marijuana seedling
Create a good climate

Place your thermometer next to the pots and make sure the temperature stays between 70 and 77 degrees.

Try to place the lamp as closely above the pots without it becoming warmer than 77 degrees.

A fluorescent lamp can be placed about 2 inches above the plant and a 600 watt lamp at about 25 inches.

You can aim a fan between the lamp and the pots to blow away some of the generated heat.

Place the lamp a bit higher if it gets too warm, and a bit lower if it gets too cold.

marijuana feminized seeds

Buy Feminized Seeds

  • Easy to grow
  • Guaranteed germination
  • High yield
  • Grow guide available

Once all seeds have germinated, you have to setup a light cycle. During this stage, they need 18 hours of light and 6 hours of darkness.

And by darkness, I mean pitch black. You can connect your lamp to a time switch, and it’s best to place your plants in a cabinet or a lightproof tent.

Since your plants will use CO2, you’re going to have to provide them with fresh air. You can do this with a fan or an air extractor.

You can also use these to cool the air a bit and to blow away some of the heat between the lamp and the plants.

Spray with water the marijuana plants
Water the plants

Feel the pot to find out if the plant still has enough water. Spraying the leaves a bit is always a good idea.

Use a normal plant spray for this and give them a nice spray once or twice a day. You’ll see that the first leaves won’t look like marijuana leaves yet.

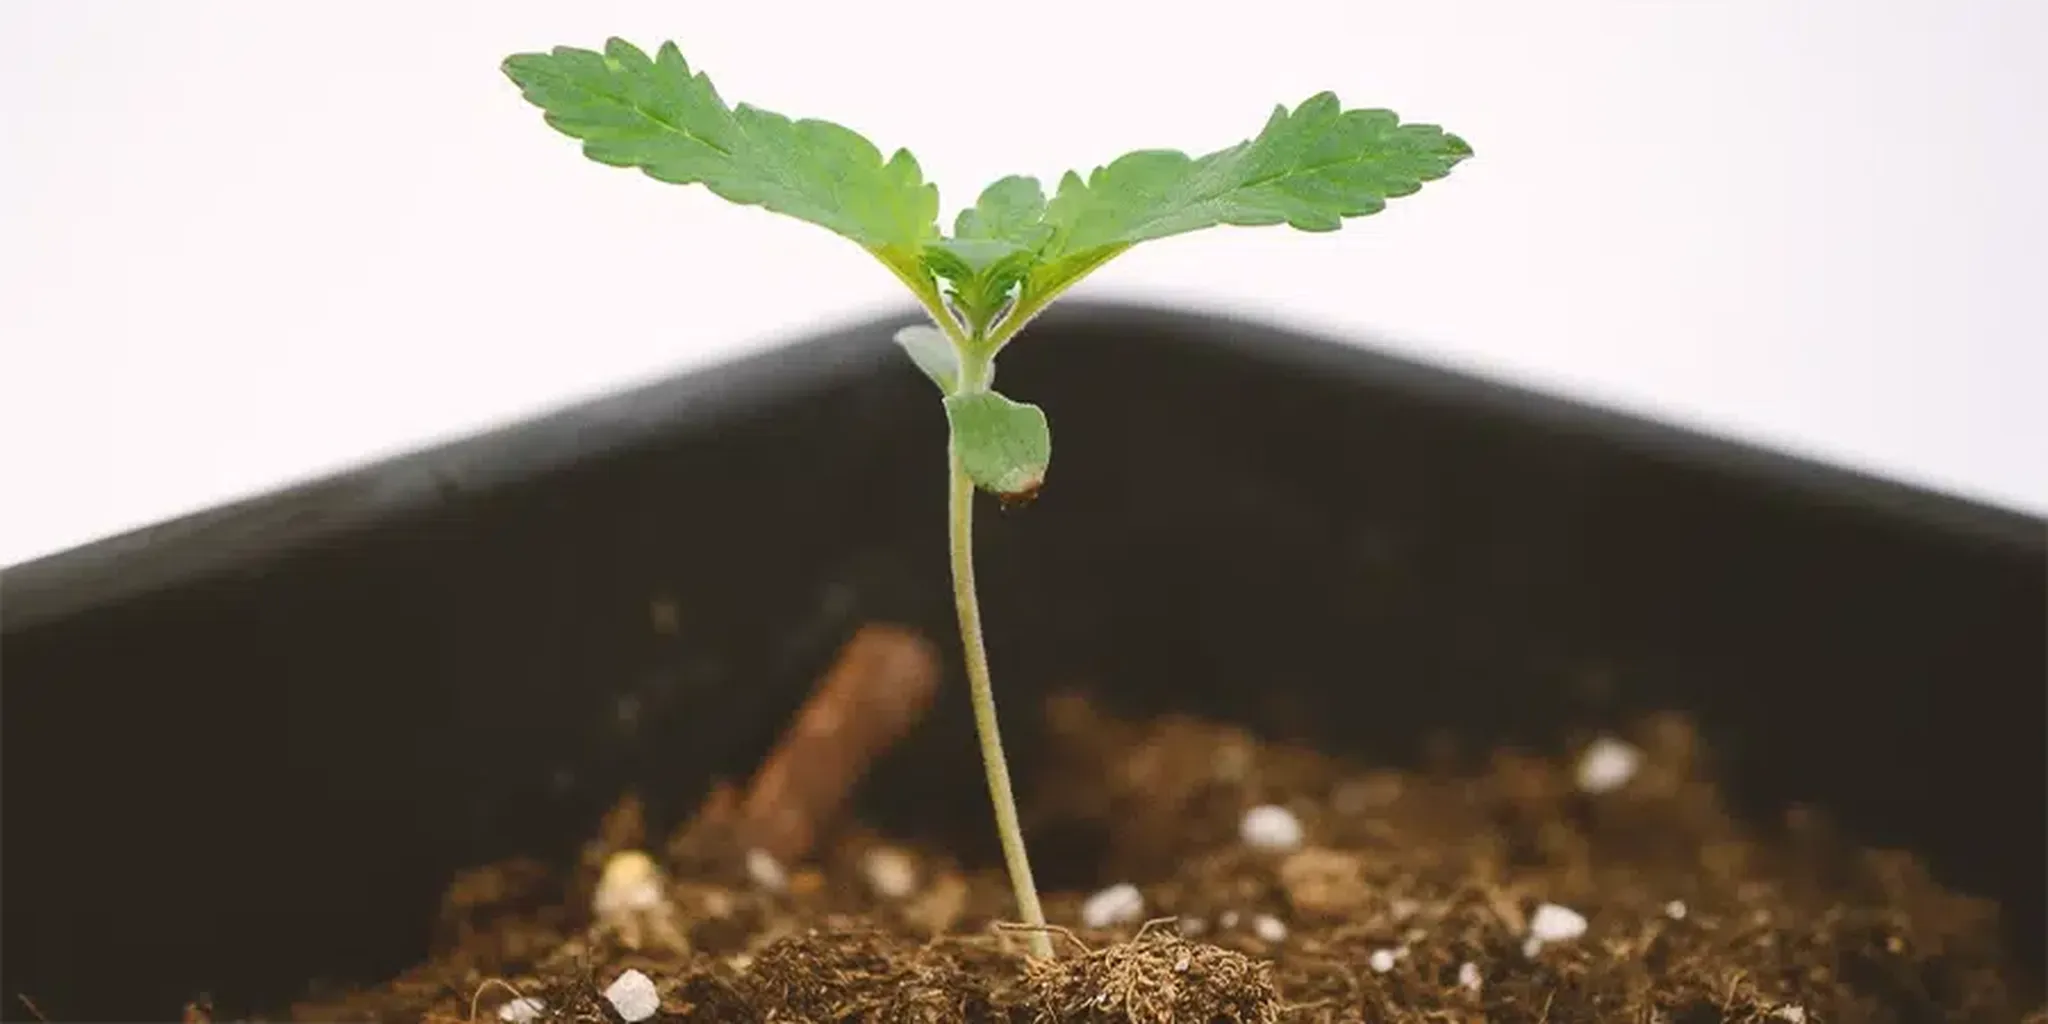
These ellipsoidal leaves are a bit thicker and were already contained in the seed.

They’re sort of starting leaves that enable the plant to absorb enough light to start growing, and it gets it nutrients from them to create the roots and the first pair of leaves.

It’s normal that these leaves turn yellow at a certain point and die off after they’ve fulfilled their purpose.

Let the marijuana seedling grow
Let them grow

Over the upcoming weeks we’re going to turn these little stems with two leaves into beautiful marijuana plants with large, green leaves that will be strong enough to create and carry huge buds.

I will provide you every other day with detailed instructions about what you have to do and what you have to look out for.

Once the roots come out the bottom of the pot, we’re going to tranplant them and we’ll head into the growth stage.

I advise you to take a picture of your plants every other day. You can keep track of your progress this way, but it can also be very useful if you encounter any problems.

Our growing experts on the VIP forum can help you much better if they have pictures of your plants, especially if you kept a photo log.

You can also keep track of your growth log on the forum, so other growers can read it and provide you with tips and advice. Click here to go to the forum.

Climate

We’ll start each stage with a bit of theory. I’ll explain what the best climate is, how much nutrients you should give your plants and all the things that go on inside the plant.

The best way to grow quality marijuana is by fully understanding the plant. This is what your plants will need during the seedling stage.

Bergman’s Numbers

Environmental factors

  • Light cycle: 18 hours of light – 6 hours of darkness
  • Light color: White-blue – Fluorescent or MH
  • Temperature: 70 – 77 degrees
  • Humidity: 50-70%
  • Fertilizer: none
  • pH: 6.0
Light cycle climate for growing marijuana seedling
Light cycle

Although the plant will also grow if it gets 24 hours of light, important processes take place during the dark period.

More proteins are made during the night and the root system grows better in darkness.

The energy the plant needs to do this is taken from stored sugars it will convert along with oxygen into water vapour and CO2.

It is reversed photosynthesis, and is also called the respiration of a plant.

humidity and temperature in your marijuana grow room
Temperature

Optimal photosynthesis occurs at temperatures between 70 and 77 degrees. Any colder than that will slow down photosynthesis, causing the plant to grow less quickly.

If it gets warmer, the photosynthesis will speed up, but the plant will also need more light, CO2, nutrients and water.

For a proper and fast development of the roots, it’s important that the root temperature is never below 60 degrees.

This won’t be a problem if the lights are on, but make sure it doesn’t get too cold when the lights are off.

Marijuana leaf humidity
Humidity

It’s ok if it’s still a bit humid, but not as humid as during germination.

If the humidity is too high, fungi such as pythium can start to grow, causing the roots to rot. A humidity between 50 and 70 percent is fine.

Different nutrients for cannabis growing
Fertilizer

If you’re growing in soil, you don’t have to use fertilizer in the beginning, since this is already present in the soil.

If you’re growing on hydro, such as rockwool, you can start with an EC of 1.0

Manage PH for growing cannabis seedling
pH levels

Plants use certain nutrients from the soil in order to grow and flower, such as nitrogen, phosphor, iron and magnesium.

These nutrients behave differently in different pH levels. This is because the pH determines what the chemical compounds of those nutrients will do; fall apart into smaller pieces or dissolve.

If you have a pH meter, lower the pH of the water to 6. Give them regular tap water if you don’t have a pH meter.

Read more about pH in the course What is pH.

Day 1

Congratulations. Your have successfully germinated your seeds and the first plants poked their little heads out of the soil.

They never come out at the same time, but within two days they’ll all show. From now on, it’s important to make sure they’ll get enough light and water.

Also make sure that the temperature with the lights on never drops below 70 degrees and never rises above 77 degrees.

The temperature has to stay between 60 and 70 degrees when the light’s off.

If you’re growing on soil that’s specially made for seedlings, you won’t have to provide the plants with any nutrients.

This is already present in the soil, and because it’s organic it will very slowly release itself. 

Fox Farm has some quality seedling soil. If you’re growing on hydro, you can start with an EC of 1.0 from week 1.

The seedlings don’t use much water yet, but it evaporates quickly because of the high temperatures.

If you have a pH meter, lower the pH of the water to 6. Give them regular tap water if you don’t have a pH meter.

Spray water on cannabis seedlings
How much should I water my plants?

Fill a little pot with soil and feel how heavy it is. You could even weigh it.

Fill another pot with soil and slowly add water until it starts running out the bottom.

If the water comes out, the soil can no longer absorb any water and it’s saturated. You now have two pots with soil; one with water and one without.

The first pot is too dry, so the plant can’t absorb any water and nutrients. The second pot is too wet and therefore suffocates the roots, which could start to rot.

marijuana autoflower seeds

Buy Autoflower Seeds

  • Easy to grow
  • Guaranteed germination
  • High yield
  • Grow guide available

This however only happens if they’ve been too wet for over a week. Since the plant has few roots, it’s important to not give them too much water in the first weeks.

Lift both pots and feel the difference. You have to end up a bit above the average of these weights to get a perfect water/soil ratio.

You can also weigh the pots the first few weeks to get a good sense of the amount of water you have to give. You’ll see that one plant needs more water than the next.

You should therefore feel all pots every day to see if they need water.

They’ll probably have enough water for a couple of days now, since we watered them quite well in the beginning.

But you can now properly track the water use of your plants by lifting or weighing a pot every day.

A dry pot weighs 5 ounces, and a saturated one weighs 15 ounces.

Fill the pot with water until it weighs 12.5 ounces and water it again once it weighs 7.5 ounces.

Day 3

All seedlings germinated! The plants will straighten themselves a bit already and start to stand up straight.

From this point on, they’ll start growing fast. It’s important to not place the lamp too close to the plants.

Check the temperature and place the lamp a bit higher if it’s too warm and a bit lower if it’s too cold.

You can also aim your fan between the plants and the lamp in order to blow away some of the heat.

Make sure the fan doesn’t blow too hard against your plants, because they’re still too small for that.

Once they get a bit bigger, a bit of wind is a perfect way to make sure they get strong stems.

Important to carry all those buds later on ?

3 days marijuana seedling close up leaves
Seedling close up leaves

In this picture you can also see the first real pair of leaves appear, which already looks a bit more like a marijuana leaf than the starter leaves.

The first pair of leaves will have 1 finger, the second one will have 3 fingers, the third one will have 5, and so on.

Once your plants have 5 fingered leaves, we’re speaking of plants, and no longer of seedlings.

It’s possible that some plants get a bit of a long stem.

In this case you can add a bit of extra soil to the pot so the plant will get more support.

What to do if the seed shell doesn’t let go?

This is a common problem, which is easy to solve.

If the seed shell doesn’t come off properly, the starting leaves are unable to unfold and the plant can’t absorb any sunlight.

This causes the plant to stretch out even further in its search for sunlight and will eventually fall over.

This often occurs with seeds that weren’t planted deep enough or if they were planted in very dry soil.

You can solve this by spraying the seed shell with water and to wait a bit.

In general, the seed shell will come off by itself. If not, you very carefully have to give it a hand.

Day 5

If you have the right climate and the plants have enough water at their disposal, they’ll grow quite quickly by now.

Keep checking the temperature and check if they have enough water on a daily basis.

You might have to raise the fan a bit, so it won’t blow on the plants.

And don’t forget to take a picture every now and then, so we can help you out if you’re experiencing any problems.

5 days cannabis seedling new leaves
Seedling new leaves

In this picture you can see the second pair of leaves appearing, which will end up with 3 fingers.

The leaf has to be dark green, so not brown or yellow. You’ll see that the new growth is always a bit of a lighter green, but that’s normal.

What to do when seedlings have thin, weak stems?

This is a common problem with two possible causes. The most common cause is a lack of light.

If a seedling doesn’t get enough light, it will stretch as far as possible in order to absorb more light.

In nature, this is very useful to beat its competitors, but it’s a problem to us.

Make sure they get enough light and that the lamp is close enough to your plants. Otherwise you’ll end up with weak plants, with long, weak stems.

Download my free Grow Bible to learn more about trichomes and other ways to know if your cannabis plants are thriving well.

Watering your plants too much is another cause. The pressure on the roots pushes the water into the cells, possibly causing them to break.

You’ll get very weak, watery stems like this. Feel the pots and soil to see how wet they are and try to water your plants more often, with less water.

Water your plants every day or every other day if possible.

If the stems of your plant have become too long, you can fix it by simply transplanting them into a slightly larger pot.

Take a bigger pot and fill it halfway with soil. Carefully take the plant out of its current pot and place it into the new pot.

Add soil and water it a bit. Be very careful when doing this, because the roots of your plants are very easily damaged.

Day 8

The plants keep growing at a nice pace and they start using more and more water.

So keep checking if they’re moist enough. You still won’t have to give them any nutrients, since it’s already present in the soil.

You’ll see that the second pair of leaves is starting to get a three-fingered leaf, so it’s starting to look a bit like weed plants.

If you look at the bottom of your pots, you will probably already see some root tips. This depends on the size of your pot.

We transplant once a number of root tips stick out the bottom, probably in a few days.

8 days cannabis seedling damping off
Damping off

Another common problem during this stage is that seedlings seem to grow very well, but then all of a sudden fall over.

It looks like the stem collapses. This is caused by a fungal infection called ‘damping off’. Unfortunately, there’s no treatment for this ailment.

Make sure there are no fungi at the bottom and always use sterile soil from a growshop or garden center.

Also check variables such as temperature and humidity. These are the only ways to prevent this happening with seedlings in the future.

Day 10

Keep the temperature below 77 degrees and the humidity around 60%.

I just watered the seedlings you see in the pictures, thereby increasing the humidity.

In a few hours it will drop to about 55% again.

I germinated some extra seeds to perform some tests. In the past week I didn’t water 1 plant at all.

You can clearly see in the picture that the leaves are all limp. This is what a plant with a water shortage looks like.

If you water this plant now, it will return to perfect strength, but if you don’t water it for another day or two, it will die.

10 days cannabis seedling no water
Germinated some extra seeds

Marijuana plants are true weeds and they’re very strong.

This is beneficial if you’ve just started growing and you’re still making some mistakes now and then.

But the circumstances have to be perfect if you want a truly good yield.

Day 12

Keep the temperature below 77 degrees and the humidity around 60%.

I just watered the seedlings you see in the pictures, thereby increasing the humidity. In a few hours it will drop to about 55% again.

I germinated some extra seeds to perform some tests. In the past week I didn’t water 1 plant at all.

You can clearly see in the picture that the leaves are all limp. This is what a plant with a water shortage looks like.

If you water this plant now, it will return to perfect strength, but if you don’t water it for another day or two, it will die.

Know how to perfectly time your harvest so you can maximize your yield. Download our free mini harvesting guide.

Since I germinated the seeds in very small pots, it’s now time to transplant them.

The plant is growing just as fast beneath the surface as above, so if you’re plant becomes larger than the pot, the roots will grow out from under it.

If you look at the bottom of the pot, you can see a number of roots sticking out. This is the right moment to transplant it.

Don’t wait too long with this, because otherwise the roots can’t grow any further, so the plant also won’t.

This is a form of self-protection. A small root system can’t meet the water and nutrient needs of a large plant. So if the roots of the plant can’t grow, neither can the plant.

I’m now putting them in a 1/2 gallon pot with lightly fertilized soil from Fox Farm, where they will spend their growth stage in.

This will be about 2 to 3 weeks, after which I’ll transplant them to pots they’ll also flower in.

I’ll also start giving them some nutrients after the next watering.

The roots can get damaged during the transplant, so give them a bit of time to recover.

But if the plants take well, you can start providing them with nutrients next week.

If there are no roots coming out of the bottom of the pot yet, you’ll just have to wait a bit longer.

Different strains have different growth speeds and the climate of every growing room differs.

I’m using a 400 watt lamp, but if you’re using a 200 watt lamp, your plants won’t grow as quickly.

So don’t pay too much attention to the days you have to carry out certain action, but focus more on the progress of the plant.

So, I have to transplant my plants on day 12. But others might have to transplant on day 9, or perhaps on day 21.

If you germinate your seeds in large pots, you won’t have to transplant them at all. If you have any questions, just post them on the forum.

Here’s a short version of the transplanting process. Click here for the longer one.

Step by step

How to transplant marijuana plants

  • Check if roots are growing out of the bottom of the pot
  • Fill a larger pot for two-thirds with soil
  • Grab the pot from the top, with the plant between your fingers
  • Carefully turn pot around and gently squeeze it to loosen the soil
  • Carefully pull the pot up. Squeeze more if you experience any resistance
  • Put the plant in the new pot and add more soil
  • Water the plant, spray it and put it back under the lamp

Give your plants a decent amount of water, so they’ll have enough for a couple of days.

You can find the next day of this grow journal in the next part; The vegetative stage. We’re going to turn these little plants into big, healthy and strong plants in the vegetative stage.

I’ll teach you everything you need to know about nutrients and pH, and I’ll show you how you can check to see if your plants are healthy, because every grower eventually has to deal with diseases, bugs or nutrition deficiencies.

Good luck and have fun!