Flowering week 5 to 9

Flowering week 5 to 9
flowering marijuana week 5 to 9

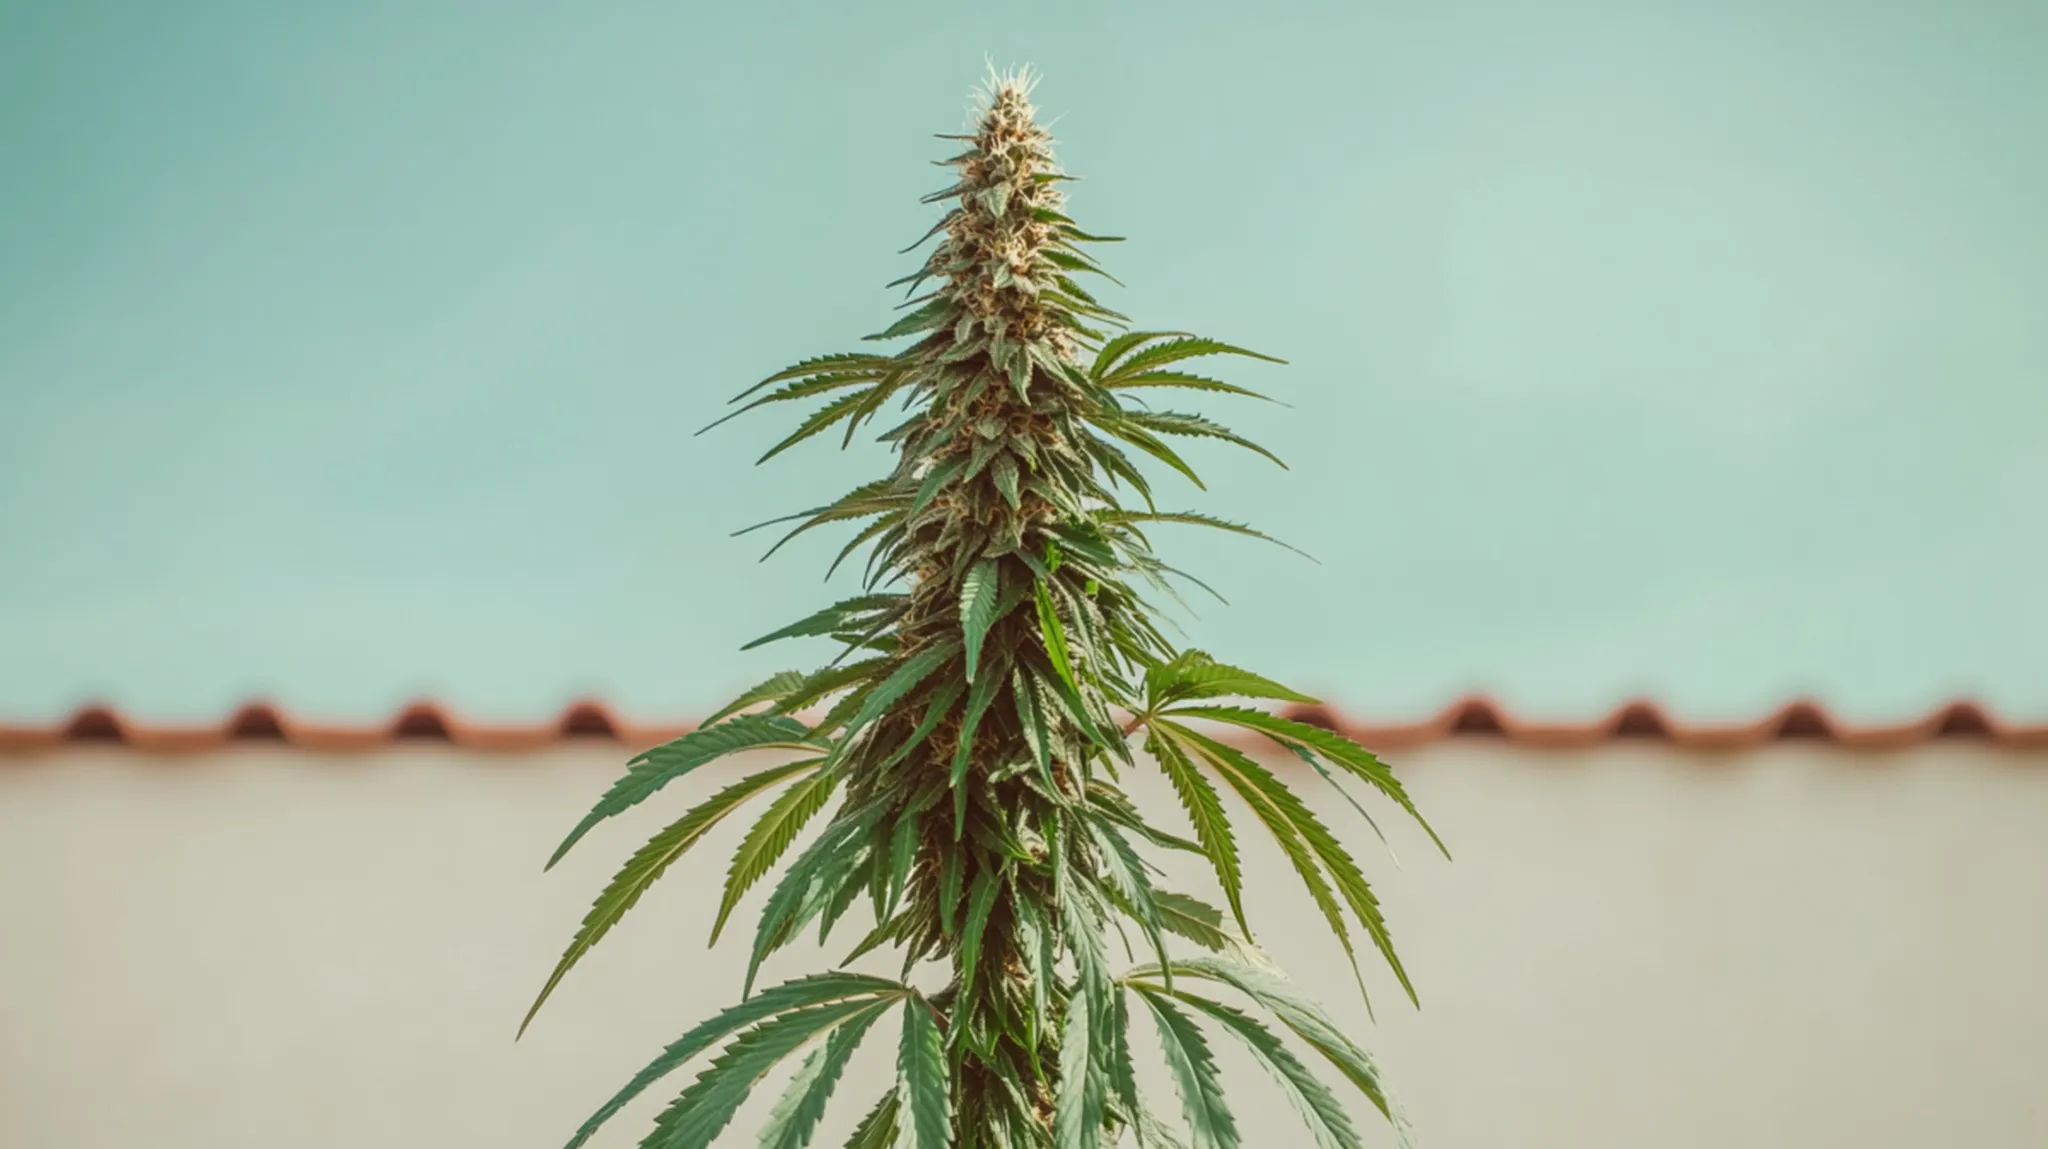
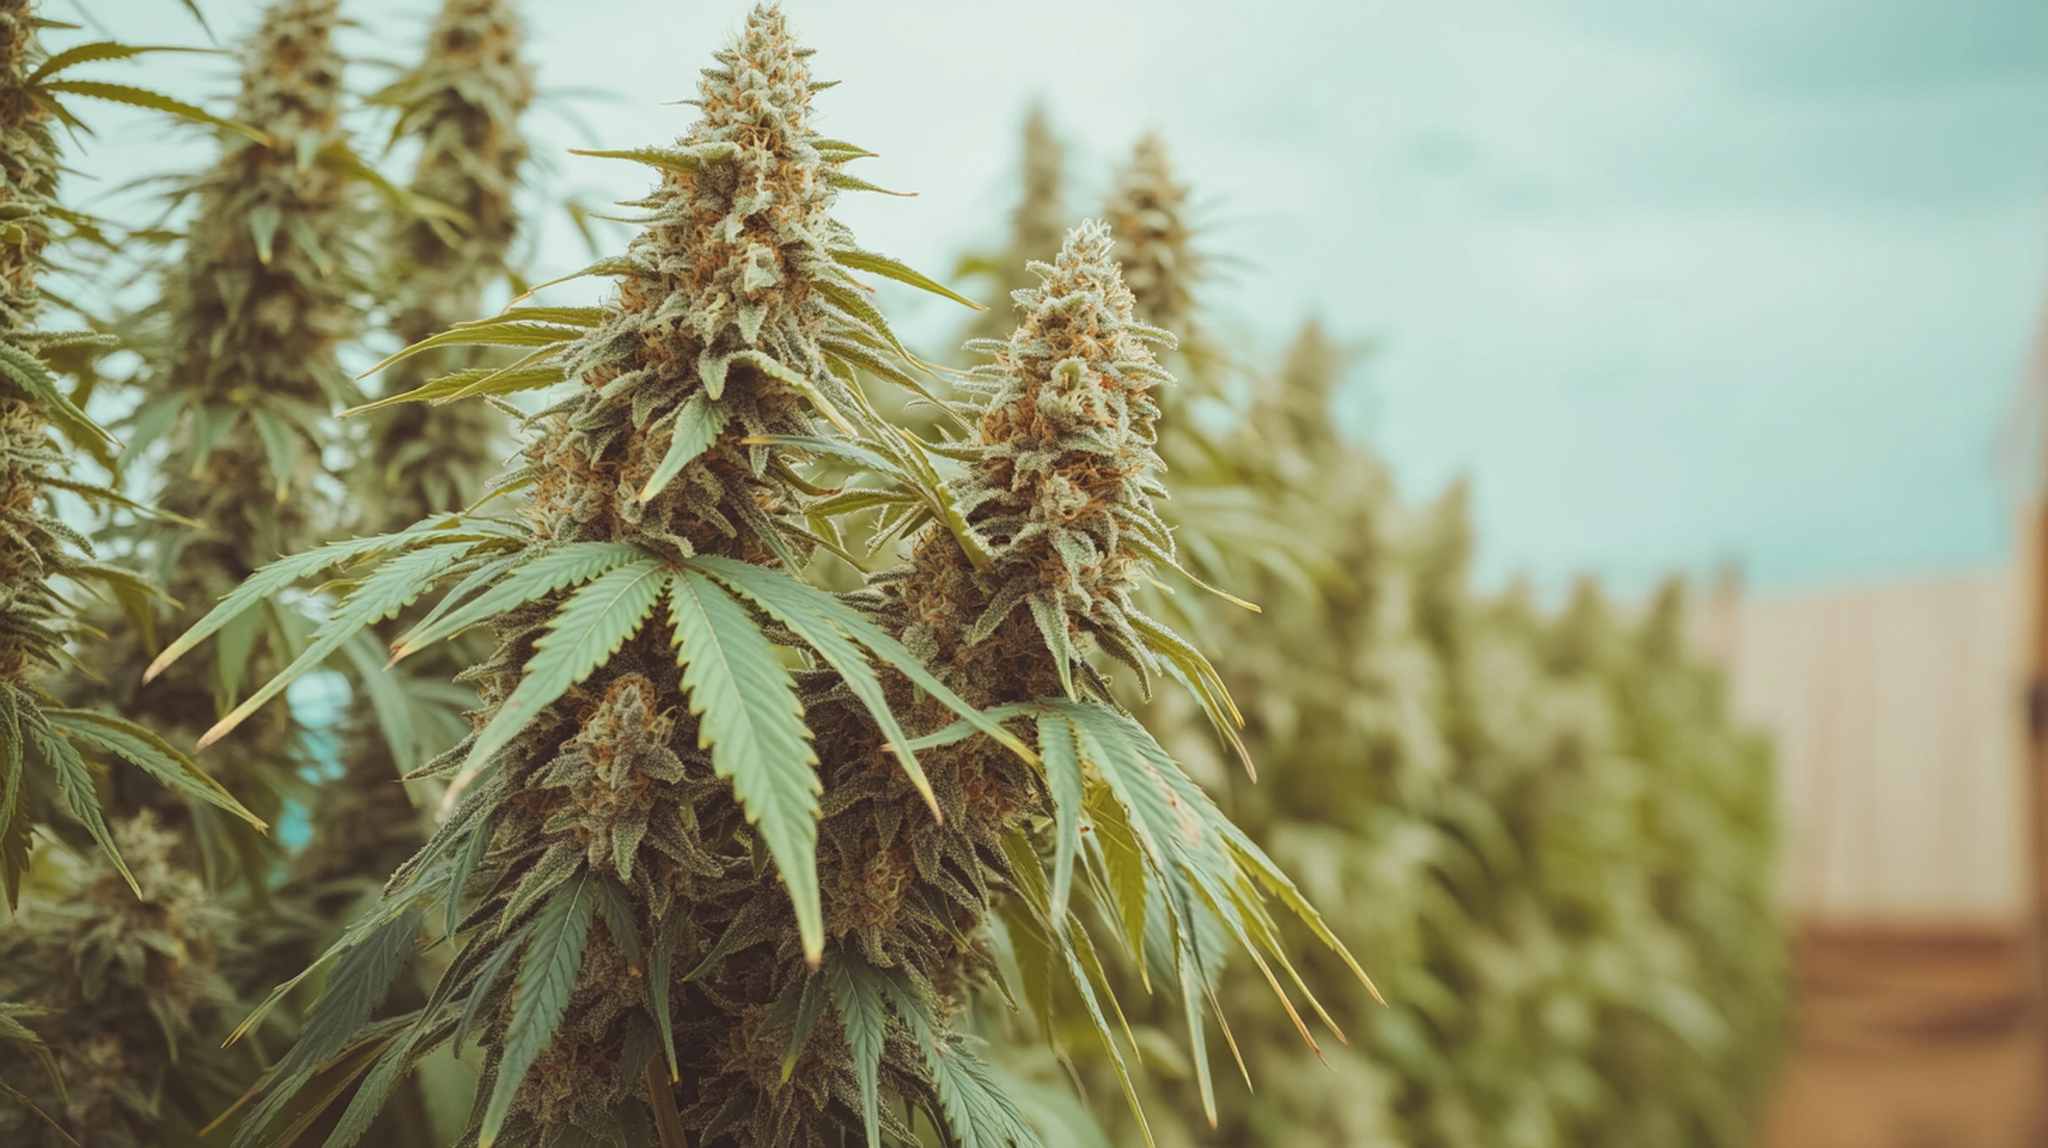
It’s been a month since the flowering started and the flowers start to swell up more and more. The plants don’t grow at all anymore in length, but are still getting a bit wider. The number of buds also remains the same. The resin balls are also getting bigger, become sticky and start to smell more.

An important phase that determines the size of your buds. Since the buds are getting increasingly thicker, all flowers are growing towards each other and form really thick, compact buds.

You should therefore look out of fungi and infections! The hairs get more and more red and the resin balls are getting heavy, sticky and start to gleam more.

Food-wise you now have to provide a solution with a lot of phosphor and potassium. This helps the buds to become compact and heavy and promotes the production of THC. You’ll also see that the lower leaves are starting to become yellow. This is because the plant will exhaust all chlorophyll reserves at the end of its life.

So all the chlorophyll in the leaves is used as nutrition, which is why they turn yellow.

Just leave these leaves on and don’t take them off until they come off very easily. The plant needs them as a source of nutrition.

Day 56

  • Air temperature: 79
  • Water temperature: 68
  • Humidity: 55%
  • EC: 1.5
  • PH: 6.0

They again evaporated a nice amount of water over the past three days.

I’ve been away for three days, so it’s always exciting to come back and see how the plants are doing.

If you have the right settings it’s no problem to stay away for a couple of days.

Since the buds are getting bigger and bigger, they also grow closer towards each other.

This increases the chance of fungi a bit, so make sure the humidity doesn’t get too high.

Buy Fast Growing Seeds - Shorten Your Weed Grow Time >> ILGM
Fast growing weed seeds allow you to harvest sooner & save time! Specially bred to reduce the time it takes the plant to flower. Free, discreet shipping!

Anywhere between 50% and 60% is perfect. And make sure to ventilate the room well. You can continue to increase the EC by 0.1 a week, so this week I take it to 1.8 every other day. I keep lowering the pH to 5.8.

I am however going to change the ratio of the feed. They’re currently getting 1/2 A and 1/2 B feed.

I’m going to change this to 1/3 A and 2/3 B.

This means the plant will get even more phosphor and potassium, so the buds will become thick and heavy.

Read all about feed in the section on Feed for weed plants.

These little buds look super healthy by the way. They’re small and won’t become very big because the plants are fimmed. This however gives you many more buds than if you don’t fim. Let’s hope they’ll produce a lot of resin.

Day 58

  • Air temperature: 77 F
  • Water temperature: 69
  • Humidity: 50%
  • EC: 1.6
  • PH: 6.1

Download my free marijuana grow guide and start growing high quality strains.

All plants looking healthy

You don’t have to do much in this phase when it comes to pruning or super cropping. The plants are not growing anymore so the lamp and plant height remain the same until the harvest. But despite the little work that needs to be done, this is a very important phase. The buds are growing towards each other and are getting thicker. The trichomes are being formed, which are the little resin balls that contain the THC.

Just take a look at these pictures. You can see a bunch of small, transparent little balls on the leaves and between the buds. Those are the trichomes, miniscule shimmering resin drops that grow on weed plants, especially in the buds. They look a bit like a white frozen layer on weed, but under a microscope you’ll see that they’re a sort of drops of resin on a little stem. The more trichomes, the more potent and tasty the cannabis will be. Furthermore the trichomes protect the weed plant.

Mold Resistant Strains and Pot Seeds for Expert Growers
Prevent bud rot by growing cannabis strains that can withstand mold. Buy mold-resistant strains for outdoor growing to avoid mold from getting into your plants.

The sticky layer prevents insects to reach the surface of the plant and the substances in the trichomes make the plant uninteresting to hungry animals.

The resin (=trichomes) also serve as a layer of insulation and protect the plant against wind, water and UV light.
It’s also possible that the little seed hulls easily get stuck in animal coats because of the sticky resin and are transported to other areas that way.

Anyway, it gives us a nice feeling and that’s the most important part.

Day 60

  • Air temperature: 80 F
  • Water temperature: 67 F
  • Humidity: 60%
  • EC: 1.5
  • PH: 6.0

Everything is going great and the plants are super healthy. As long as the tips of the leaves don’t burn the EC can be increased by 0.1 each week up to a maximum of 2.5. I again lower the pH back to 5.8.

These pictures really show how everything is grown shut. Despite the fact that you want the foliage to cover the entire floor of your breeding room so no light is lost. It’s important that some air circulates between the plants. A foliage that’s too dense can be a breeding ground for fungi and bacteria that can cause all types of diseases.

Buy Cannabis Nutrients | Marijuana Nutrients for Sale | ILGM
The right marijuana plant nutrients help your cannabis plants survive setbacks, yield better bud, and thrive. Free US shipping ✅ Guaranteed service

Always make sure to check the bottom of your plants to check whether there’s some circulating air.

If the foliage is too dense you could remove some leaves. You could also aim a rotating fan towards the bottom of your plants.

When using a technique such as scrogging a too dense foliage at the bottom won’t be the case, because all lower leaves are removed by means of pinching. 

Read more about scrogging and pinching here.

Day 63

  • Air temperature: 81 F
  • Water temperature: 66 F
  • Humidity: 55%
  • EC: 1.6
  • PH: 6.0

They survived the weekend again and they’re still looking healthy, but something caught my attention. Some leaves show signs of heat stress. And the leaf tips also discolored a little bit, which means they received too much feed.

In these pictures you can see that some leaves curled inwards. The plant does this when it gets too warm. It’s a protective mechanism the plant starts to prevent itself from drying out. By curling inwards it catches less light and therefore decreases evaporation. The lamp can be moves up a little bit and the fan can be turned up a bit as well. This is done to cool off the plants a bit.

You can also see that the leaf tips discolored a bit. That’s not really a problem but it is however important to take it easy with the feed for a while. I leave the EC on 1.6 and lower the pH to 5.8

Day 65

  • Air temperature: 77 F
  • Water temperature: 69 F
  • Humidity: 55%
  • EC: 1.4
  • PH: 6.1

The temperature is under control again and the leaf tips didn’t suffer any additional burning. They also evaporated a good amount of water again so these are all positive numbers. At the end of the harvest the leaves often turn a bit yellow or the leaf tips show some discoloration but this is just a bit too early.

Pistils (the white little hairs on the buds) also start to discolor a bit. They turn red or brown. Hence it’s important to identify the problem and take action.

In these pictures you can see that some of the hairs are already discoloring. The discoloring of the hairs is a good indicator for the moment of harvest. The plants are ready for harvest when between 60% and 90% of the hairs are brown. The percentage you use depends a bit on your personal preference.

Day 67

  • Air temperature: 75 F
  • Water temperature: 68 F
  • Humidity: 50%
  • EC: 1.2
  • PH: 6.0

The plants are looking good and are no longer affected by heat stress or an excess of nutrients. That’s why I once again increase the EC to 1.6 and lower the pH to 5.8.

The buds aren’t really big, but they’re starting to produce a lot of resin.

The buds have to get hard and heavy over the next weeks.

They won’t get much larger in size, but will become heavier and of better quality.

These pictures show the same buds as two days ago. You can clearly see the difference!

Day 70

  • Air temperature: 80 F
  • Water temperature: 67 F
  • Humidity: 60%
  • EC: 1.3
  • PH: 6.1

They reacted well to the extra feed, so we’re back on schedule again. The plants evaporated a lot of water, about a gallon per plant per day.

The evaporation indeed didn’t increase any more, and will probably decrease a bit from now on.

The EC can be set to 1.8 and I will keep the pH at 6.0 during the last weeks.

Check the buckets again for dirt and clean them and change the water if necessary.

Also wash the roots, because a lot of dirt can get stuck in them.

I once separated the roots with some mesh in the middle, because the water circulation was restricted.

The root system still looks great! It discolors a bit, but that’s normal towards the end of the harvest.

It becomes a problem if they’re brown or don’t smell fresh.

In that case you have to immediately change the water to prevent rotting.

Day 73

  • Air temperature: 81 F
  • Water temperature: 69 F
  • Humidity: 55%
  • EC: 1.6
  • PH: 6.0

Some two more weeks and these plants will be ready for the harvest. They continue to evaporate good amounts of water and look extremely healthy.

The buds aren’t thick, but because there are so many of them it will definitely be a good yield. They’re starting to get nice and hard and the smell is fantastic.

You could already cut off a bud and let it dry at the heater nearby. It will be dry in 24 hours. The taste, smell and effect aren’t nearly what they should be, but I usually can’t wait and end up trying a bit as soon as I can. Doesn’t this look delicious? Hang on a bit longer and the party will be lit 🙂

Day 75

  • Air temperature: 77 F
  • Water temperature: 69 F
  • Humidity: 55%
  • EC: 1.5
  • PH: 6.0

Enlarge the picture and see if you notice anything. So don’t keep reading but first click on the picture and see if you notice anything.

This is a nice test so don’t keep reading. I didn’t see it right away either, but once you know it you can see Mildew everywhere.

Mildew is a fungus that is very common on weed plants and thrives in a warm, humid environment.

This is exactly the same environment marijuana plants enjoy.

It’s not harmful yet in this stage, but it’s important to immediately treat it, because it spreads like wildfire and can be harmful to your plants.

The white layer of fungus on the leaves prevent the plant from absorbing as much light as possible.

It will also not be able to evaporate optimally. The stomata suffocate a little. But in this very mild case it won’t cause any damage yet.

You can just wipe the mildew off the leaves, but it will usually come back in other spots.

If only few plants are infected you could prune the leaves that are affected by mildew.

Another known method is a solution of 40% milk and 60% water.

It’s not entirely certain why the milk works, but some researchers believe that the proteins in the milk in cooperation with the light have an antiseptic effect, so the fungi are literally burnt off.

I usually go to the garden center to get something against mildew based on sulphur or I use oil.

That’s not harmful to your plants and you completely exterminate the mildew. To be sure, spray two times a day with a break day in between.

Pour the milk or your product from the store into a spray bottle and dilute it with water. Shake the spray bottle well and set it up to spray a very fine mist. Now completely spray all leaves that contain mildew with the solution and repeat after a day. It’s best to spray all plants completely, because it’s easy to overlook spots of mildew.

If everything goes to plan, you will have gotten rid of your mildew.

Day 78

  • Air temperature: 77 F
  • Water temperature: 69 F
  • Humidity: 55%
  • EC: 1.5
  • PH: 6.0

As I mentioned before, the moment of harvest is a personal choice.

The time of harvesting influences the smell, taste and effect of the weed. See some rules of thumb below.

  • 0-49% of the pistils brown – Weed not ready yet.
  • 50-70% of the pistils brown – Weed ready for harvest, but still a bit young. Light taste and mellow high. Maximum weight not yet achieved
  • 70-90% of the pistils brown – Weed ready for harvest. Optimal taste, effect and weight.
  • 90-100% of the pistils brown – Almost too late to harvest. Taste is heavy and the effect is narcotic.

Harvest immediately and don’t wait any longer. I usually harvest weed for own consumption when 2/3 of the pistils are brown.

Weed I grow for a coffee show is harvested when 80 percent of the pistils are brown, because the buds will be a bit heavier.

You could also base your harvest on flowering time and trichomes. More about this in the article “Harvesting”.

Day 80

  • Air temperature: 77 F
  • Water temperature: 69 F
  • Humidity: 55%
  • EC: 1.5
  • PH: 6.0

The end is really in sight. The plants are using less water and most of the pistils are brown.

I add more water to make up for the water they use but I don’t add any more feed.

I usually stop giving feed one week before the harvest to rinse all minerals out of the plant.

Rinsing is very important if you want to have a nice final product.

If your plants are overloaded with fertilizers they will become too heavy to smoke and it will really negatively affect the taste.

There’s still enough feed in the water so don’t be afraid of any shortages.

You can see that the leaves are discoloring a bit and start to go limp.

This is normal at the end of their life cycle. The buds are almost ripe and the plant uses its last resources to finish flowering.

As you can see in the pictures, these plants are almost ready to be harvested. The buds are super hard and nice and compact. They’re very sticky and have an exceptional smell.

You can see it’s high quality weed because the buds are shimmering from all the resin.

Day 83

  • Air temperature: 77 F
  • Water temperature: 69 F
  • Humidity: 55%
  • EC: 1.5
  • PH: 6.0

As far as I’m concerned, these plants are done. It all looks delicious and I can’t wait to harvest these plants.

Tomorrow (Saturday) I will prepare everything and get all supplies and Sunday I will harvest.

In the grow journal about growing in soil I first dried the plants and then cut them.

In this case I will cut them while wet and dry them later. They both have their advantages and disadvantages, so it’s up to you to decide which method to use.

In this article about harvesting I listed the different advantages and disadvantages of the different methods.

In order to cut your plants wet it’s important to have a drying net you can place your weed in to let it dry.

You could also do it on a garbage bag on the floor, but in that case you’ll have to carefully shuffle it a couple of times a day to prevent rotting.

I usually cut the main buds with little scissors, but you could also use cutting machines. The tumble trimmer is a useful device I like to use for the smaller buds.

Since the quality drops a bit when using a cutting machine and you also end up with a bit less weed then when cutting with scissors I only use the cutting machine for the smaller buds. So I’m letting the plants stand for two more days and then I’ll cut them down.

Go to the next section to see how I cut them, dry them and eventually weigh them. I’m excited to see how much dry weed I end up with.