Flowering week 5 and 6

Flowering week 5 and 6

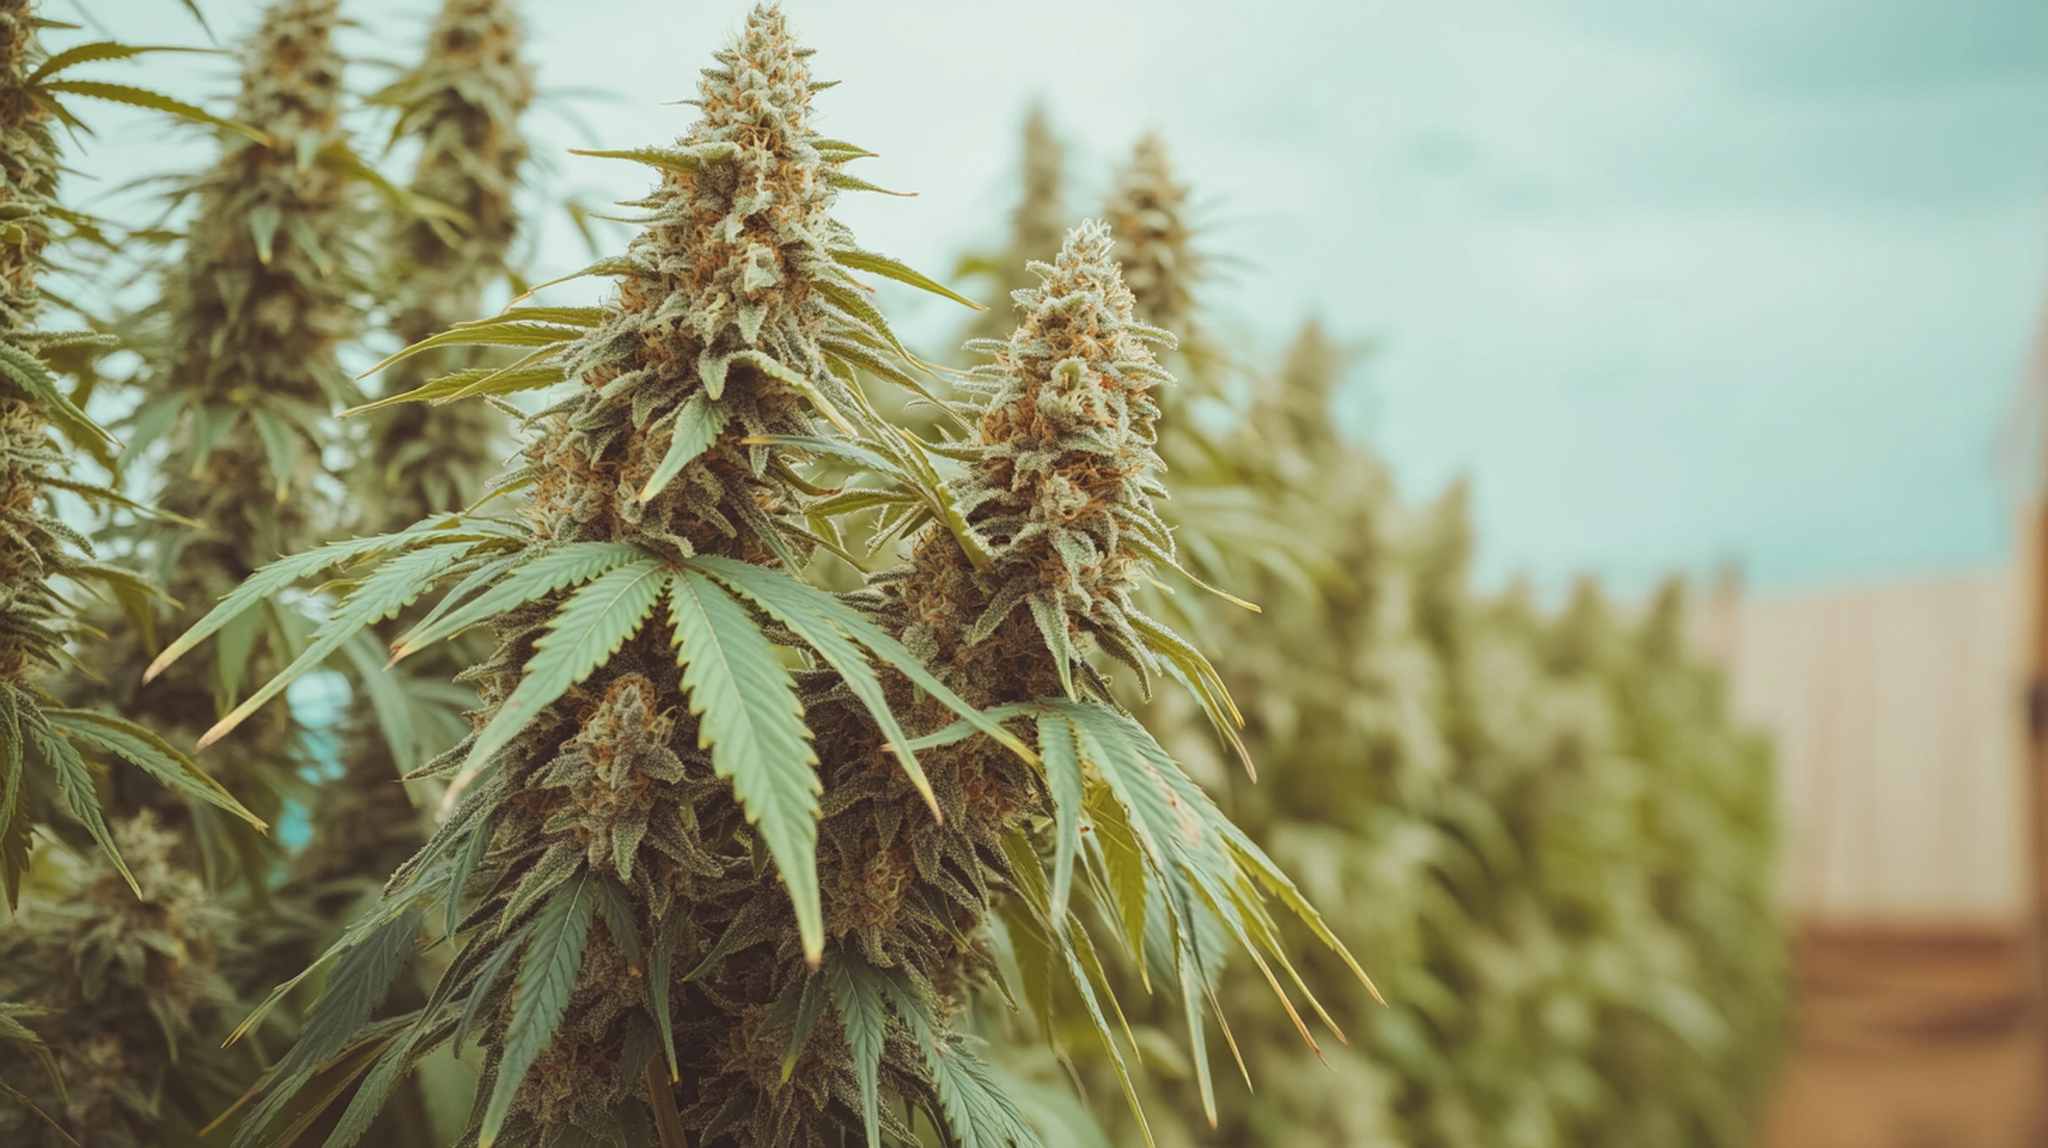
Flowering started a month ago, and the buds are swelling up more and more.

The plants don’t grow in length at all anymore, but they still get a bit wider.

The number of buds remains the same.

The resin balls also get bigger, become sticky and start to get an increasingly stronger smell.

This is an important phase that determines the size of your buds.

The buds are growing closer and closer together, because they keep getting bigger.

This increases the chance of fungi, so lower the humidity a bit.

The weight of the buds can cause the plants to tip over. You can prevent this by placing sticks next to the plants or by binding them up with rope.

If you don’t do this, they’ll eventually fall over, which is harmful to the health of the plant.

Keep giving flowering nutrients.

At the start of this phase, the plant needs phosphor in particular to promote the growth, but also needs more and more potassium towards the end to harden the buds.

Nitrogen is only required in small amounts, because the plant doesn’t grow much anymore.

Bergman’s Numbers

Environmental factors

  • Light cycle: 12 hours of light – 12 hours of darkness
  • Light color: Orange-red – HPS
  • Temperature: 70 – 77 degrees
  • Humidity: 50%
  • Fertilizer: 1.5 – 1.6
  • pH: 6.0

Day 64

The plants look healthy and the buds keep getting bigger.

It’s important to keep the plants healthy during the upcoming weeks so they can optimally absorb water and nutrients and can maximally grow.

If your plants are healthy, you can increase the EC value to 1.5. Keep the pH at 6.0.

They will really start gaining in size and weight now.

That’s why it’s important to support the plants a bit, since they could fall over. It’s best to place some sticks.

Beginner cannabis seeds

Buy Beginner Marijuana Seeds

  • Easy to grow
  • Guaranteed germination
  • High yield
  • Grow guide available

BUY BEGINNER SEEDS

Step by step

How to place sticks

  • Use bamboo sticks and plant clips
  • Put the stick upright in the middle of the pot
  • Fix the stick with a plant clip
Bamboo and plant clips for supporting marijuana plants
Bamboo with plant clips

There are many products to keep your plants stand up straight.

You could place nets the plants can grow through, but you’ll have to set these up on time.

Another alternative is a system with rope and a metal spring you can attach to the ceiling and the plant to keep them standing up straight, but I prefer a simple bamboo stick and a plant clip.

You could also use a plastic stick with cable ties.

Using bamboo stick to support marijuana plant
Put the stick in the middle

Place the stick upright in the middle of the pot. In this way, each stem is standing straight in the middle of the pot and the light is distributed optimally.

It’s no problem if you damage some roots by piercing them with your stick.

Just try to only stick it in once and then leave it.

Using a clip to support the marijuana plant
Secure it with a plant clip

I always use plant clips, because these automatically pull the plant and the stick towards each other.

They’re also reusable and easy to apply. Cable ties will also do the job.

Place the clip a bit above the middle of the trunk so the top can no longer bend over.

Day 66

The plants still get acidulated water with an EC value of 1.5 every other day.

The temperature doesn’t rise above 77 degrees and doesn’t drop below 64 degrees when the lights are off.

These are ideal circumstances for optimal growth and flowering of marijuana plants.

Since the plant is no longer producing new buds and uses all its energy for the growth of the existing buds, it’s important to check if these are growing properly.

66 days old white widow marijuana buds
White widow buds

This picture shows that the leaves have a nice dark green color, the stems are a lighter green and the buds are snow white.

The leaf doesn’t show any irregularities or discolorations, which means this plant is perfectly healthy.

You can see tons of small buds now, but they’ll grow towards each other and eventually become big buds.

Let my free marijuana grow bible be your ultimate guide as you begin your marijuana journey.

Day 68

Check your plants again for bugs by looking on top of and underneath the leaves.

Also check for other discolorations or deformations of the leaves. If they’re not completely green, something isn’t right.

This doesn’t have to be a major problem, because marijuana plants are very strong and can easily recover if something goes wrong.

If you’re plants are looking good, you can change your nutrients during the next watering by giving them more potassium.

This helps to harden your buds and to make them heavier. It also promotes the production of THC.

It is however important to first rinse your plants. If you’re already giving them flowering nutrients, the plant will have enough potassium.

You could use a booster if your plants are healthy. I use a Booster by Flower Power in addition to my basic flowering nutrition.

By rinsing them with water (preferably pH 6) they’ll use many of the nutrients in the soil and they can optimally absorb the new nutrient mix during the next watering.

The root environment also benefits from a proper rinse, because this keeps the nutrients from stacking up and prevents the pH level of your soil from lowering.

Day 71

You can now increase your EC to 1.6 and provide your plants with more potassium.

Of course the climate must be right and you have to give your plants enough water.

If you suspect any problems, immediately contact one of our growing experts on the forum. They’ll help you diagnose the problem and come up with an adequate solution.

From now on, the first hairs on the top buds are turning brown.

The picture shows some brown hairs and a couple hairs of which the tips are starting to turn brown.

Eventually, you can determine the moment of harvesting your marijuana by the ratio between brown and white hairs.

Your marijuana is generally ready for harvest when 80% of the hairs are brown.

But it’s also a matter of taste. The information below gives you some insight into the taste and high.

71 days marijuana bud brown pistils at 49%
0-49% of the pistils brown

0-49% of the pistils brown – weed not ready yet.

71 days marijuana bud brown pistils at 70%
50-70% of the pistils brown

50-70% of the pistils brown – weed ready for harvest, but still quite Young. Light flavor and mellow high. Maximum weight not yet reached.

71 days marijuana bud brown pistils at 90%
70-90% of the pistils brown

70-90% of the pistils brown – weed ready for harvest. Taste and effect are at their peak and maximum weight achieved..

71 days marijuana bud brown pistils at 100%
90-100% of the pistils brown

90-100% of the pistils brown – almost too late to harvest. Taste is heavy and has a narcotic effect.

Harvest right away and don’t wait any longer..

I usually harvest weed for personal use when 2/3 of the pistils are brown.

You can also harvest based on flowering time and trichomes. More about this in the article When to harvest.

Day 73

The temperature and humidity remain constant and nothing special is going on.

Everything looks healthy and how it should be. The buds keep getting bigger and keep growing towards each other.

They’ll be ready to harvest in a couple of weeks and we can start enjoying our own marijuana.

It might be a fun idea to make a close up of your resin balls. On these pictures you can see a lot of tinier resin balls, also called trichomes.

If the trichomes are clear, your weed isn’t ready to harvest yet. Your plants are ripe once these turn milky or cloudy.

You can clearly see a lot of clear resin balls between the pistils in these picture.

Day 75

We’ve been focusing mainly on the buds lately, since these are the most important.

but we shouldn’t forget that the leaves provide the energy the buds need to grow.

And if the plant is ill or has another deficiency, this will show in the leaves.

That’s why you should check again to see if there are any bugs on top or underneath your leaves.

Also check to see if there are any discolorations or spots on the leaves that don’t belong there. It might be a good idea to take a picture of your leaf and post it on the forum.

A leaf that is too dark green because of a nitrogen surplus is hard to diagnose for an untrained eye. And it’s also nice to get confirmation that everything is going well.

75 days white widow marijuana leaf
White widow leaf

On this picture you can see that the leaf still looks fine. It has a nice dark green color and the tips of the leaf don’t show any discoloration.

There are also no yellow spots or other notable issues. From now on, it’s possible that the bottom leaves start to turn yellow very slowly and will eventually die off.

This is part of the aging process of the plant and you don’t have to worry about this.

We let the buds harden in the next chapter, before we prepare them for the harvest.

Order a bud booster if you wish to work with one and remain consistent with watering and checking the climate.